Using Events and your Calendar
This help sheet will guide you thorugh adding tasks and using your calendar.
Using the Calendar:
STEP 1
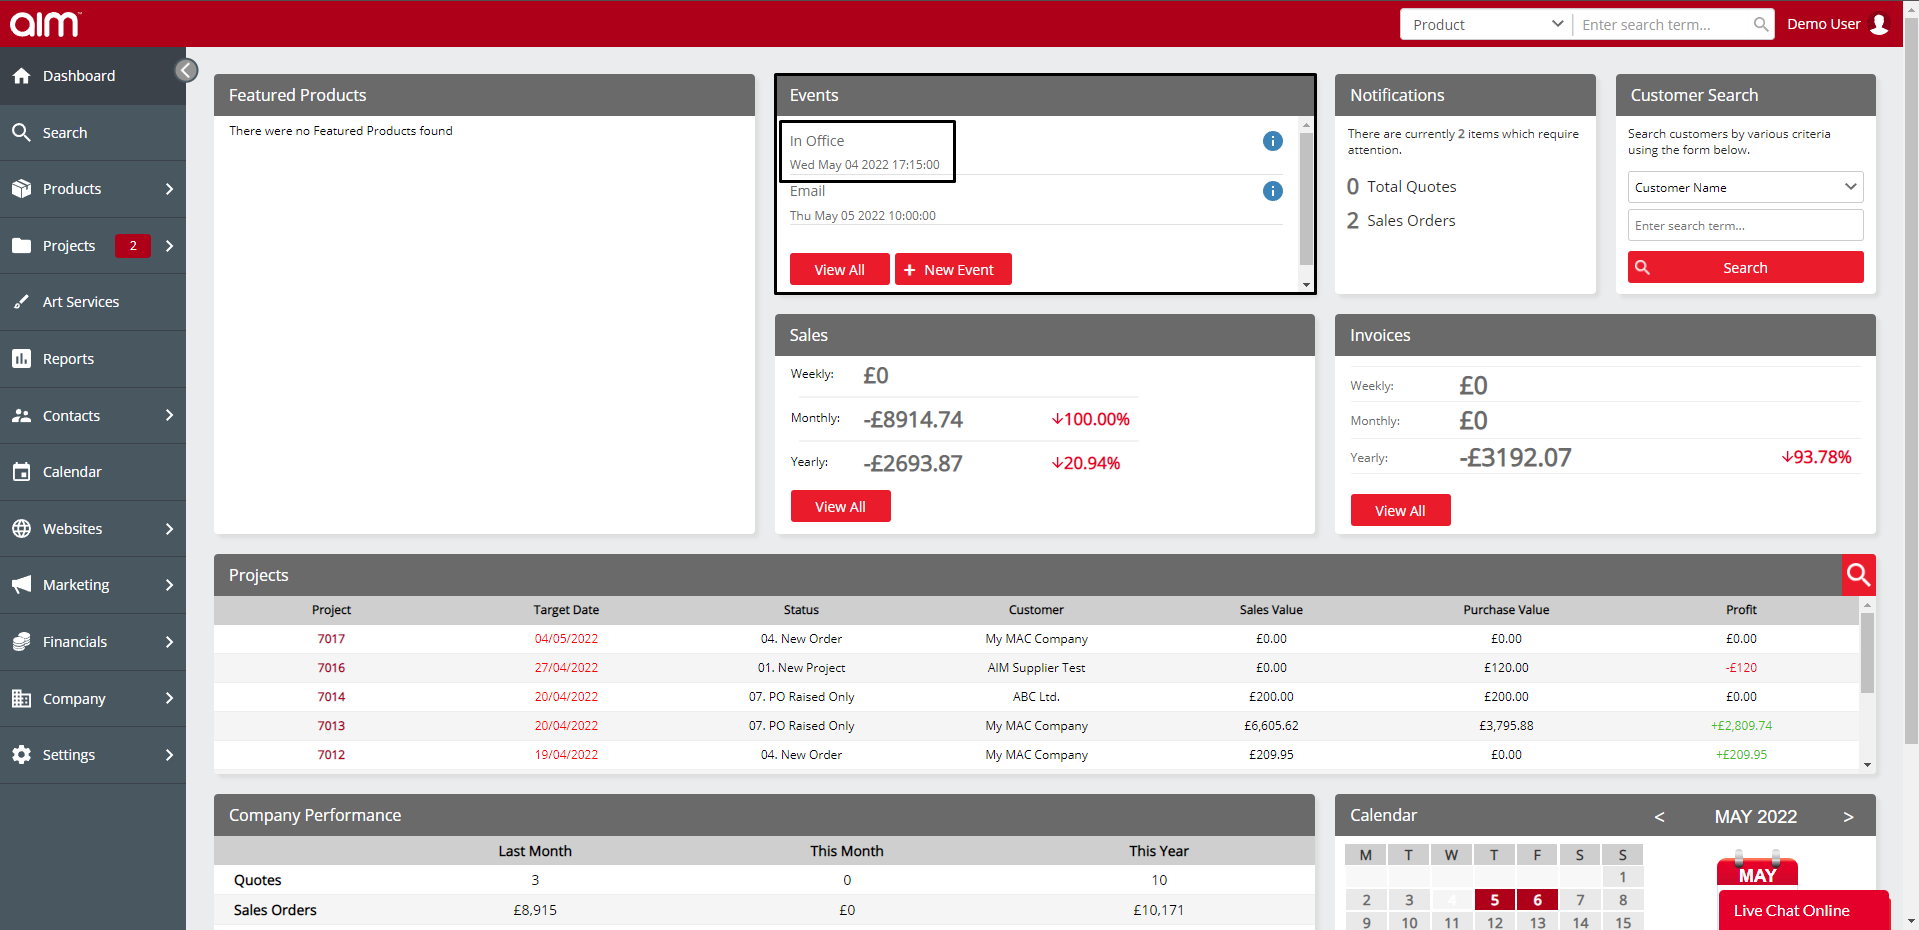
From your dashboard you will see the calender widget. If you click this it will being up your calender. If this is not available this will need adding to your dashboard.

STEP 2
The Calendar will open at the present month and you will see all of your calendar entries.
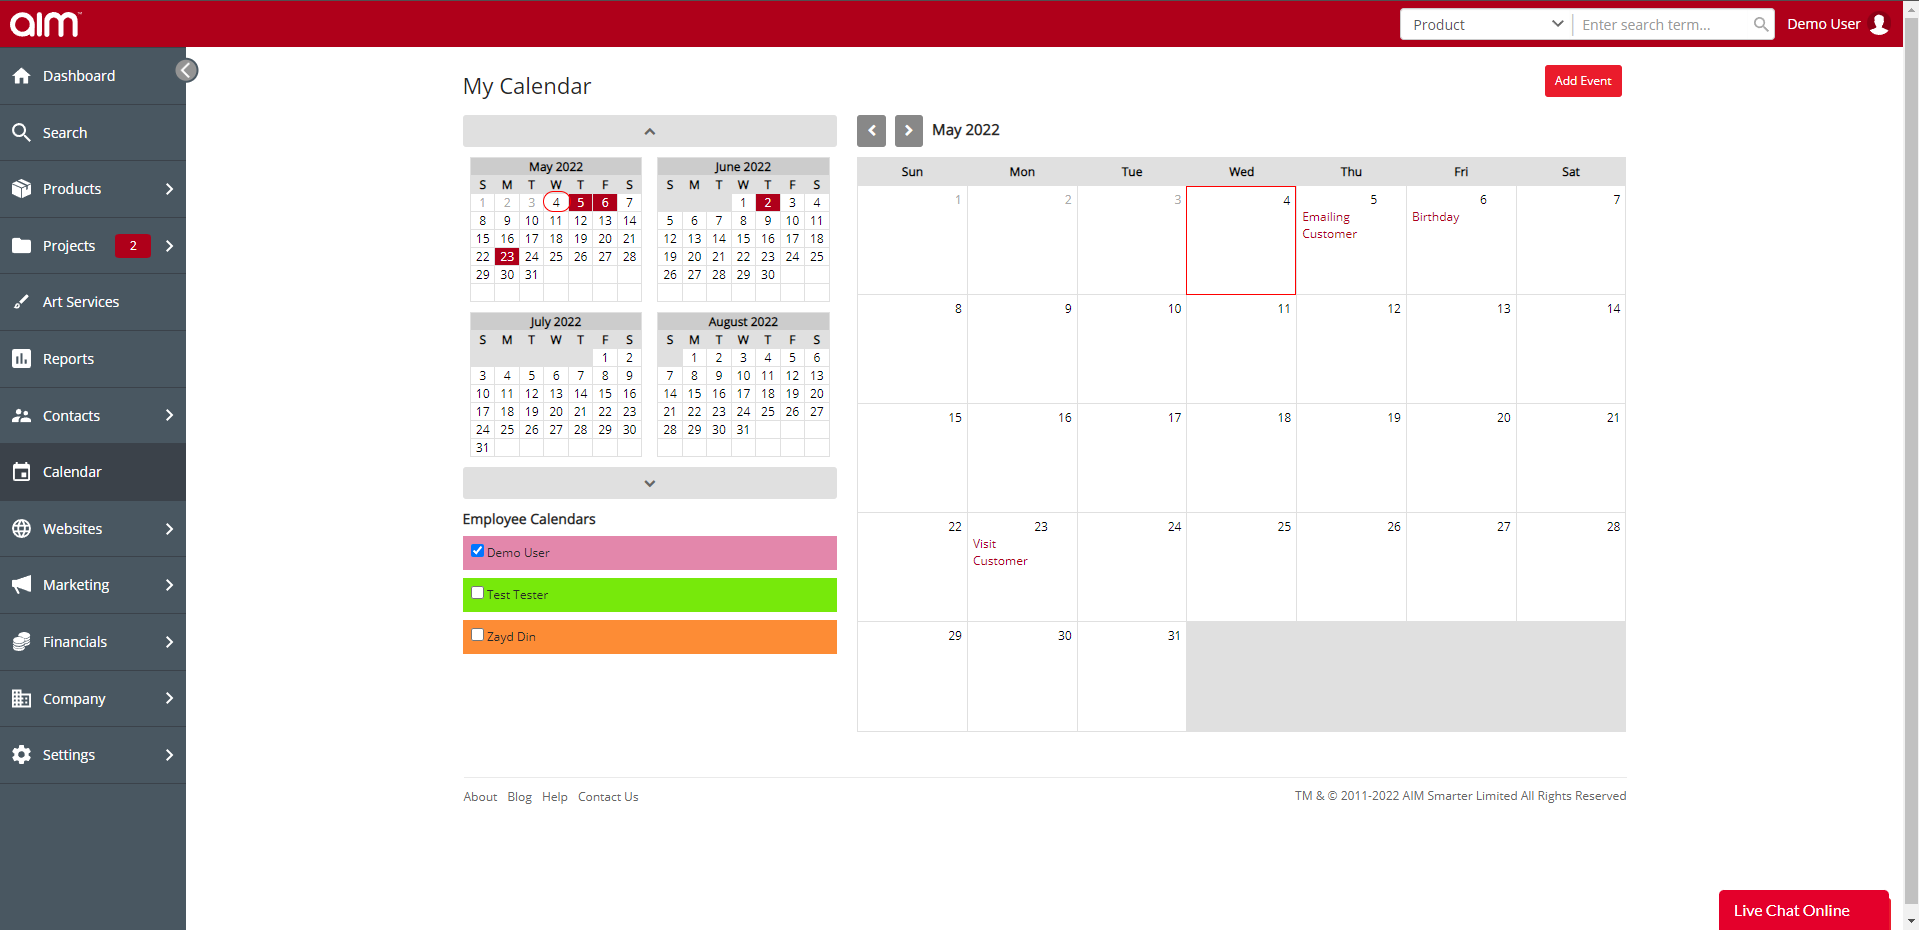
STEP 3
Depending on your administrative access, you may or may not be able to see tasks of other employees (refer to settings for more information). To add a new entry click on "Add Event".

STEP 4
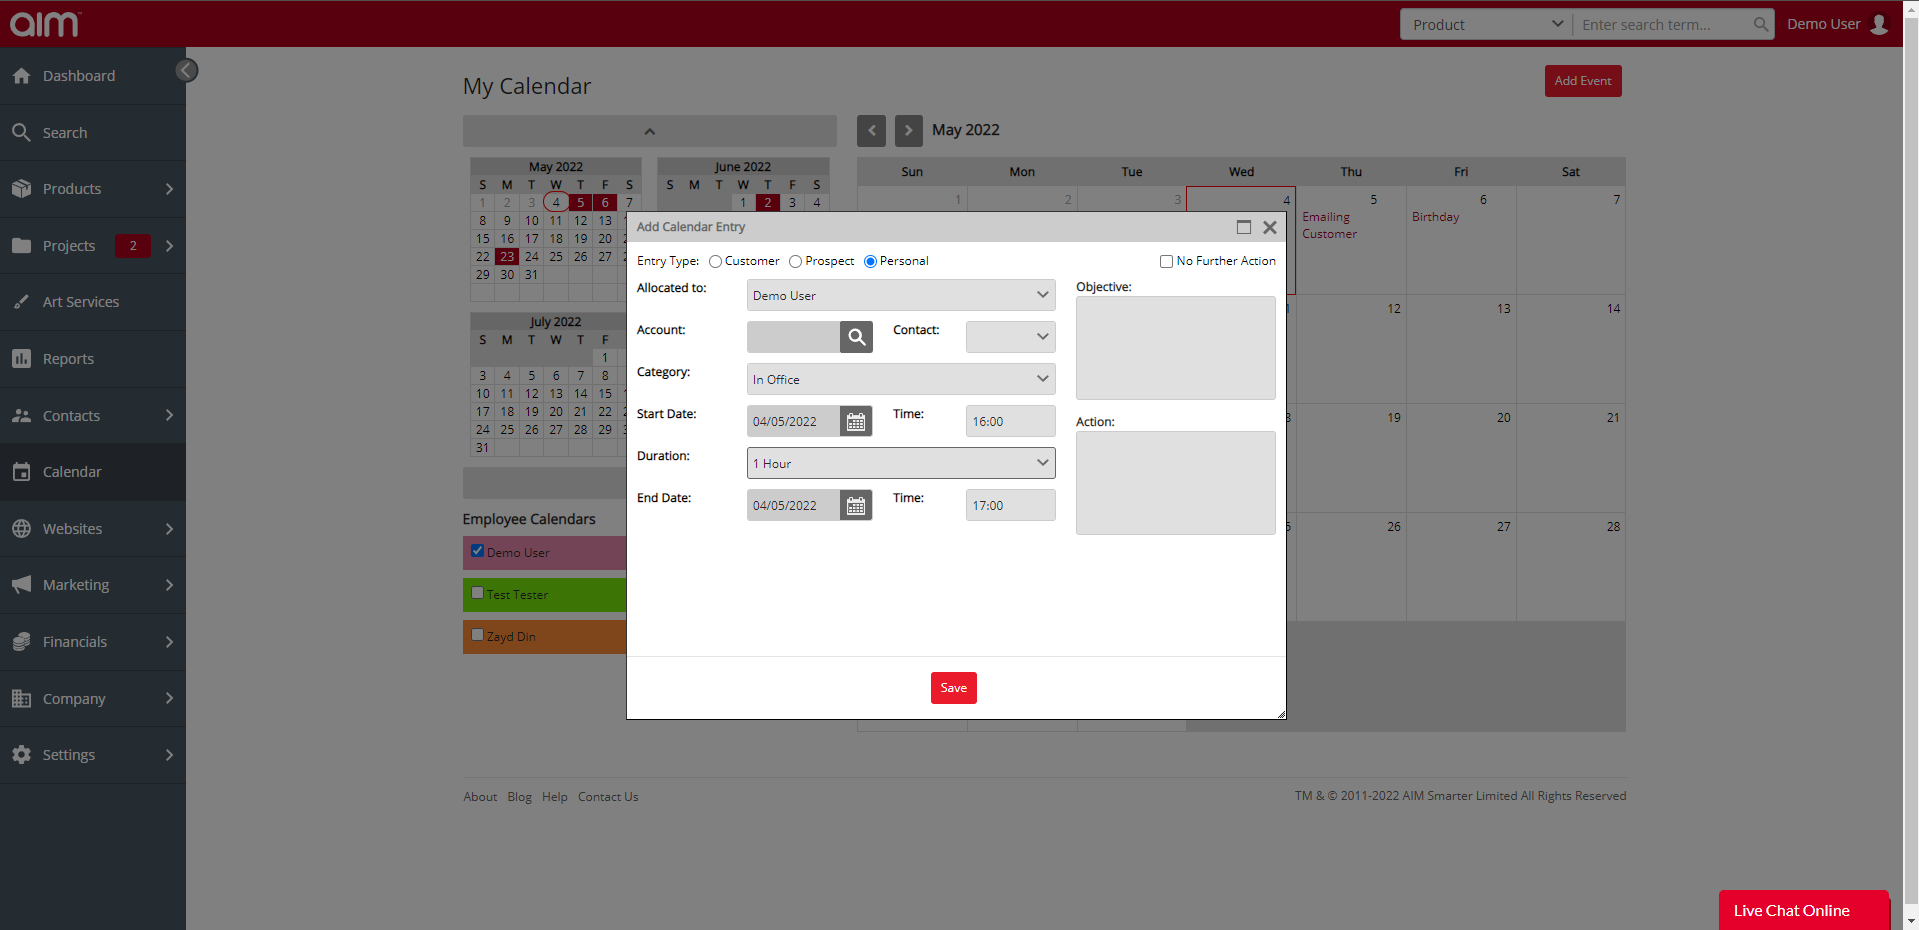
You can then fill in the event details. You can also add an event for a specific customer, lead or supplier by clicking the relevant box and using the magnifying glass to search for them as shown below. Use the drop downs to select contact person and the category of Calendar entry. Fill in the date and time informations as well as any objectives.
Using the events widget:
STEP 1
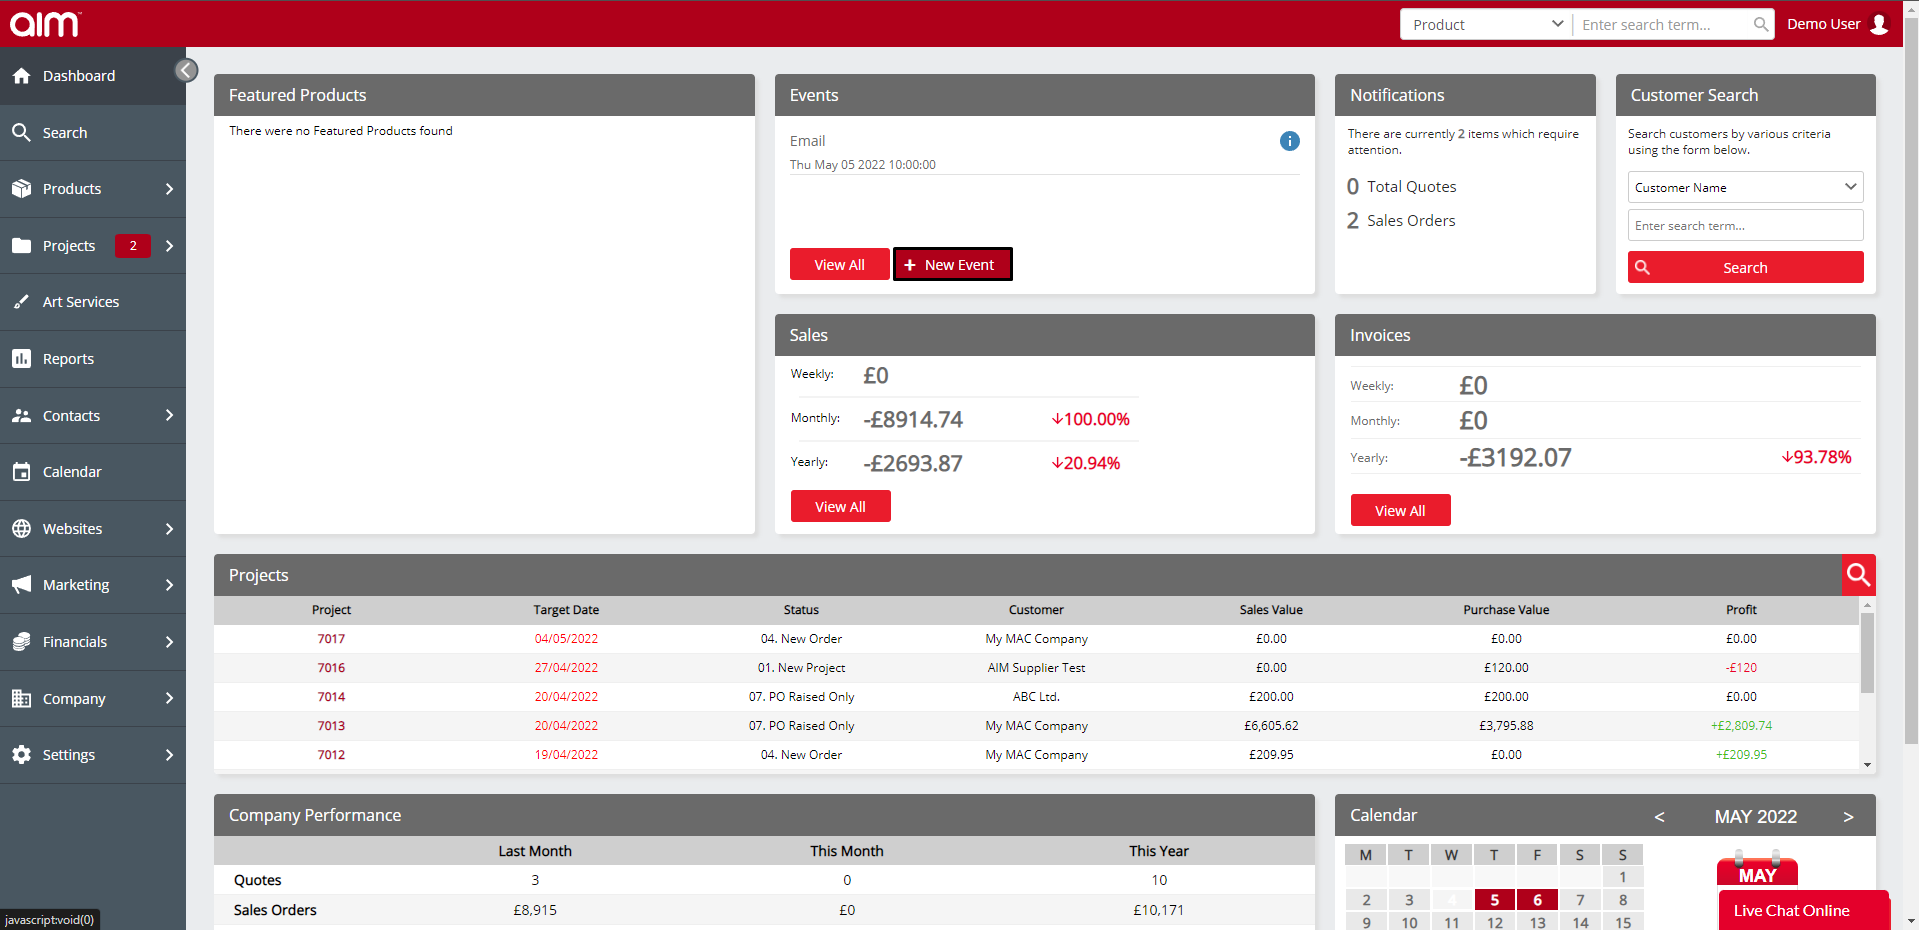
From your dashboard you will see the Events widget. To add a new event click "+ New Event".
STEP 2
Enter the details as fully as possible as can be seen below and when happy click the Create Event button.

STEP 3
The event will now be created and will show in your events section and in your calender.