Custom Flyer Creation
The following guide will show you how to create a Custom Flyer using the new Technologo EOD Admin Portal.
Step 1: Log into the new admin area using this link: http://technologo.com/eod-admin/login To login please make sure you enter your Account ID, Password and the Secure code.

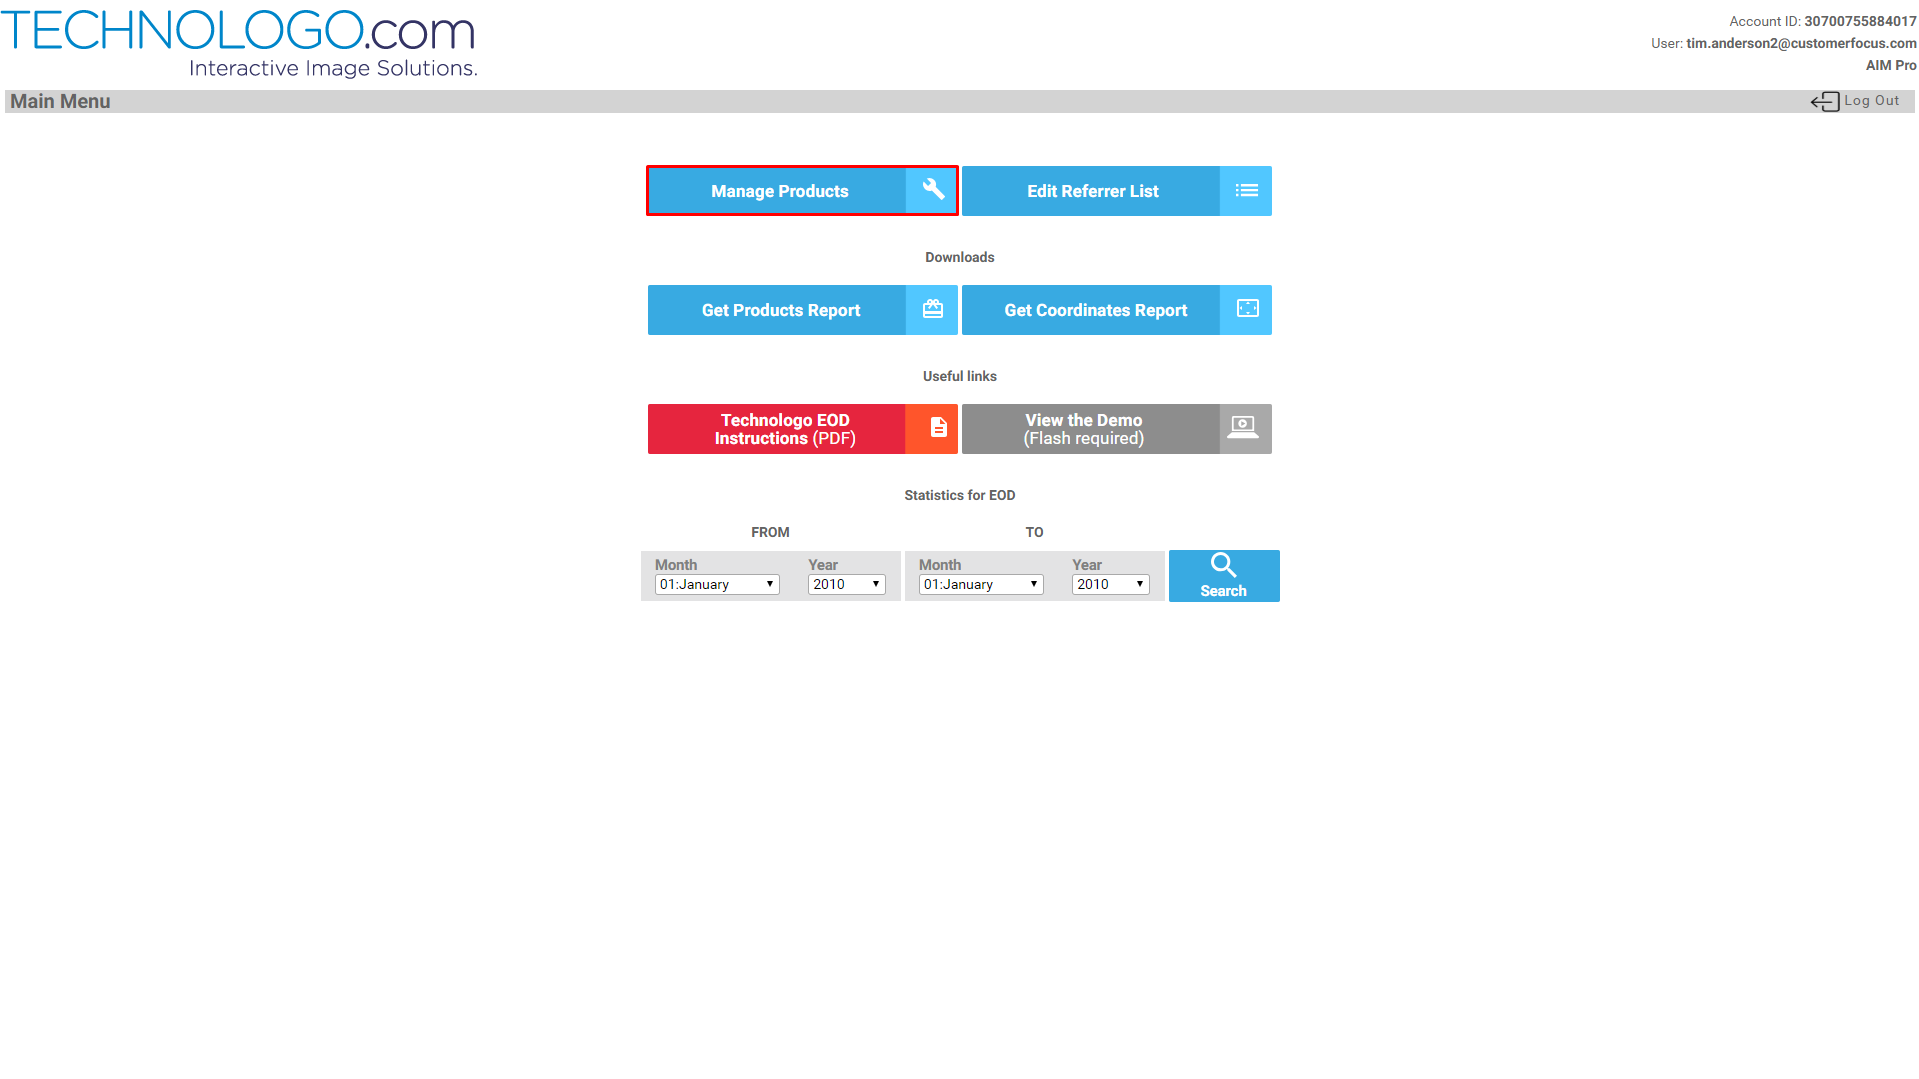
Step 2: Once logged in you will see the following dashboard. Click the "Manage Products" button as shown below.

Step 3: Click the "Add New Product" button at the top left of the screen to create a new custom flyer.

Step 4: The new product wizard will now open. Select the Product Type as Maxed using the radio button then fill out the following information.
A.SKU ? this is a unique flyer sku
B.Product Name - a short description on the flyer
C.Long Description - an explanation of what the flyer contains
D.Orientation - select either Square or Wide depending on your image
E.Number of images/colors for this product - if you have 1 page select 1, if you have 10 select 10
F.Image / Colour Name - make this the same as the sku
G.Image location - Browse to the image you with to use on your computer - you can upload a JPEG, GIF, PNG, BMP or TIF with a max size of 10mb
H.Tick the keep original image size box
Please see the below screenshot outlining the information you should have entered at this stage.

Step 5: Once happy with your settings click the add product button.

Step 6: You can now create your imprint areas on the flyer itself. To do this click on the "Imprint Area Editor" button on the bottom right.

Step 7: You can now start adding the imprint areas on the flyer itself. There are a number of new features to this screen such as a Zoom, so it is easier to use than ever. Click "Add New Imprint Area" to get started.

Step 8: To create the imprint area for your flyer drag the green box to where you want it to be, select an Imprint Technique from the dropdown and give the Imprint location a Group Name of 1. This will apply your customers logo to each Imprint Location with the group of 1 as shown below.

Step 9: Continue adding Imprint Areas to all the products on your flyer are branded. I have added 4 in this example all with the Group Name "1". This was done by clicking "Add New Imprint Area" after each one has been positioned and given a technique and group.

Step 10: Now add an Imprint Area with a Group Name of "2". Position this in a space on the flyer so you can upload your own logo to the flyer as well as your customers.

Step 11: Once you are happy with your imprint area placement click save and then close.

Step 12: On the next screen click save on the bottom right. This will save your custom Flyer.

Step 13: To find the custom flyer you can find it in the list or search using the search section on the right-hand side as shown below.

Step 14: Once you have found your flyer to view your custom flyer you can click the view custom flyer button.

Step 15: Your flyer is now created. Please see the below example link:
http://technologo.com/eodpro/flyerBuilder.jsp?accessKey=Aimpro2018!&sku=TESTFLY&stat=false


