How to use the Personal Expense Entry routine
This guide will show you how to set up, enter, and pay your staff's expenses.
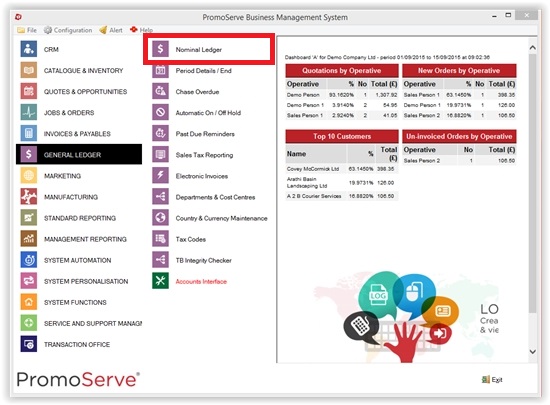
1. To set up the expense codes you want your staff to use when entering their expenses, go the nominal ledger and at the bottom click on Expense Codes.

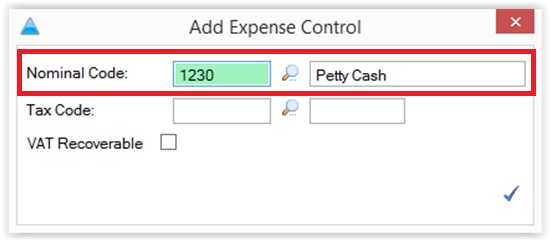
2. Enter the code you want your staff to allocate their expenses against.
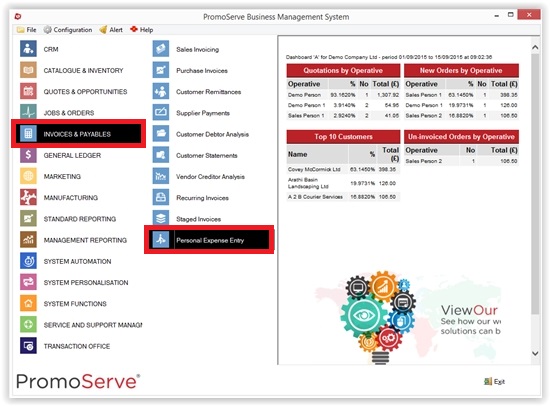
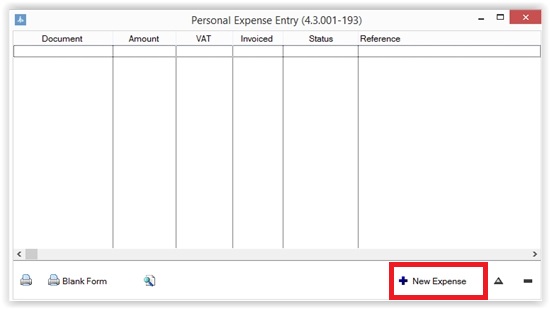
3. To enter an expense, go to the main menu to find 'Invoices & Payables,' where you can click on 'Personal Expense Entry.' A window will open to show the individual expenses for the logged in user. Click 'New Expense'
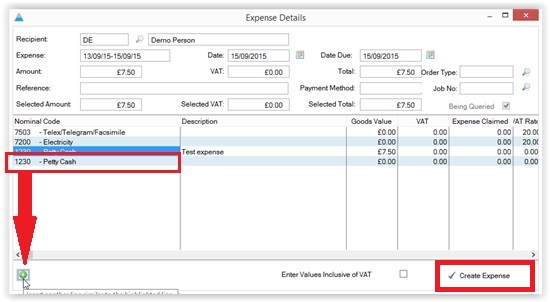
4. Enter the Expenses period in the Expenses box at the top, then double click in the 'Goods Value' box and enter the amount against each line. N.B There is a tick box in the bottom right hand corner that will let you enter the value including VAT if you wish.

You can also double click into the description field and enter a line of text is you want. If you want to duplicate a code e.g you may want to show different Hotel names on your expenses you need to highlight the Hotel code and press the green button the bottom left hand corner.
Once finished press the 'Create Expense' button.
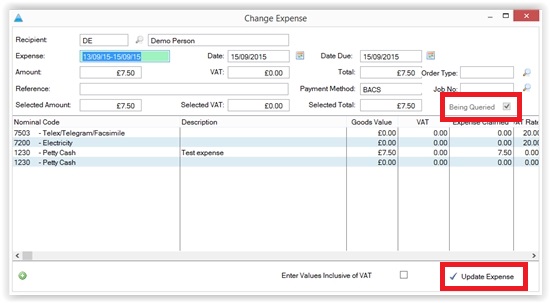
5. This is now entered onto the system and will now appear in Purchase Invoices with the status of 'Being Queried' This is so the accounts team can make sure the expense has been authorised before it gets passed for payment. To take it off query double click on it, take the tick out of 'Being Queried' on the right and then click 'Update Expenses', it will then show with the status of 'Expense Entered'.
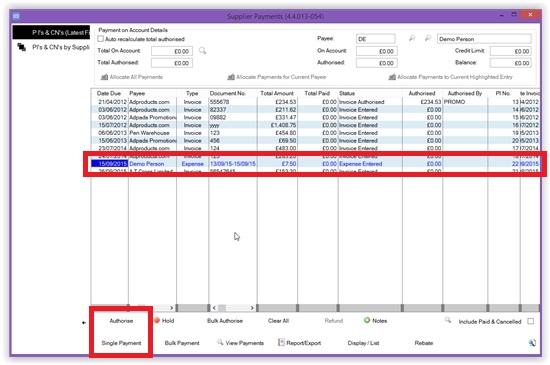
6. To then pay the expense go into Supplier Payments you will see the entry in here, highlight and click on 'Authorise' then click 'Single Payment'
7. Double click on the entry on this window so that the Payment amount and selected amount match then click next.

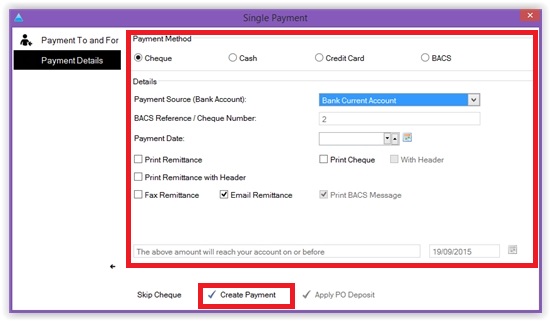
8. Make sure that the payment method, bank account and date are correct then press create at the bottom.
The personal expense is now paid in the system.
