Adding Products into the AIM Tech Suite
Using this guide, we will learn how to add new products into the AIM Tech Suite system.
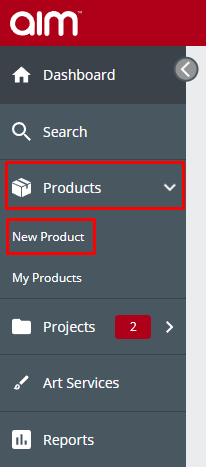
STEP 1:
From the dashboard, click on Products then New Product.
STEP 2:
In the next window, add in as much information as possible for the Details tab (Name, Code, Categories and Supplier are required info and must be filled in). The more information added in for the product, the sooner in the search it will appear.

STEP 3:
The Colours & Sizes tab allows you to add colour options to your product. Clicking “Add colours” will bring up a table of Main and Trim Colours. To add a main and trim colour option, select one colour from Main and one from Trim, then click on Add select combinations. Sizes are divided between Tops, Bottoms, Male, Female, Children’s and Miscellaneous.

STEP 4:
Within the Customisation tab, here you can add various print methods and locations that come with the product (e.g., screen print on one side, digital print on the front).


STEP 5:
The pricing tab is where you can add the quantity breaks and pricing for the product. Here you can also define the pricing as being plain stock or based on a no. print colour.

STEP 6:
The Images tab is where you can add the product images, click on Browse, find the location of the image on your computer, then click on Upload.

STEP 7:
Once you have filled in all the product information, to save the product and make it live on the system, make sure the “Publish Product to Website” then click on “Check/Save Product”.

STEP 8:
Once saved, you can find all products added under the My Products section in the AIM Tech Suite.

