Using Authorize.net as your Payment Service Provider
If you want to accept credit card payment on your Customer Focus website, you must have an account with either PayPal or Authorize.net. This help sheet walks you through the process for adding Authorize.net to your website.
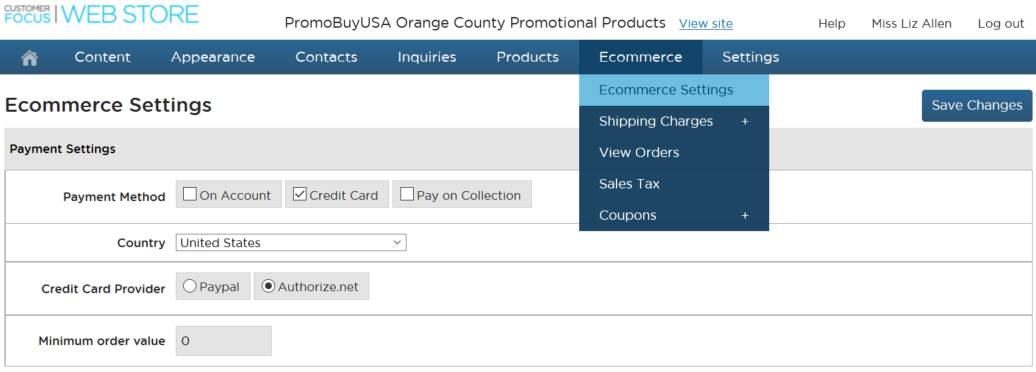
1. In your site manager, go to Ecommerce > Ecommerce Settings, and select Credit Card.
Next select Credit Card Provider - Authorize.net.
2. Scroll down to Authorize.net AIM Details.
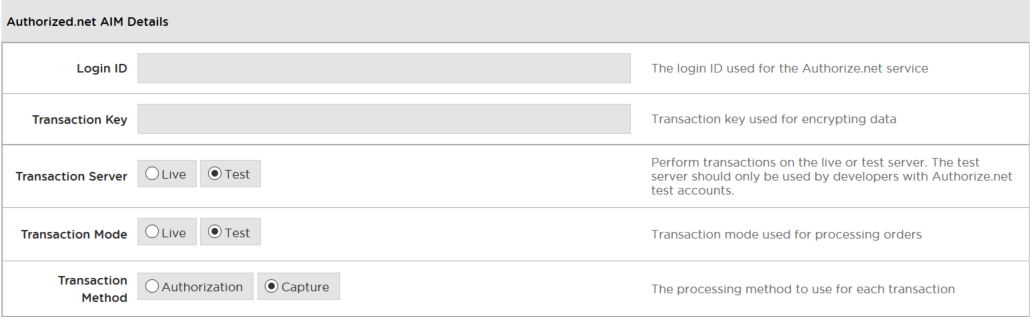
You'll need to know your Authorize.net API Login ID and the Transaction Key.
3. To find out what your Authorize.net API Login ID and Transaction Key are:
- Log into your Merchant Interface at https://account.authorize.net/
- Click 'Account' from the main toolbar
- Click 'Settings' in the main left side menu
- Click 'API Login ID and Transaction Key' in the Security Settings section
- Under Create New Transaction Key, enter your Secret Answer
- Click Submit.
You should see something like this:
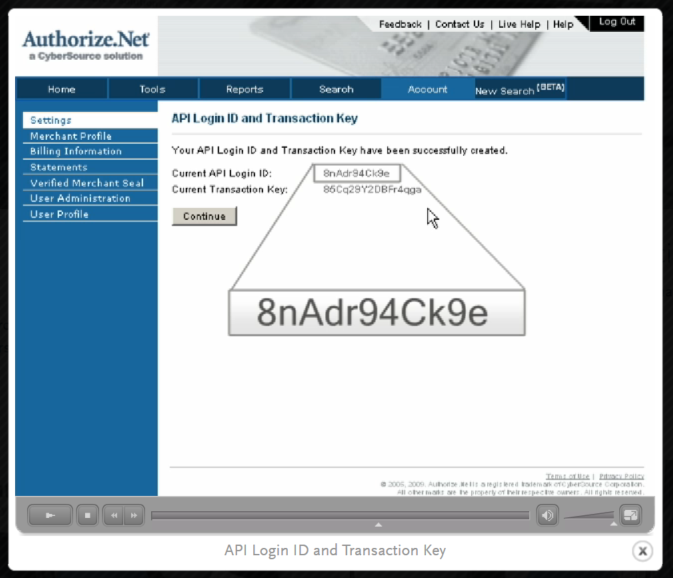
This should provide you with both an API Login ID and a Transaction Key, which you should now copy and paste into the appropriate fields within your Customer Focus website site manager.
Note that the API Login ID will be at least 8 characters in length, includes upper and lower letters, numbers and/or symbols.
The Transaction Key is a 16 character alpha-numeric value.
4. Set the Server and Mode to Live, and choose whether you want to Authorize or Capture payment.
The difference is that Authorize checks that the funds are available to pay, but doesn't immediately debit the customer's account. Capture takes payment.
