How to setup Auto Reports
The following helpsheet shows you how to setup Auto Reports within PromoServe. The below example demonstrates generating a report on Sales Orders, which will run daily at 7AM.
IMPORTANT NOTES:- The below example assumes that centralised reporting is in place and all auto reports will be setup by a single PromoServe user.
|
|
|
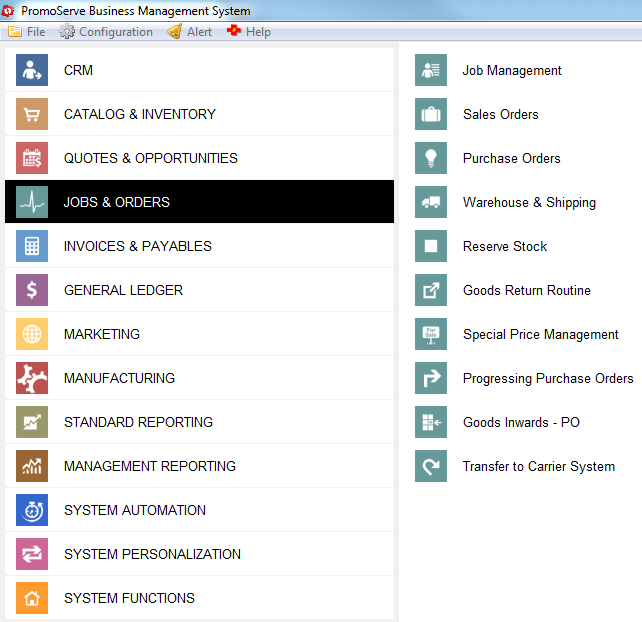
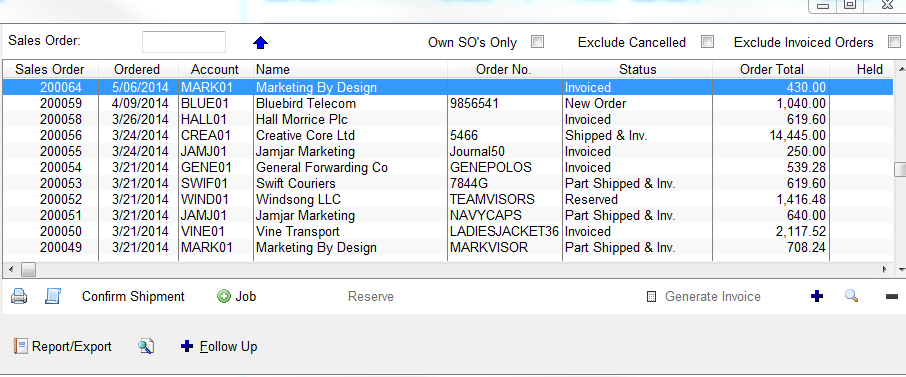
Click 'Report/Export' at the bottom of the Sales Orders screen.
|
|
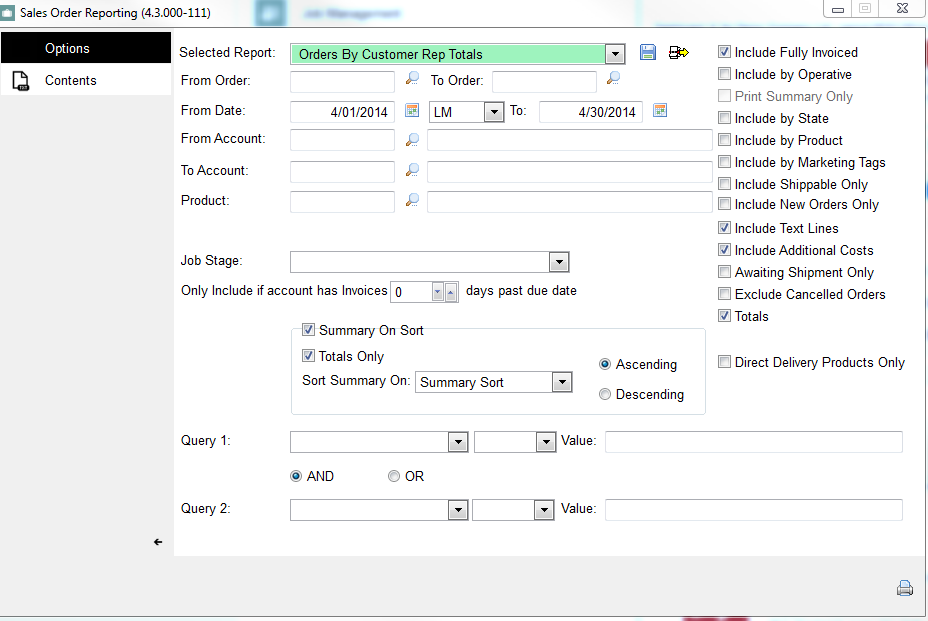
Create the the automated report by defining contents and conditions, then save.
|
|
|
|
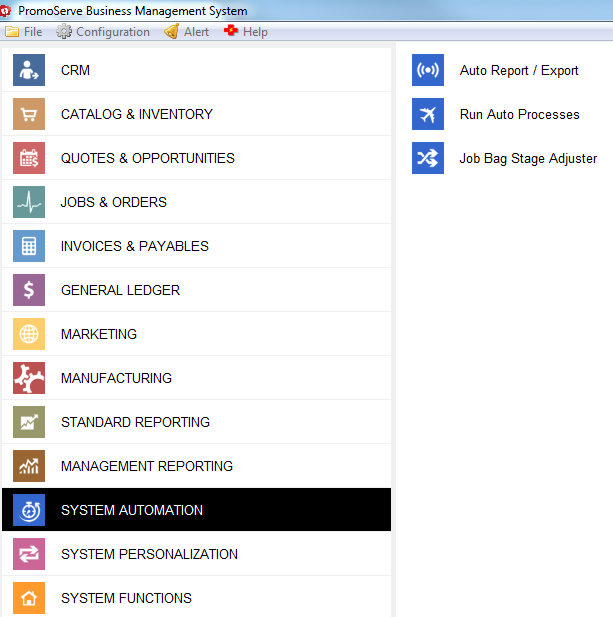
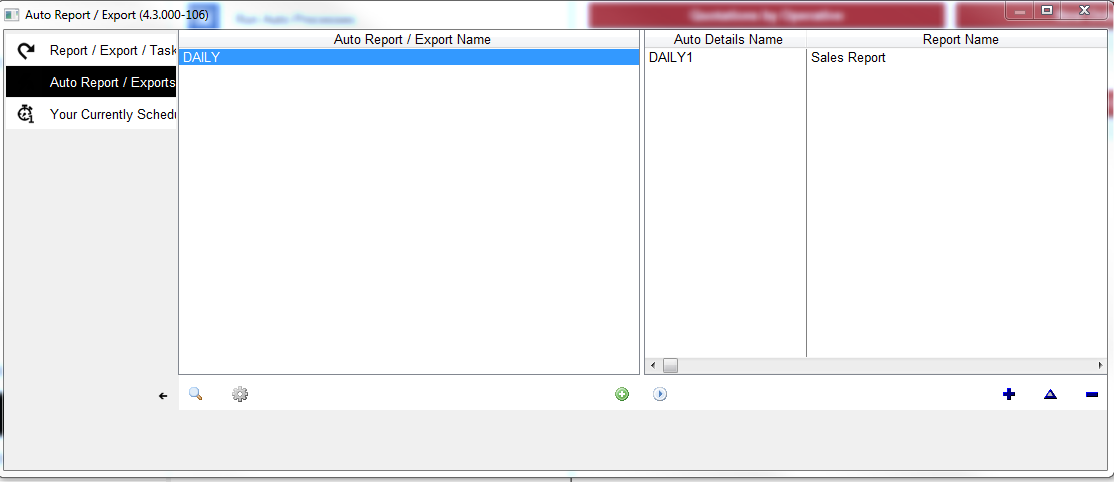
Click the 'Auto Report / Exports' tab on the left, highlight the DAILY entry on the left, then click the blue plus sign the right to define a new daily auto report.
|
|
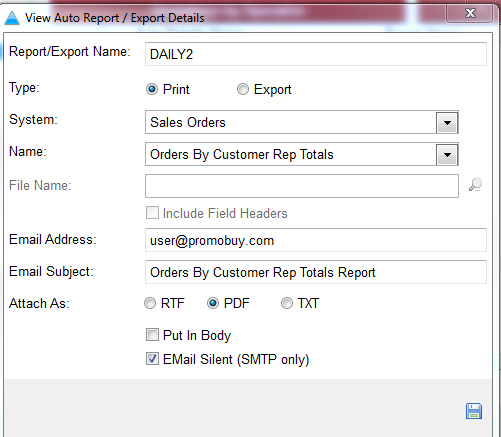
Select the sales order report which was previously created. Type = Defines whether an export file (csv) will be created or not. In this case, Print is chosen as the report will be attached as a PDF to the email. System = The area being reported from, in this case Sales Orders Name = The specific report to be automated, in this case New Orders Received This Month File Name = This is not required as we have chosen Print as opposed to Export Email Address = The destination email address(s) the report is to be sent to. Multiple email addresses can be specified here, separated by a ; (semi-colon) Attach As = The type of file the report will be attached to the email as. In this case PDF. Email Silent = When ticked, this means that the email can be sent without any manual input from a user. Ensure this is ticked. Once all options have been selected, click the blue disk to save changes.
|
|
Now that the report has been setup to be automated in PromoServe, the Windows scheduled task needs to be created. NOTE: The following screen shots reflect Windows Task Scheduler for Vista / Windows 7 & Server 2008. NOTE: Each scheduled task will run a 'group' of defined auto reports in PromoServe. There are three general groups that can be setup. DAILY, WEEKLY and MONTHLY. Any reports can be created within one of these report 'groups' to run on a daily, weekly or monthly basis. Additional groups can be created within the Report Management section of PromoServe, which can then be set to run via a scheduled task. Open Windows Task Scheduler & Select 'Create Task' |
|
General Tab Enter the Name & Description of the Task. Here we identify the scheduled task as running PromoServe's Daily Reports. It is advised to set the tasks to run as using the domain administrator account to ensure sufficient permissions are granted. Set the task to run whether the user is logged in or not. It is most common for scheduled tasks to be run out of normal office hours. This option should be set to ensure the task will run when required. |
|
Triggers Tab Set the task to begin 'On a schedule'. Ensure the 'Daily' radio button is selected and specify a time. Here we want the task to run at 7am so the report will reach the intended person for when they begin work. Configure the task to be stopped if it runs for more than 8 hours. This is a precautionary setting to ensure the task does not get 'stuck'. Define any additional options that are required then click 'OK' and proceed to the next tab. |
|
Actions Tab Ensure Action is set to 'Start a program'. For 'Program/script', browse to the 'Bin' folder within the PromoServe server installation folder and select the 'autoexport.exe' file. For 'Add arguments', enter DB= followed by the PromoServe folder path. For 'Start in', enter the PromoServe Bin folder path. |
|
Conditions Tab Ensure NONE of the boxes are ticked on this screen to ensure the task is not prevented from starting. |
|
Settings Tab Ensure the task is set to allow being run on demand. Ensure the task is set to stop if it takes longer than 8 hours to run. |
|
The scheduled task is now complete and can be viewed on the main Task Scheduler screen. |