Campaign Planner
The following help sheet will guide you through the process of how to use the Campaign Planner.
STEP 1
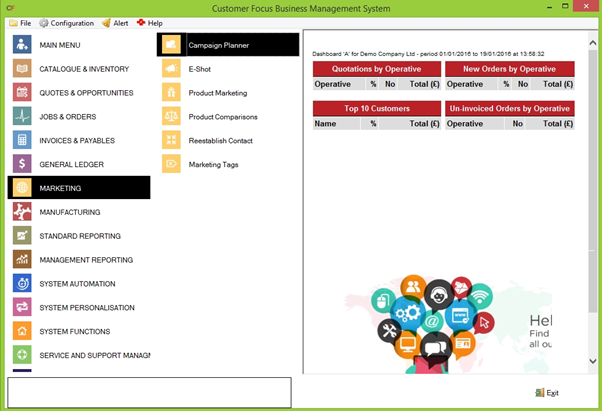
First, navigate to the ‘Marketing’ section of the main menu and click on ‘Campaign Planner’
STEP 2
You will be presented with the Campaign Planner screen, which shows an overview of all campaigns currently on the system.
To create a new campaign, click on the clue plus icon in the bottom right of the campaign planner.

STEP 3
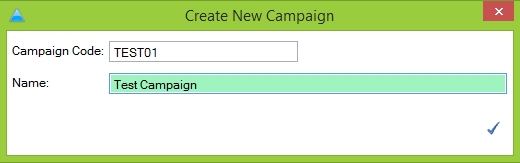
The ‘Create New Campaign’ box will appear. Enter a name for the new campaign in this box, as well as a code, then click the blue tick in the bottom-right of the box.
STEP 4
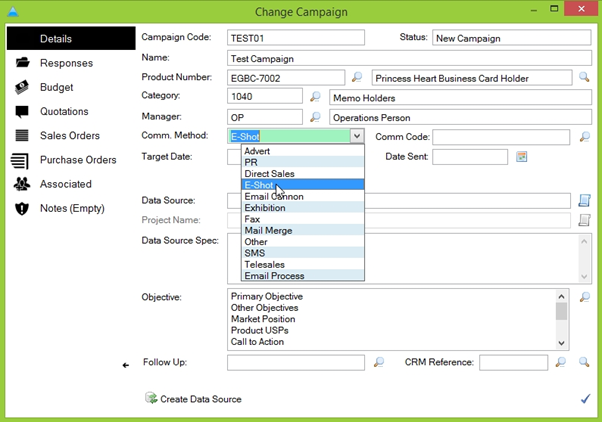
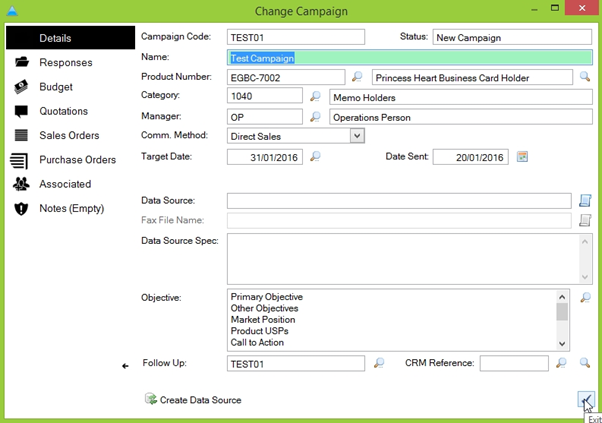
Next the ‘Change Campaign’ screen appears. This is where you can enter all the details for the campaign.
First, you need to enter the product the campaign relates to by clicking the magnifying glass next to ‘Product Number’. Double-click the desired product from the list that appears to add it to the campaign.

STEP 5
Next you need to define the category for the campaign. Follow the same process as for adding a product, clicking the magnifying glass next to ‘Category’.
Repeat this process to select the manager for the campaign.

STEP 6
Next, select a communication method from the drop-down list. In the instance of E-Shot this will cause the ‘Comm Code’ box to appear. Click the magnifying glass and select the code that applies to the communication method you desire.
STEP 7
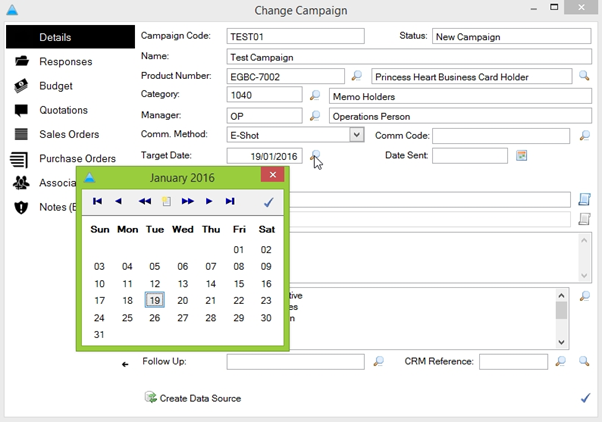
Next, set a target date for your campaign using the ‘Target Date’ field. If needed, use the magnifying glass to produce a pop-up calendar to select the date from.
STEP 8
Following this, select the data source for your campaign by clicking the blue document icon next to the Data source text field. Browse to the required file and double-click it to add it to the field.
STEP 9
Use the Objectives box towards the bottom of the screen to add any additional information about the campaign you feel may be beneficial
The Follow Up box can be used to add this as an additional part to an existing campaign.
The CRM reference box can be used to add this campaign to an existing job, or to delegate the campaign to another member of staff.
STEP 10
A number of other tab options are available.
Responses - You can use this tab to set target responses for your campaign, including number of purchases.
Budget – You can use this tab to set budgets for the campaign you’re setting up. Do this by clicking the blue plus icon in the bottom-right of the screen.
Associated – You can use this tab to associate other campaigns to this one, for example if the products in question are similar between the two campaigns.
Notes – You can use this tab to enter any further information relating to the campaign.
STEP 11
Once you’re happy with the campaign overall, click the blue tick in the bottom-right of the ‘Change Campaign’ screen to complete the campaign creation.
STEP 12
To send the campaign, you need to first highlight it in the campaign list. Once highlighted click the ‘Campaign’ button at the bottom of the screen.

STEP 13
This will produce the E-Shot Control screen. On this screen you can designate the customers you wish to send the e-shout out to. Once you’ve selected the export file listing the customers and their emails, hit the generate button at the bottom of the screen, followed by Send once the ‘Building Email List’ progress bar shows ‘complete’.
With this, your campaign has been successfully started.
