How to Change Homepage Categories – Liquid
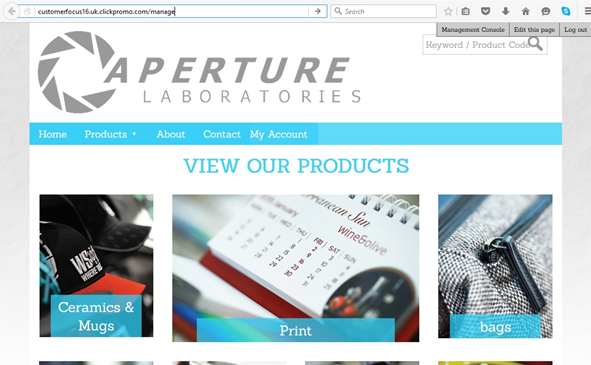
When using the liquid theme, you will see a graphical category display on your home page. It is possible to change the categories these apply to. This help sheet will run you through how to make these changes with as little hassle as possible.
First you need to understand a little bit about how HTML works on Customer Focus Webstores.
<span class="teaser teaserApparel"><a href="/products/22-ceramics-and-mugs"><img alt="Ceramics & Mugs" src="/froot/3565/uploads/image/home-apparel.jpg" /><span class="cateLinks">Ceramics & Mugs</span></a></span>
This is a typical html string for an image link on the site. On the Graphical Buttons module, two or three of these will exist on a single line. You need to alter two sections of the string to change the link, specifically:
<a href="Actual Link" – Note that the first part of the url doesn’t appear. This is because the domain (http://www.customerfocushelp.com for example) is assumed, as an alternative isn’t offered in the link.
The link you need can be found on the products page. Locate the category you want a front page link for and head to the page for that category. You want to copy the URL starting with the ‘/products’ part, for example ‘/products/367065-print’.
<img alt="Image Description" – This is the text that will display when you hover over the image, so change this to the name of the Category you wish to link to.
Image Label – This is the text that displays over the image, so again change this to the title of the desired category
IMPORTANT – Make absolutely sure you only change the relevant parts of the text string. Deleting the wrong bit of text or adding too much can break the formatting of the site.
Now let’s look at actually making this change.
STEP 1
From the front page of your site, add ‘/manage’ to the url to head to your management portal
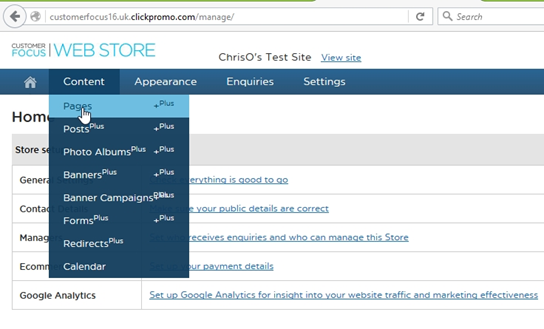
STEP 2
Once in the management section, hove rover the ‘Content’ option and click on ’Pages’
STEP 3
Select ‘Home’ from the Pages list and click the ‘Contents’ button next to the entry to be taken to the page editor for the home page

STEP 4
Once on the page editor, scroll down until you find the module labelled ‘Graphical Buttons (Texthtml)’. Click the pencil icon in the top-right corner of the module to open the module editor

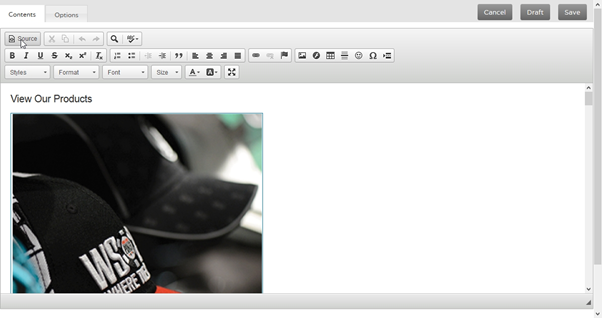
STEP 5
Once in the module editor, we need to get it to display in source mode. Do this by hitting the ‘source’ button on the left-hand side
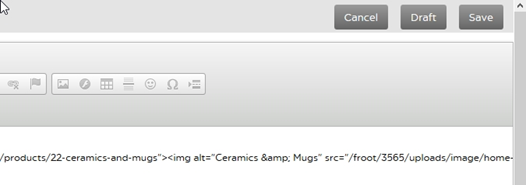
STEP 6
Once in source mode you can start editing the links. As shown, the text is slightly smaller in this window. You may have to scroll to find the string that you want, as many are shown on the same line. Ignore the <div class=…> portion at the beginning. Look for the chunks of text we mapped out at the beginning of this help sheet (bearing in mind the text will be slightly different depending on the category button you are changing, look for the related category title, as well as the phrase ‘a href=”/’, this will be a clue you’re in the right area).

STEP 7
Once you’ve made the desired changes, hit the ‘save’ button in the top-right of the module editor to return to the page editor. Next hit the ‘preview’ button in the top right to display your new home page without pushing this change to customers yet.

STEP 8
Review your changes on the preview screen. If you’re happy, head back to the page editor and click ‘Publish’
