How to Change your Website Logo
Once you add your logo in the website creation tool, you’ll see it appear in the header of your website. It is possible to change this following the website’s creation, however this isn’t readily obvious from the management section as it has to be done manually. The following help guide will run you through the process start to finish.
STEP 1
Log into your website at (*web address*/manage)

STEP 2
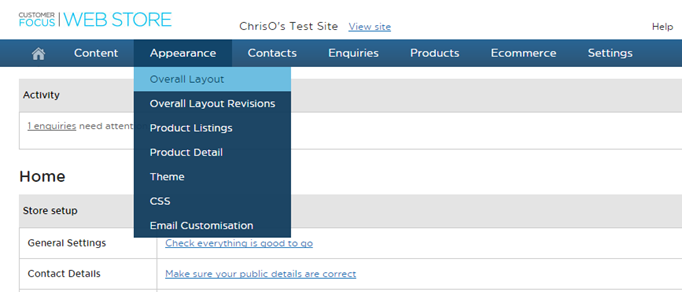
Once logged in, hover over the ‘Appearance’ option, then click ‘Overall Layout’
STEP 3
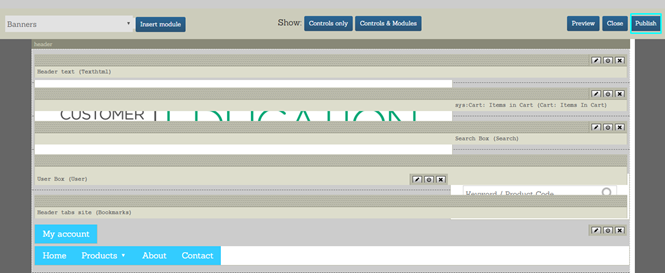
The page editor will load. From here, find the module towards the top of the page that is labelled ‘Header text (text/html)’. Click the pencil icon in the top-right of this module

STEP 4
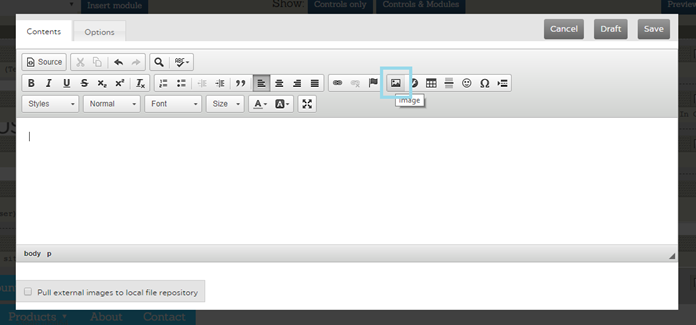
Once the module editor opens, delete out the image that is currently there (editor works like a typical word editor, simply highlight and delete) then click on the image button (second row of buttons down, right-hand side, resembles a landscape drawing)
STEP 5
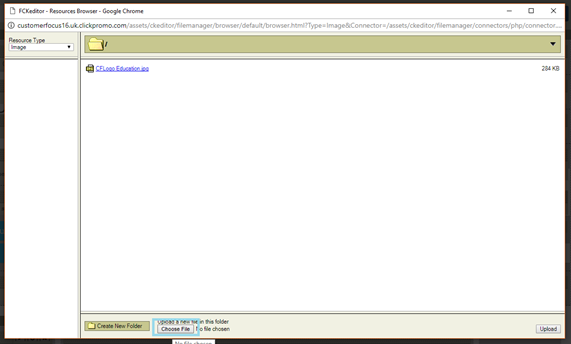
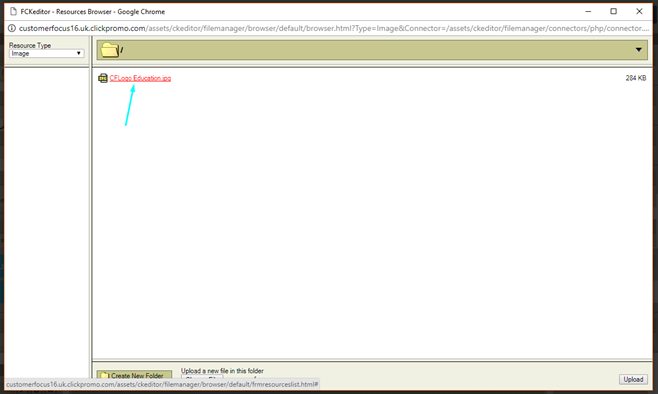
When ‘Image Properties’ window opens, click ‘Browse server’. This will open up another window, and shows all of the resources you have added to the server. We’ll need to add the new logo to this list. To do this, cick ‘browse’ at the bottom of the window.

STEP 6
Find the logo in your file browser. Double-click it here to add it to the server list. From here, click the file once in the server browser to add it to the module
STEP 7
You’ll know you have completed this successfully as the image will appear at the right hand side of the Image Properties window. You can now change the size of the logo as necessary (please note, these logos will be automatically re-sized to a height of 250px on Liquid, and 70px on Business in a Box)
NOTE: If you wish to resize the image, ensure the little padlock icon next to the height and width is closed, as this will maintain the aspect ratio as you change values

STEP 8
Once you’re happy, click ‘okay’ on Image Properties and then ‘Save’ on the module editor. Once bacjk in the page editor, click the ‘preview’ button to sample the new look without making the changes live. Once you’re happy, click ‘Publish’ on the page editor to make these changes visible to your customers