Drive Mapping – Important Notes for Citrix Users
It is important you understand how the drive mapping system works with PromoServe. You will find that all of your PromoServe data is present on a drive that until now did not exist on your PC. This is a drive set up specifically for your PromoServe installation. It is stored on our server, although your PC may display this as the C: drive.
It’s helpful to understand the differences between this and your actual C: drive, particularly when it comes to adding associated documents and any portion of the system that requires navigation through the file directory.
On Windows 7 and above, people tend to utilise the Libraries as a one-stop-shop for all of their files of a particular type. This can’t be done when looking for files through PromoServe. As mentioned before, the mapped drive for your installation mirrors the C: drive, and as this is the active partition when using PromoServe, Libraries will assume that this is the C: that is meant to be used with Libraries, meaning that no results will show. This is not an error or data loss, so no need to panic!
If you wish to locate files within your user area to add as associated documents, you simply need to take a different route through the system. When expanding the ‘This PC’ dropdown, you will note two drives labelled ‘C:’. You want to find the one that is also named ‘Local Drive’, as this is your ACTUAL C: drive
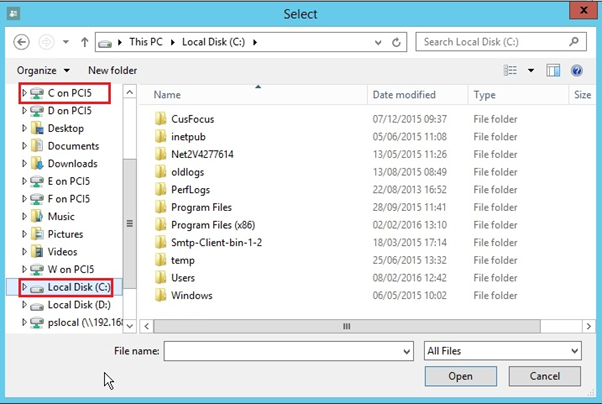
From there, navigate to ‘Users’ and find your user area. Select this, and you’ll be greeted with the file structure you’re familiar with, as well as all the documents you were expecting to find
In Summary:
Going to Libraries does not work with PromoServe
Instead, navigate to C: (Local Disk)Users<username>My Documents
