Complaints Procedure in PromoServe
This help sheet is PromoServe's Recommended Process for Logging a customer complaint.
|
STEP 1
Under 'System Personalization,' select 'Categories.' 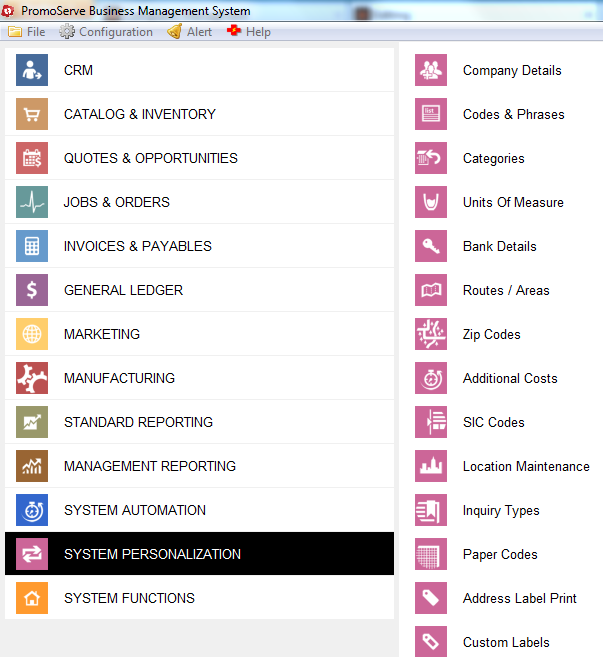 |
|
STEP 2
Click the plus to add a category.  |
|
STEP 4
Add the following details in -  |
|
STEP 5
Add actions to the CRM category by highlighting the category and clicking to add an action.  |
|
STEP 6
Click the plus to add an action.  |
|
STEP 8
Add a list of reasons for complaints, by clicking 'System Customize'. |
|
STEP 10
Click the plus to add a phrase.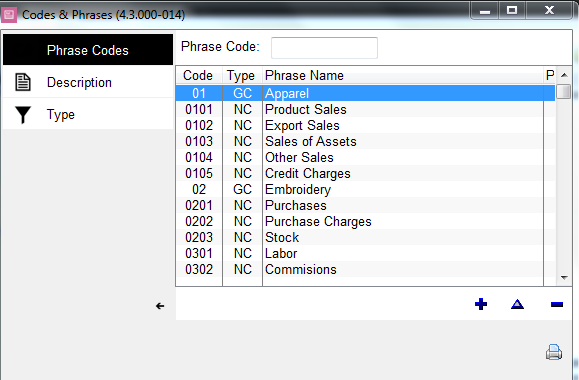 |
|
STEP 11
Fill in as shown here. Examples of reasons you can add are shown below.CR01 'Complaint': Late Delivery CR02 'Complaint': Product CR03 'Complaint': Service CR04 'Complaint': Accounts  |
|
STEP 12
Under 'System Functions,' select 'Routine Set Up.' |
|
STEP 14
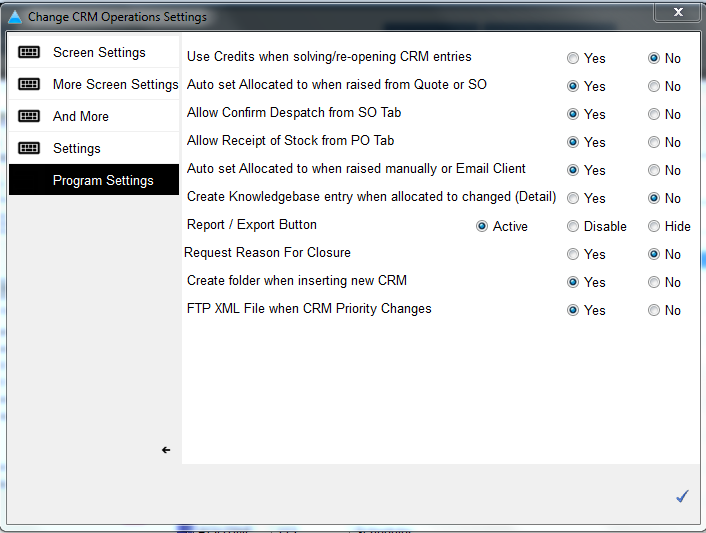
Double click the CRM Operations center. 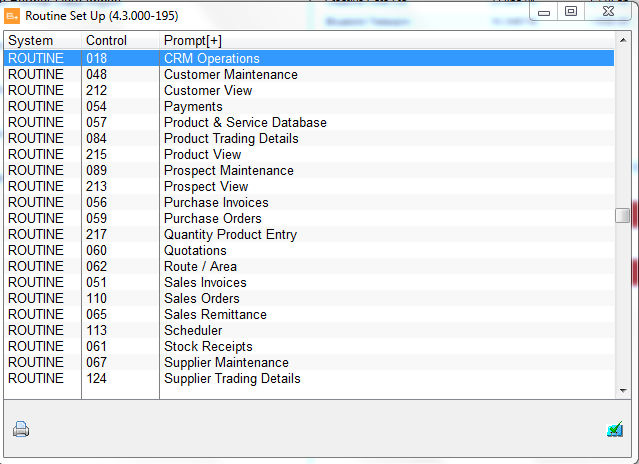 |
|
Select 'Program Settings' and ensure that 'Request Reason for Closure' is set to Yes.
|
|
STEP 16
Setup CRM priority to flag, select 'Codes & Phrases' under 'System Personalization.' |
|
|
|
Add the priority as shown below
|
|
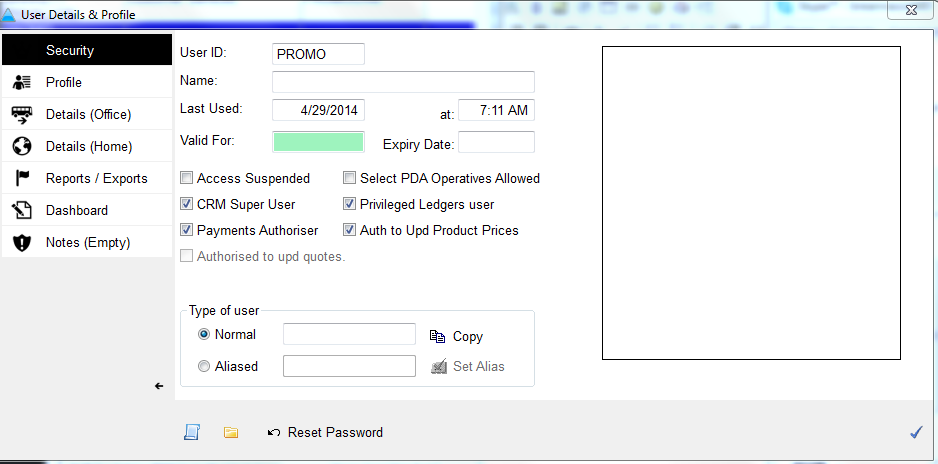
Determine permissions for select users to followup on a complaint. Go to 'User Profiles &
|
|
Go to 'System Maintenance'.
|
|
Select the designated followup user and click the triangle. Ensure they are checked as a CRM Super User.
|


|
STEP 24
Set a job as a complaint in the CRM Operations Center by selecting 'Job Management' under 'Jobs & Orders.' |
|
STEP 25
Find the job you want to add a complaint against and click the triangle. 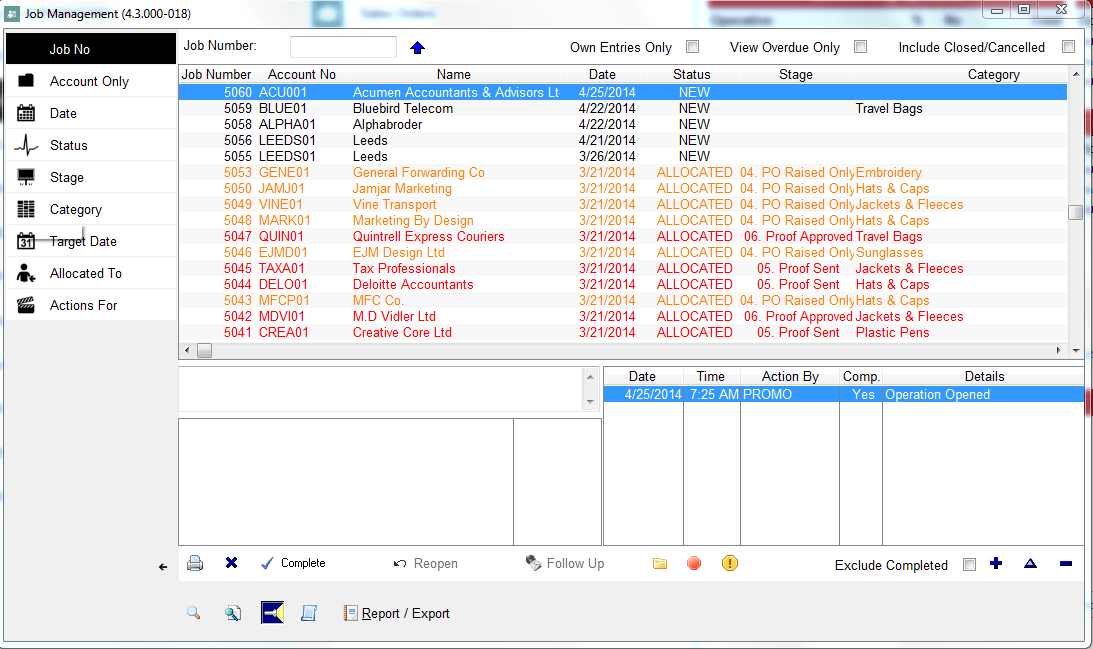 |
|
STEP 26
Change the category to reflect the complaints we added earlier. A Popup will ask if you want to add the auto actions we added earlier; click yes.
|
|
STEP 27
Once the actions have been completed, the job can be allocated to a CRM super user to run a followup. 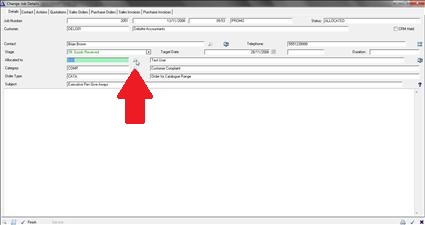 |
|
STEP 28
Once the job is solved, a message will pop up requiring a followup.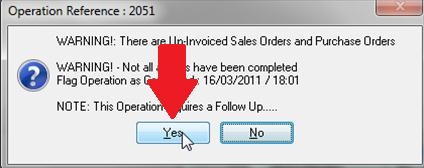 |
|
STEP 29
Select the reason for the complaint. 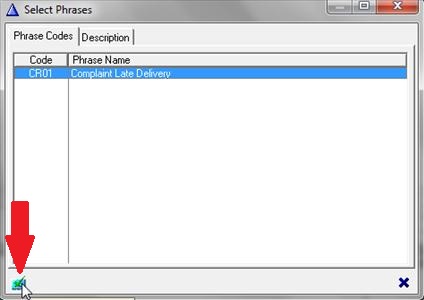 |
|
STEP 30
The CRM Super User must click the followup button at the bottom of the screen 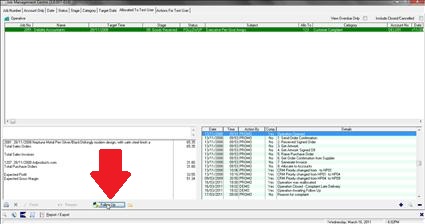 |
|
STEP 31
An Overview of the job will be given to check the actions have been complete. Once done click the arrow to the bottom right of the screen. 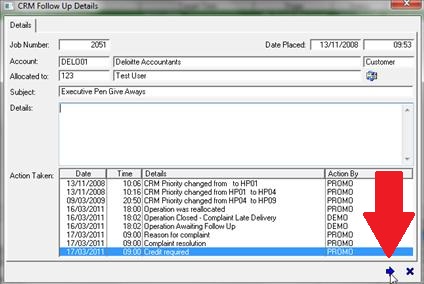 |

|
STEP 32
Decide if the complaint was justified, document necessary notes, then click the Ok at the bottom left. 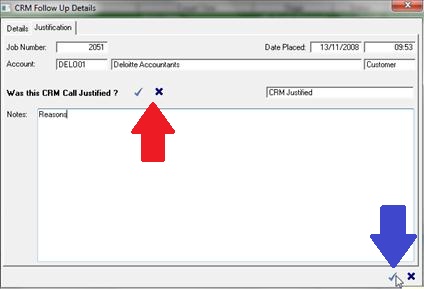 |
|
STEP 33
If a Credit is required, check that and a further follow up can be added to the sales person's diary.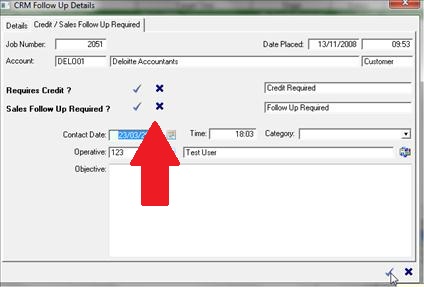 |
