Setting Up a Customer-Specific Logo
The following help sheet will explain how to setup customer specific logos within Enterprise.
NOTE: When a customer-specific logo is set, this logo will be displayed on all customer-facing documents sent to that specific customer.
STEP 1
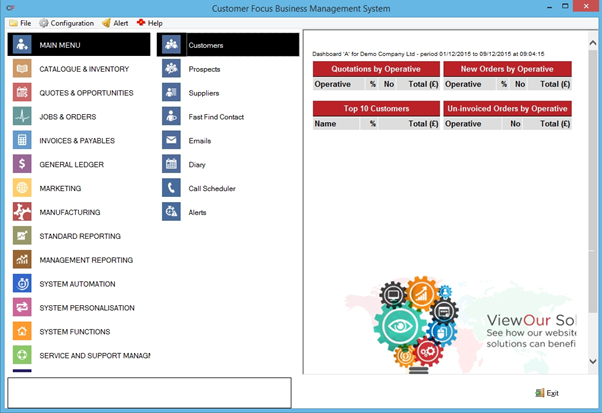
To begin, navigate to ‘System Functions’ from the main menu, and then ‘Brand Identity’

STEP 2
Once in the Brand Identity window, the logos tab will open by default. This is where you set the priority order for your logos. In general, the system can pull through the logos you have assigned to an operative, the logged in user, a specific company, and your own company logos defined in System Set Up. Which logo gets first priority is dependent on which option you choose within Brand Identity.
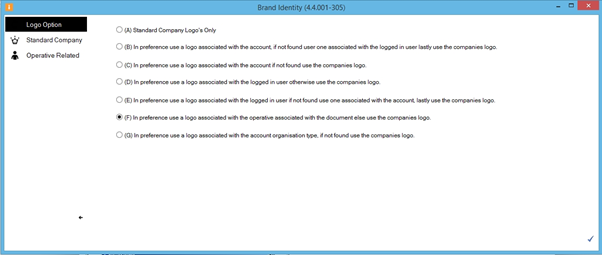
For the purpose of this guide, assuming you wish to use a customer’s logo whenever available, option (C) would be preferable.
STEP 3
Now the logo priorities have been set, navigate back to the main menu of Enterprise and open the ‘Customers’ window in ‘Main Menu’.
STEP 4
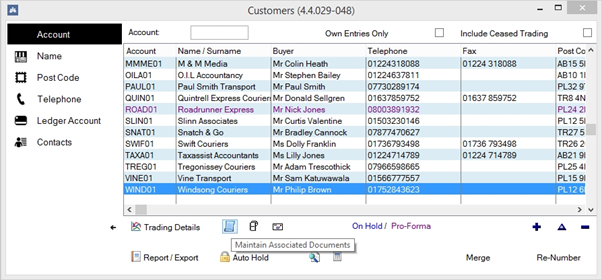
Highlight the customer you wish to assign a logo to and click the ‘maintain associated documents’ button underneath the customer list. This will resemble a blue open scroll, as shown below
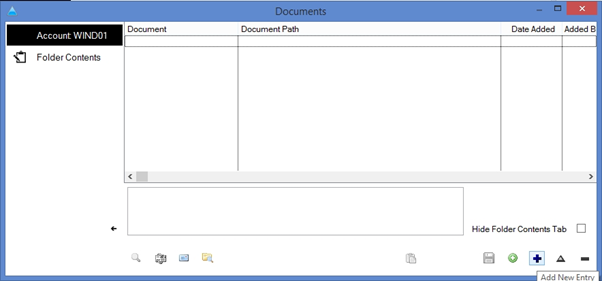
STEP 5
You will now find yourself in the ‘documents’ window. Click the blue ‘+’ sign at the bottom right of the screen to add a new document.
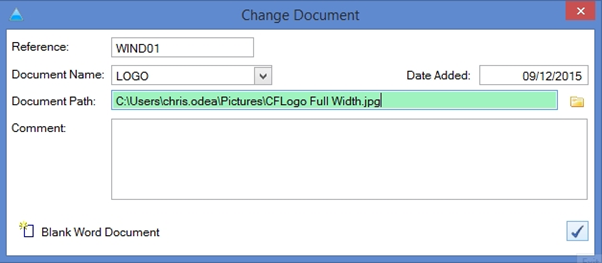
STEP 6
In the Add Document screen, first click the folder icon next to the document path dialogue box and select the logo you wish to use when sending documents to this customer.
When this has been selected, delete the text entered in the ‘document name’ box and enter ‘LOGO’ in all caps.
Click the blue tick in the bottom-right to save your changes.
STEP 7
Now the customer logo has been defined, the system will use this by default (provided you defined as such in Brand Identity) whenever you issue a document to that customer. For example:
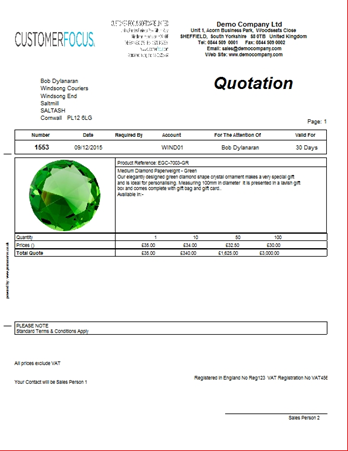
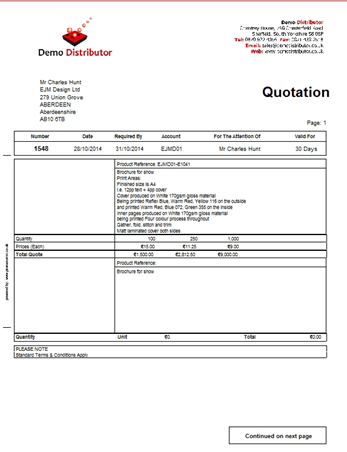
Quotation for customer with undefined logo:
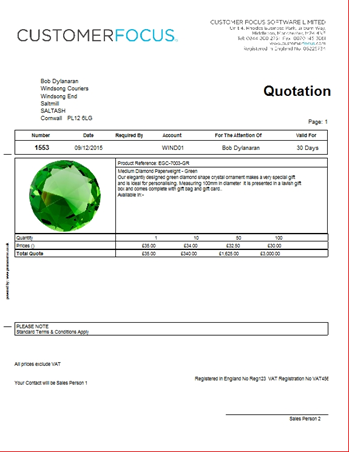
Quotation for customer with defined logo:
NOTE: The pulled logo will still follow the same format you defined in System Set Up (On-left / Full-width). With this in mind, be sure to set the radio button in System Set Up to match the format of the assigned logo before generating the document, otherwise the logo will appear distorted, as shown: