Exporting Data from Enterprise
The following help sheet will show you how to run a data export in Enterprise.
NOTE: Although the process here shows how to export customer data, the same method can be used regardless of the type of data specified.
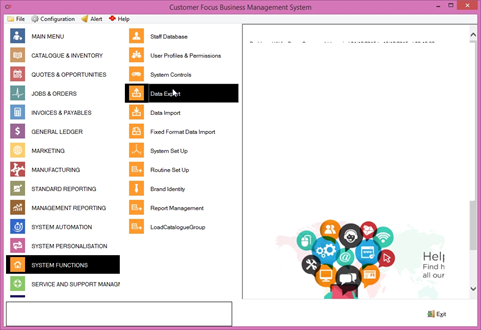
STEP 1
To begin, select ‘System Functions’ from the main menu, followed by ‘Data Export’.
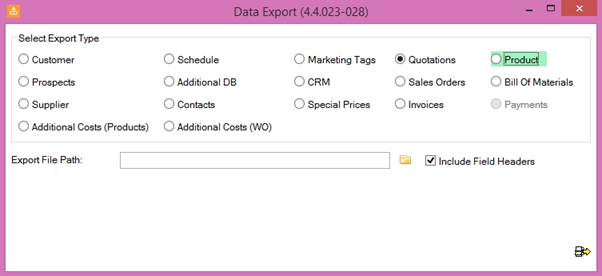
STEP 2
The Data Export screen will appear. Here you can select the type of data you wish to export, as well as specify the file path for the file once the data is exported.
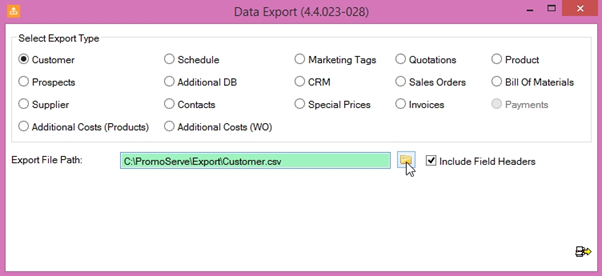
STEP 3
Select the data type you wish to export. In this instance, we chose ‘Customers’. Once selected, click the folder icon next to the ‘Export File Path’ box. Navigate to the desired location and click open. You will see the path to this directory populated in the File Path bar.
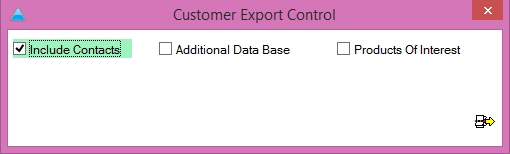
STEP 4
When you are happy with the destination and data type, click the icon in the bottom-right of the screen to begin the export.
Dependant on the type of data you selected, a popup box with checkbox options may appear. If so, select which portions of data you would like to include in the export, then click the button in the bottom-right to continue.
STEP 5
When the export is complete, a pop up notification will appear stating how many records were exported and where they were exported to. This data is now available as a comma delimited list file at the specified location
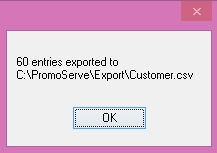
Click OK to close this box. The export is now complete.
