The Decorator Matrix
How to add embroidery and screen print costs to plain stock items.
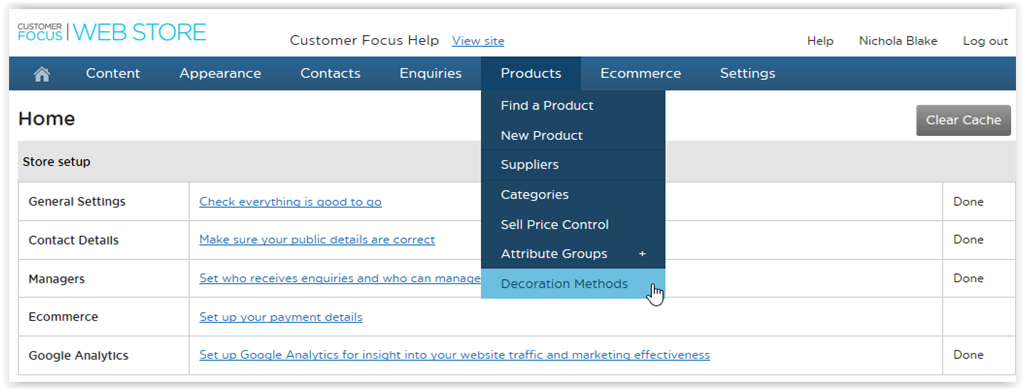
Step 1: Select Decoration Methods from the Products dropdown located on the navigation menu at the top of the page.
Step 2: First, check the box for 'This store uses Decorator Matrix'.
Then you'll see that you have options for which quantity breaks are shown. When you create your decorator matrix, you'll be adding in quantity breaks that won't be the same as all of the suppliers' quantity breaks.
You need to decide whether you want to use *your* quantity breaks, the suppliers' quantity breaks, or a combination of the two.
Our advice would be to use your own (the 'Decorator matrix qty breaks only' option), but ensure that the minimum order quantity is high enough to avoid taking orders below the suppliers' minimum order quantity.
Save these options and then click on 'New Decoration Method'.

Step 3: Describe the Print Method you're going to add - i.e. Screen Print or Embroidery - 7000 Stitches.
Then choose the corresponding Print Description from the drop down menu.
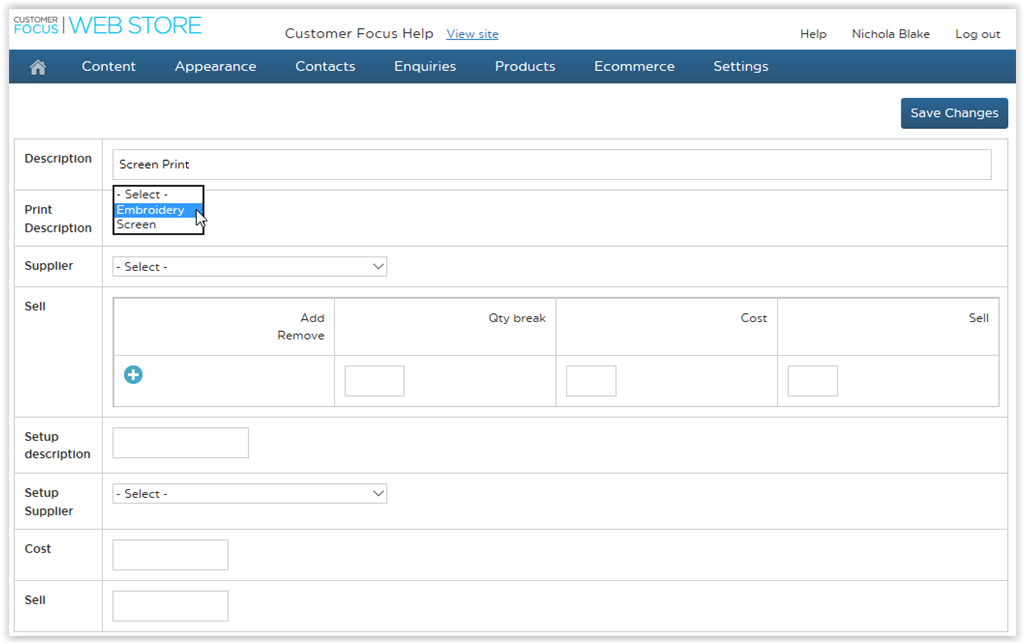
Step 4: The view will change once you've made your Print Description selection. Next choose your Supplier.
This is the screen printer or embroidery company. If you haven't yet added their details to the system, head to Contacts > Suppliers to add in their details, and then resume.

Step 5: In the first column, add in your minimum order quantity, then complete the cost and sell price per color.
Click on the + icon to add in additional quantity breaks.

Step 6: Finally, give your setup costs a description, add in the supplier (usually the same), and the cost and sell prices.

Step 7: Save your changes, then look up a plain stock apparel item code to see how it looks (88462 for example, an alphabroder product).
You'll see that the 'plain stock' description has been replaced with the printed version, and the price now includes the decorating costs. Moreover the supplier's quantity breaks have been over-ridden by the Decorator Matrix, as that was our selection. Setup also shows once the client has chosen the number of print colors they want on their garment.

Step 9: Adding Embroidery
To add Embroidery, follow the same process but choose 'Embroidery' as the Print Description. As embroidery isn't typically calcuated by number of colors, you'll see a slightly different matrix to the screen print table.
The same principle of adding in your quantity breaks, cost and sell price applies but you *must* use the same quantity breaks as for your screen print matrix.

Step 10: When your clients are checking out, they'll be able to choose their print method.

