STEP 1
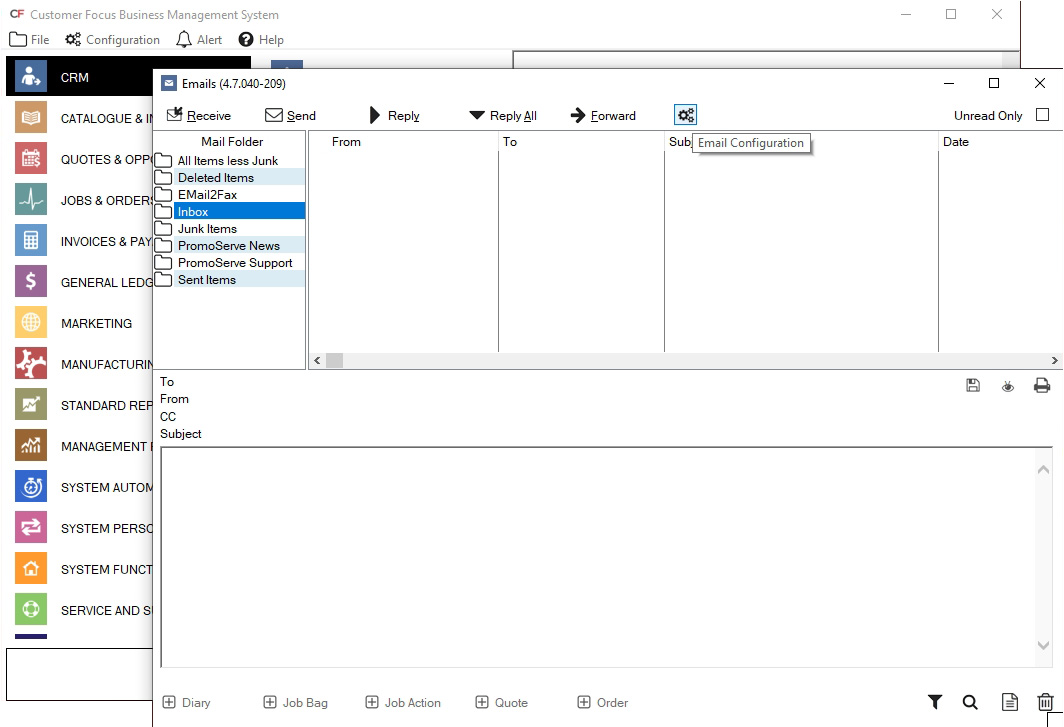
Under 'CRM,' select 'Emails.'

STEP 2
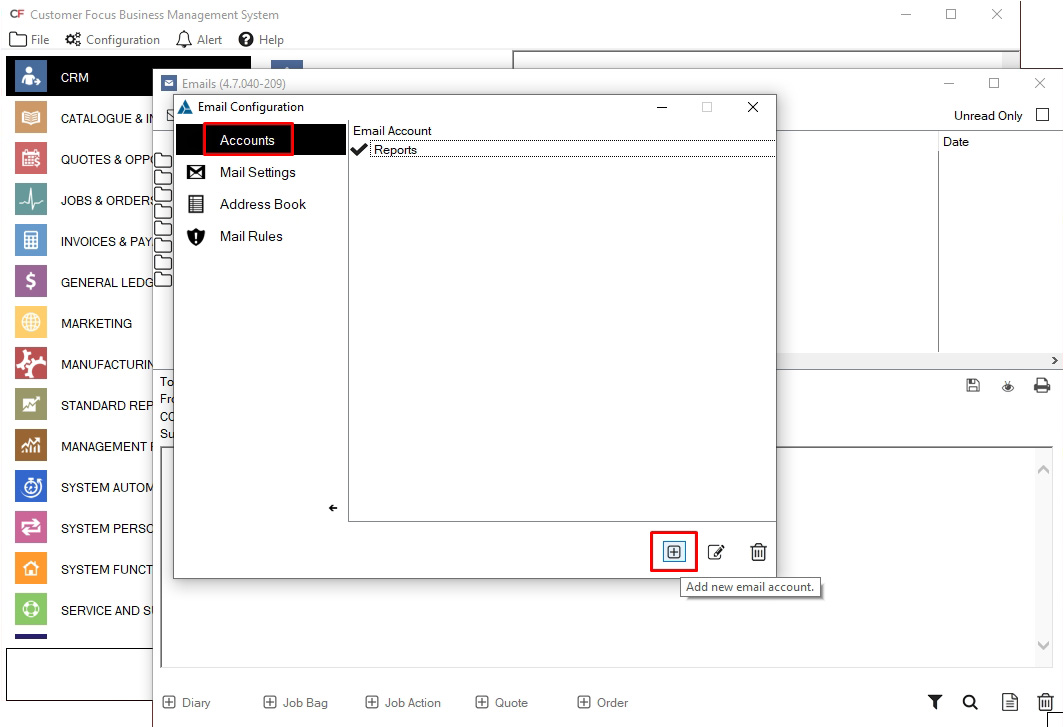
Select 'Accounts' under 'Configuration' and click the '+' to add new account information.
STEP 3
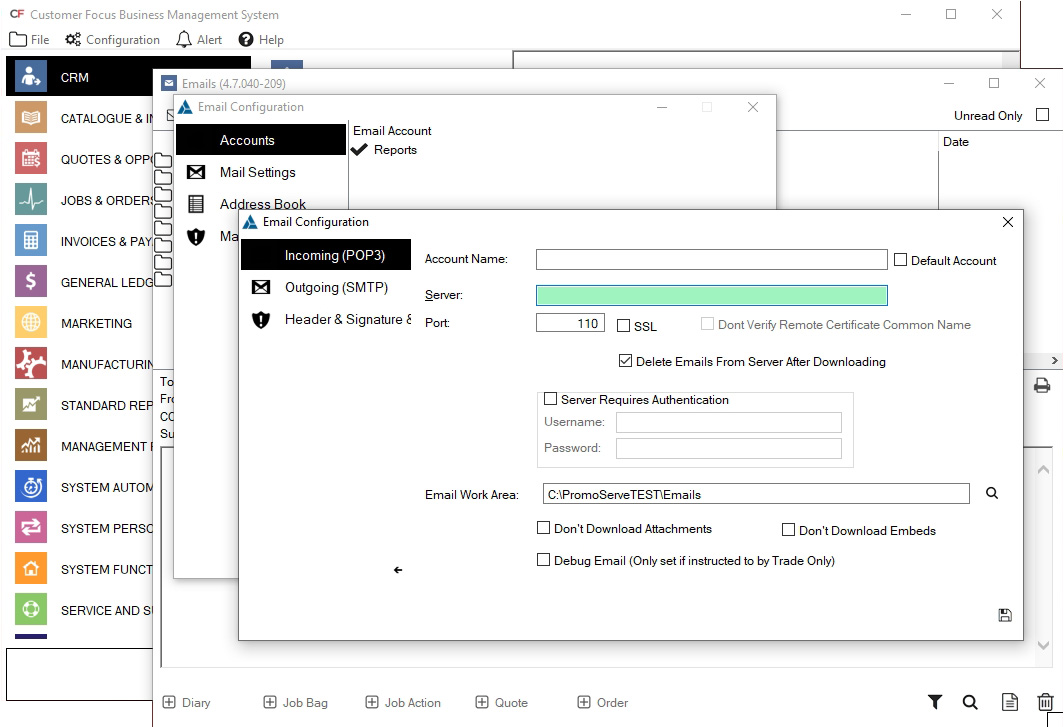
The following screen will show you the Outgoing (SMTP) details for the email configuration.
Account Name
This will be the same as the account name defined when populating the 'Outgoing (SMTP)' tab.
Server
Enter the server name of your incoming mail server here. E.g. 'mail.provider.com'.
Port
This is usually port 25 but check with your email provider to be certain.
Server Requires Authentication
Have this ticked and make sure the Username and Password is that of the client's email and password they use.
Internal Email/Registered Email Program
Left click the 'Internal Email' program. This will set PromoServe to use its inbuilt email program.

The next window shown is for the Incoming (POP3) details.
Delete Emails From Server After Downloading
Check this box if you would like your emails to be deleted from your mail server after they have been downloaded into the email program.
Server Requires Authentication
Check this box if your incoming mail server requires authentication. Once checked, you will then be able to enter your individual email username and password details. If you are unsure then check with your email provider.
Email Work Area
Click the magnifying glass symbol to pick a folder to store your emails.
Don't Download Attachments
Checking this box will stop the email program from downloading any email