How to Add Functions to Enterprise
The following will walk you through how to add different functionalities to your Enterprise system.
STEP 1
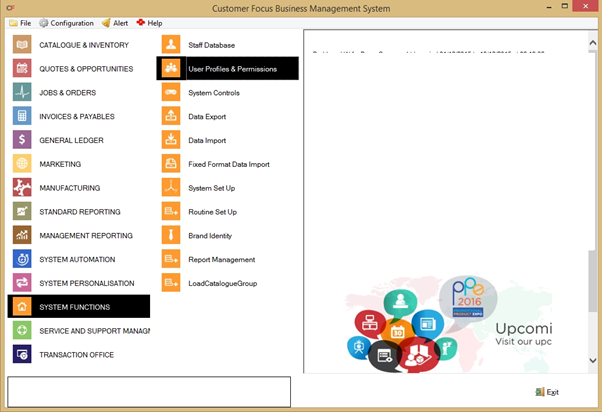
To begin, log into Enterprise as normal. At the main menu, navigate to ‘system Functions’ followed by ‘User Profiles & Permissions’.
STEP 2
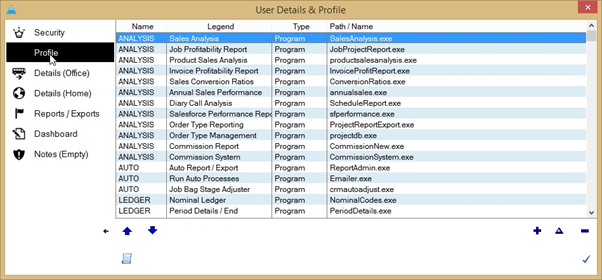
You will see a list of users on the next screen. Users are coloured black, whereas aliases are coloured blue. You need to highlight the alias that you currently use and click the blue triangle to modify. (if you are unsure, open the profile for your user account and locate the ‘Alias’ radio button. The alias used will be named next to this radio button.

STEP 3
In the user profile screen, click the ‘Profile’ tab on the left-hand side. This will display a list of all the functions currently available in your system. To add to this list, click the blue plus sign in the bottom-right.
STEP 4
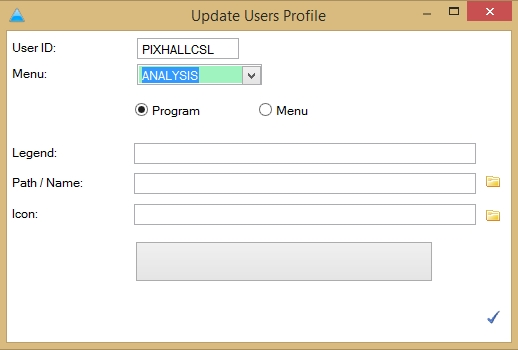
The ‘Update User Profile’ box will appear. First, choose the menu you wish the new function to appear under by using the drop-down list next to ‘Menu:’
STEP 5
Next, choose a name for the new function and enter this in the ‘Legend’ box. Click the folder next to ‘Path/Name’ to open your Enterprise’s bin folder, where all the possible function executables are stored. Locate the file for the function you wish to use and double-click.
NOTE: for this demonstration, we chose to add a ‘Brand Management’ button to System Functions. How the button will appear in the menu is displayed at the bottom, in the grey box.
If you wish to add an icon, you can do so by clicking the folder next to the ‘Icon’ box and selecting the image you wish to use. This should be approx. 75x75 pixels and be saved as a .jpg or .png file.

When you’re happy, click the blue tick to save this new function to the list.
Dependant on the location and function you selected, you may have to close and re-open Enterprise in order to see the new function button.
