Adding an image / picture to a product
The following helpsheet explains how to manually add an image to a product.
NOTE: You can make this process easier for you and others if you name the image the same as your 'Product Code'.
Recommended image size for products 250x250 pixels (Any DPI setting is acceptable). JPG and BMP are to be used.
NOTE: If using images for your website then 500x500 pixels is acceptable|
STEP 1
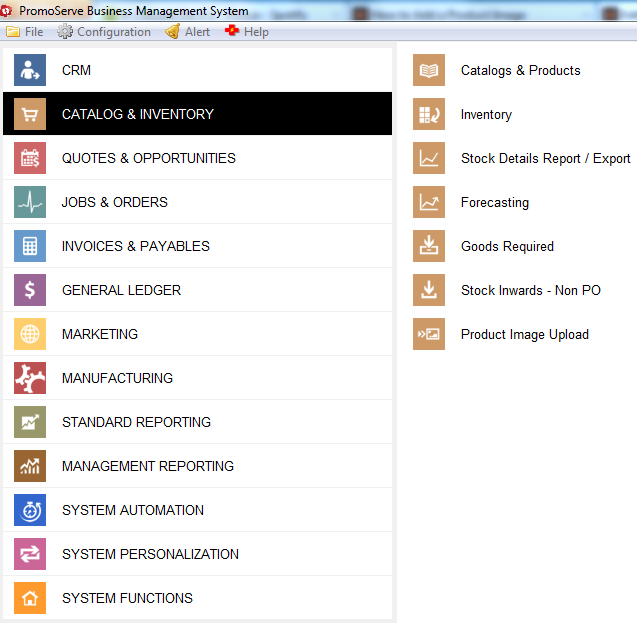
Under 'Catalog & Inventory,' select 'Catalogs & Products.'
|
|
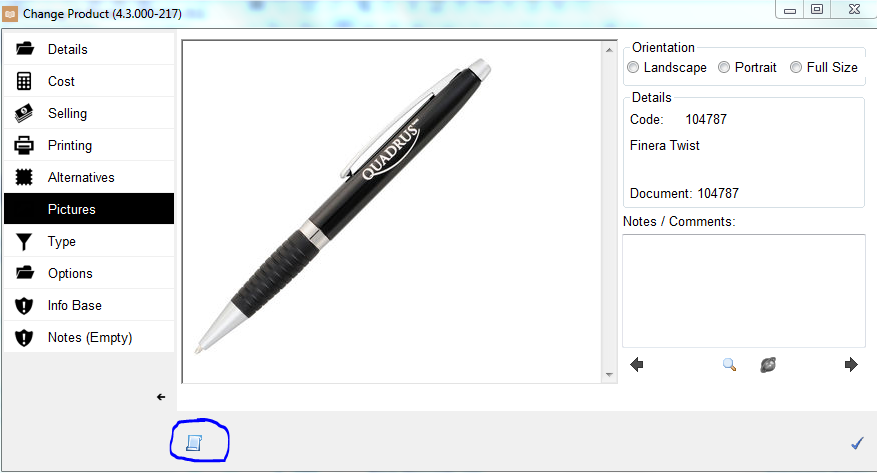
STEP 2
If you have entered your product already, double click or click the triangle to change the product and go to the 'Pictures' or 'View' tab
|
|
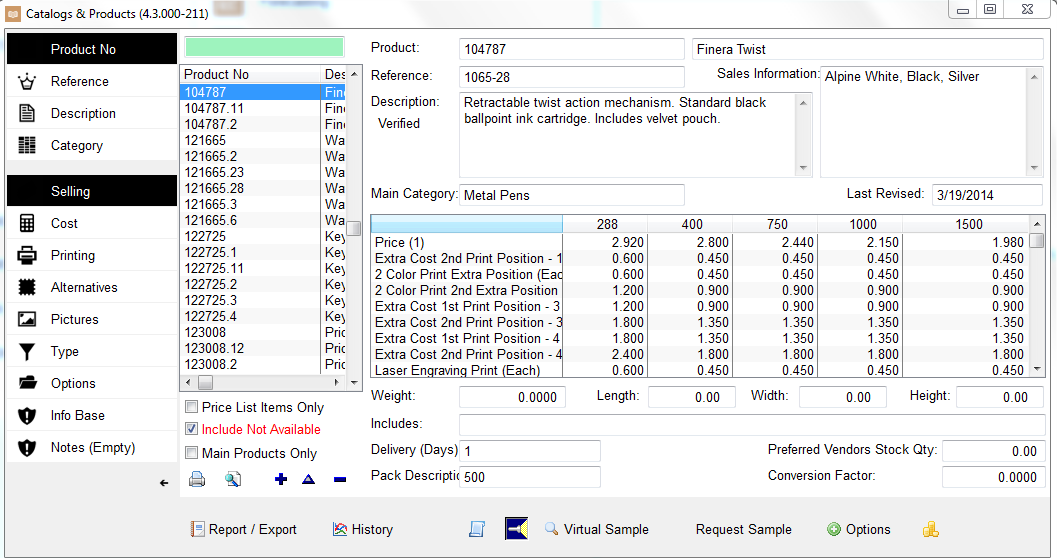
STEP 3
Click the View/Modify Associated Documents
 |
|
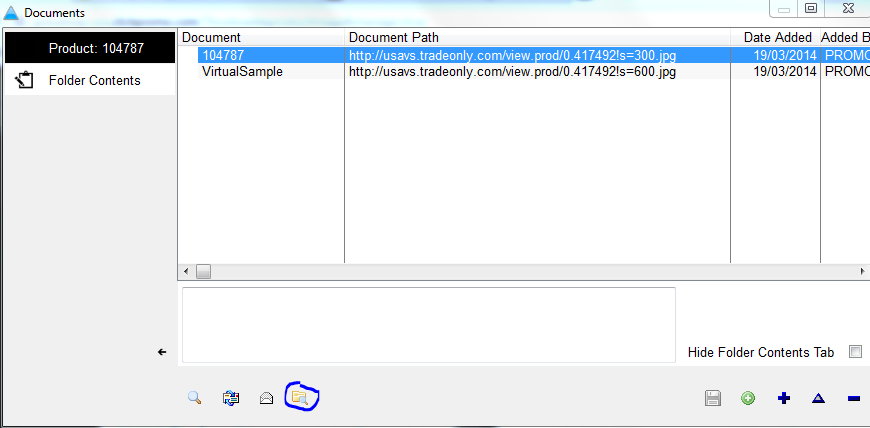
STEP 4
Click the 'yellow folder' icon to browse for your image. NOTE: If there are multiple users on your system please ensure your image is store in a central location on your server. This is so images can be viewed by all users. If an image is store locally to you, you will be the only one who can use the image for quotes etc.
|
|
STEP 5
Once you have browsed for and opened the image, on this screen, ensure that the 'Document Name' field matches EXACTLY to the 'Reference' field. You can copy the value in the 'Reference' field to the 'Document Name' field. Click the check mark to confirm and then click the X to close the 'Documents' window. Your picture should now be displayed. If your picture is not showing, please try the following...
|