How to Print Address Labels and Envelopes for Vendors
Printing an address label for an individual vendor
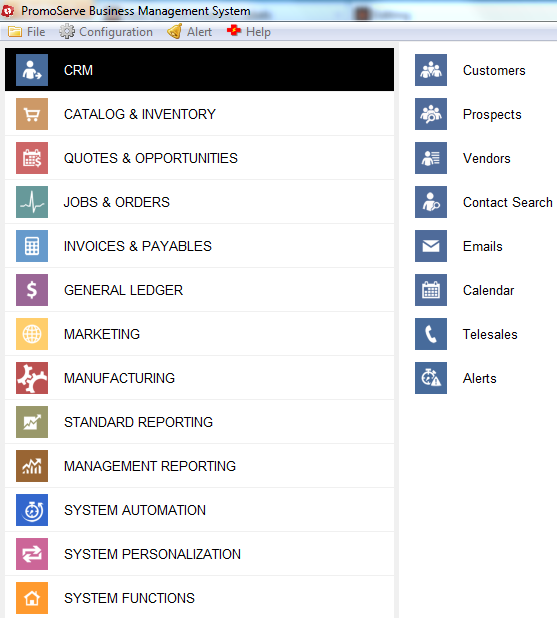
1) Under 'CRM,' select 'Vendors.'
2) From the vendor database, highlight a specific supplier in the displayed list, then left click on the label print symbol.
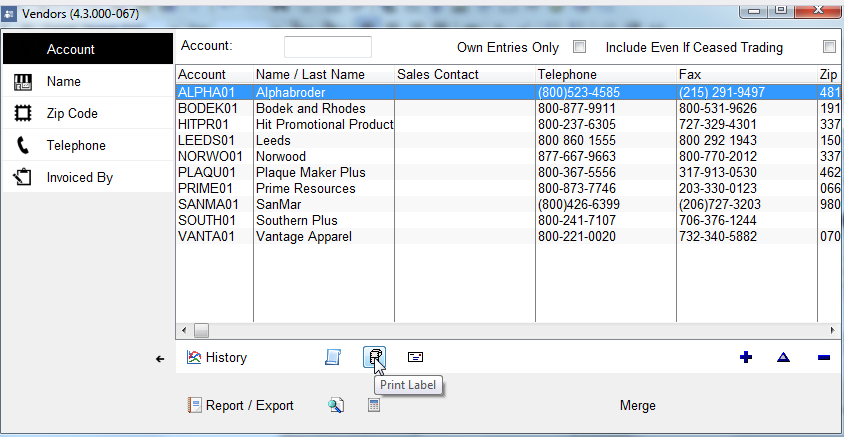
3) The following will Pop Up:
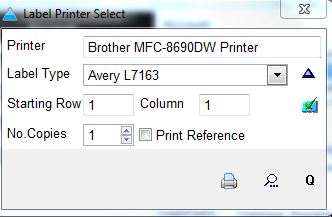
The screen above allows for the configuration and setup of the labels which will be printed. Select your prefered printer by clicking the blue triangle symbol. Select the label type from the drop down menu to the right of the 'Label Type' box.
The starting row and column numbers can be entered into the boxes displayed.
If the 'Print Reference' checkbox is selected, the account number for the customer is printed with the address details on the label.
4) Once all necessary settings have been configured, a print preview can be carried out by clicking the magnifying glass symbol to review the print. When ready to print, click on the printer symbol to proceed.
Printing address labels for multiple customers
1) Follow steps 1-3 shown above (until you are on the screen entitled 'Label Printer Select').
2) Once you are on the 'Label Printer Select' screen, click on the 'Q' symbol to add the label to a label queue, as shown in the image below:
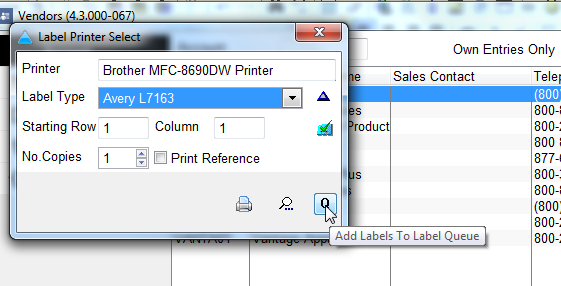
3) Once the label has been added to the queue, other labels can be added for specific suppliers using the same process.
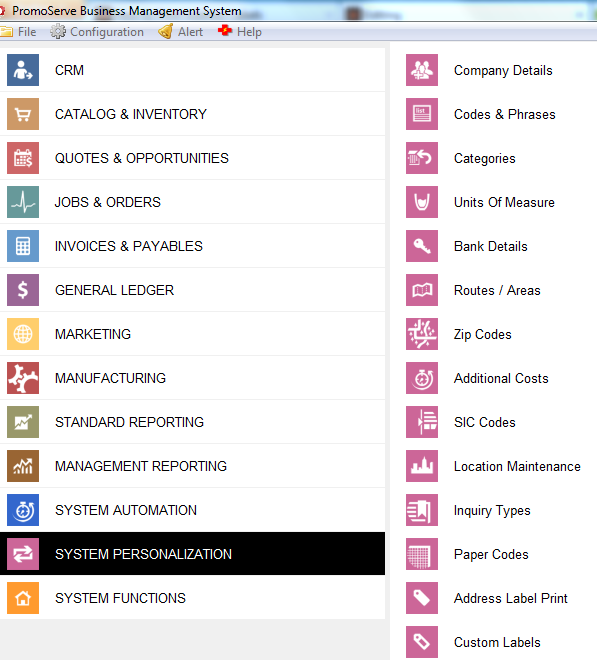
4) Once all the required labels have been added to the queue, the entire queue can be printed at once. Under 'System Personalization,' click 'Address Label Print'.
5) The following screen will appear:
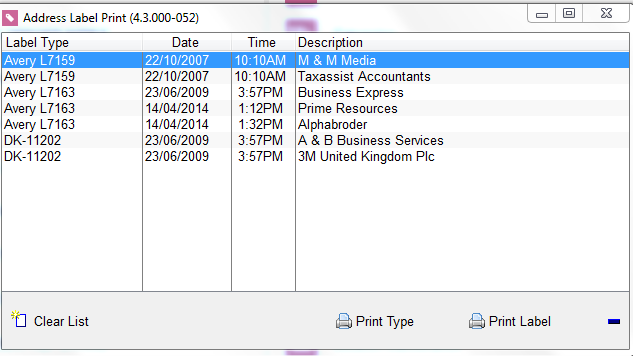
This screen shows each label which has been added to the print queue. To print all the labels listed in the queue, click 'Print Type', as indicated in the above image. Individual labels can also be printed from this list by highlighting an individual vendor from the list and clicking 'Print Label'. To delete an individual label from the queue, highlight it and click the blue '-' symbol. To clear the queue entirely, click 'Clear Queue'.
