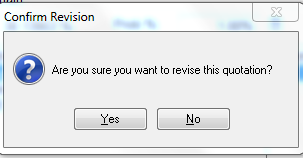
STEP 2
Making your changes
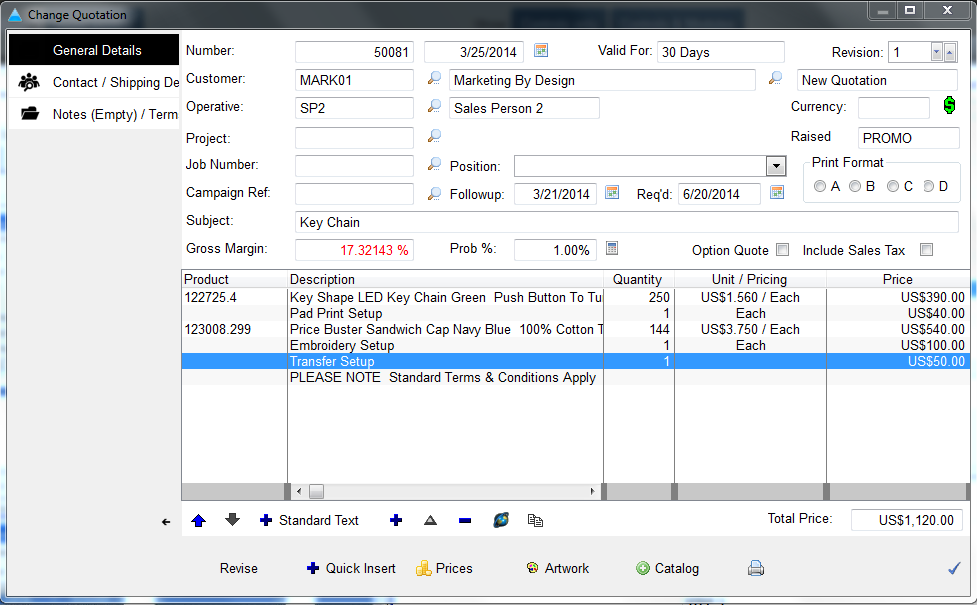
You will notice that you now have a '1' in the revision box in the top right hand corner
Now you can delete products, add new products or change existing entries, using the plus, change, delete buttons
Once you have finished making your changes click the checkmark at the bottom right hand corner to save the record
|
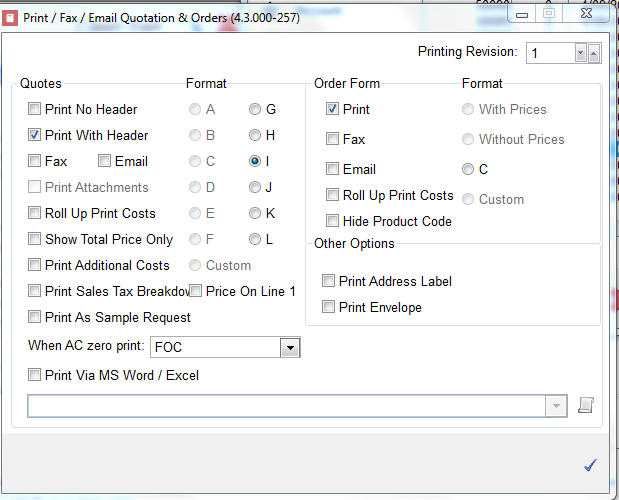
STEP 4
Printing the new quote
You can now send this new quote to your client
Highlight the quote and press the print button in the bottom left hand corner, this is the same as normal however you will notice a 'Printing Revision' box in the top right hand corner this will always display the latest revision, but you can change this number using the up & down arrows if you want to print an earlier revision
|