Assigning Marketing Tags To Your Customers.
This help sheet is to be used to walk you through the process of assigning marketing tags to prospects within your AIM Tech Suite system.
STEP 1: Log into your order processing account.
- For UK users - https://aimtech.aimsmarter.co.uk/vision/
- For USA users - https://aimtech.aimsmarter.com/vision/
When you are logged in you will be taken to your Dashboard.
STEP 2: Click into the ‘Contacts’ option on the left hand side then click on ‘Customers’ in the drop down.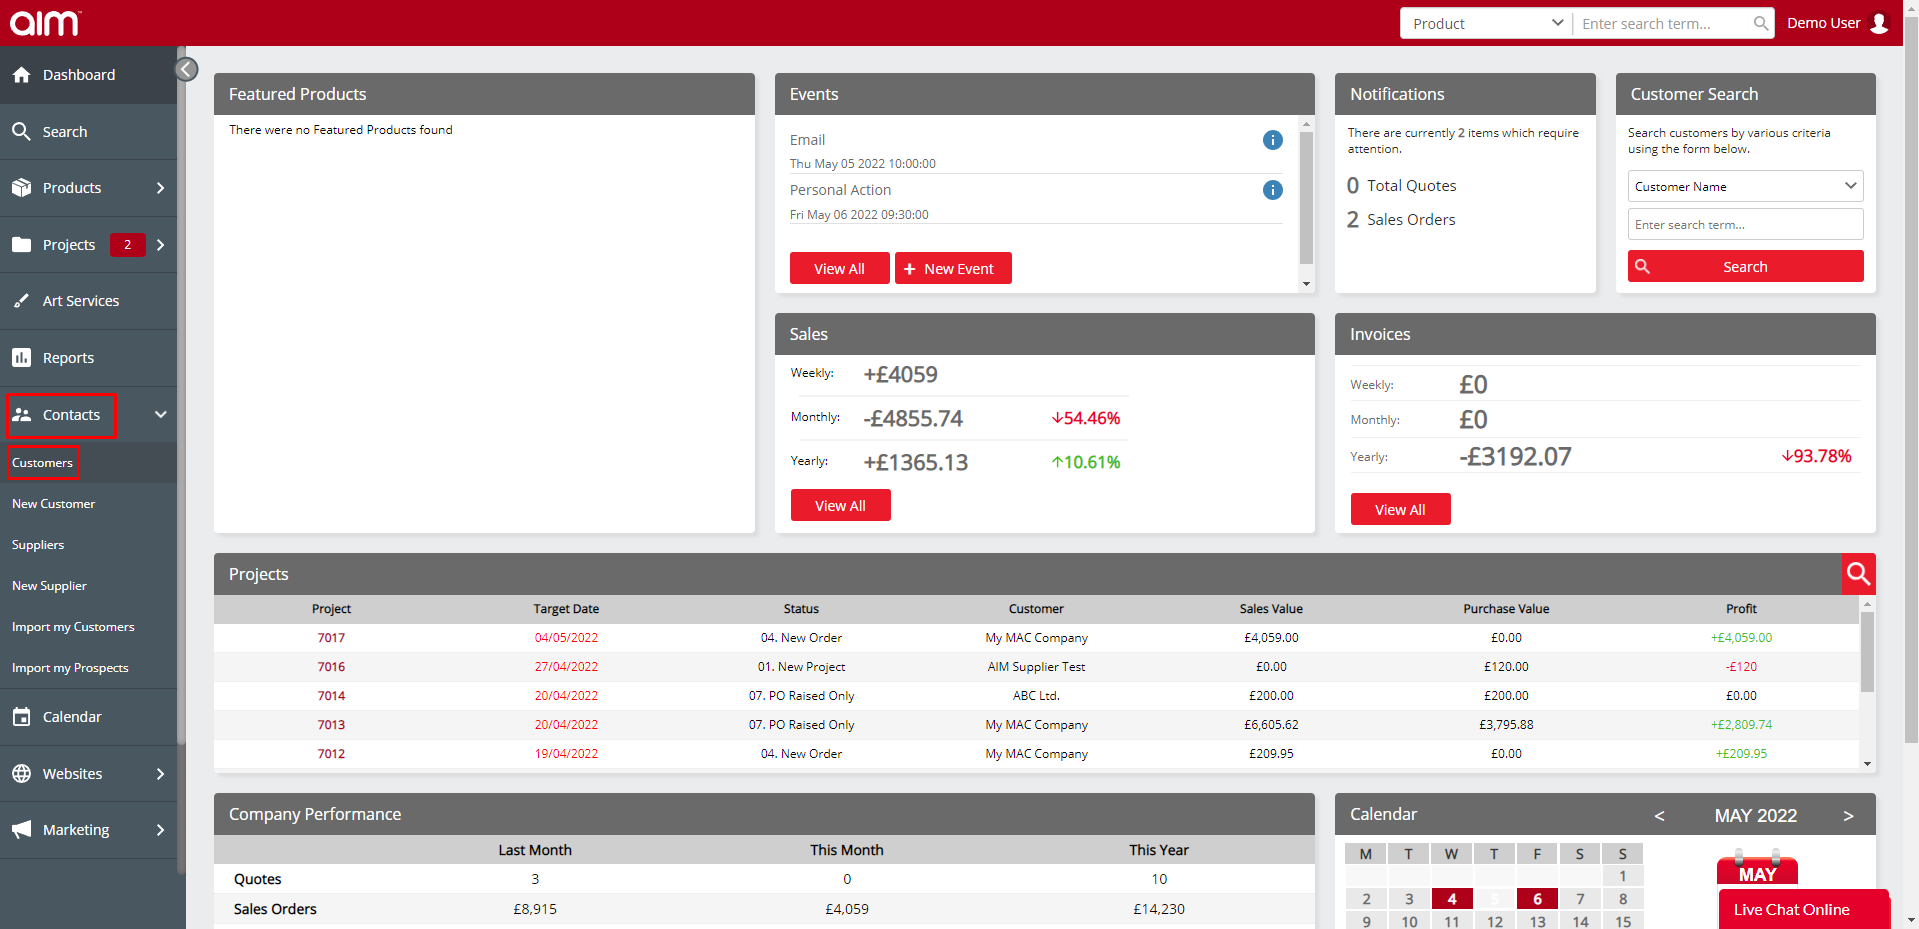
STEP 3: You will be taken to the Customer Overview screen.
This is the point when you will choose the Customer whose market tags you wish to assign or edit.
Click on the account number to be taken to the ‘View/Edit Customer’ screen which is shown below:

STEP 4: Click on the ‘Marketing’ tab. You will be taken to the below screen:

STEP 5: Use the Drop-Down Menu named ‘Marketing Tags’ to select which marketing tags you would like to assign to this prospect.
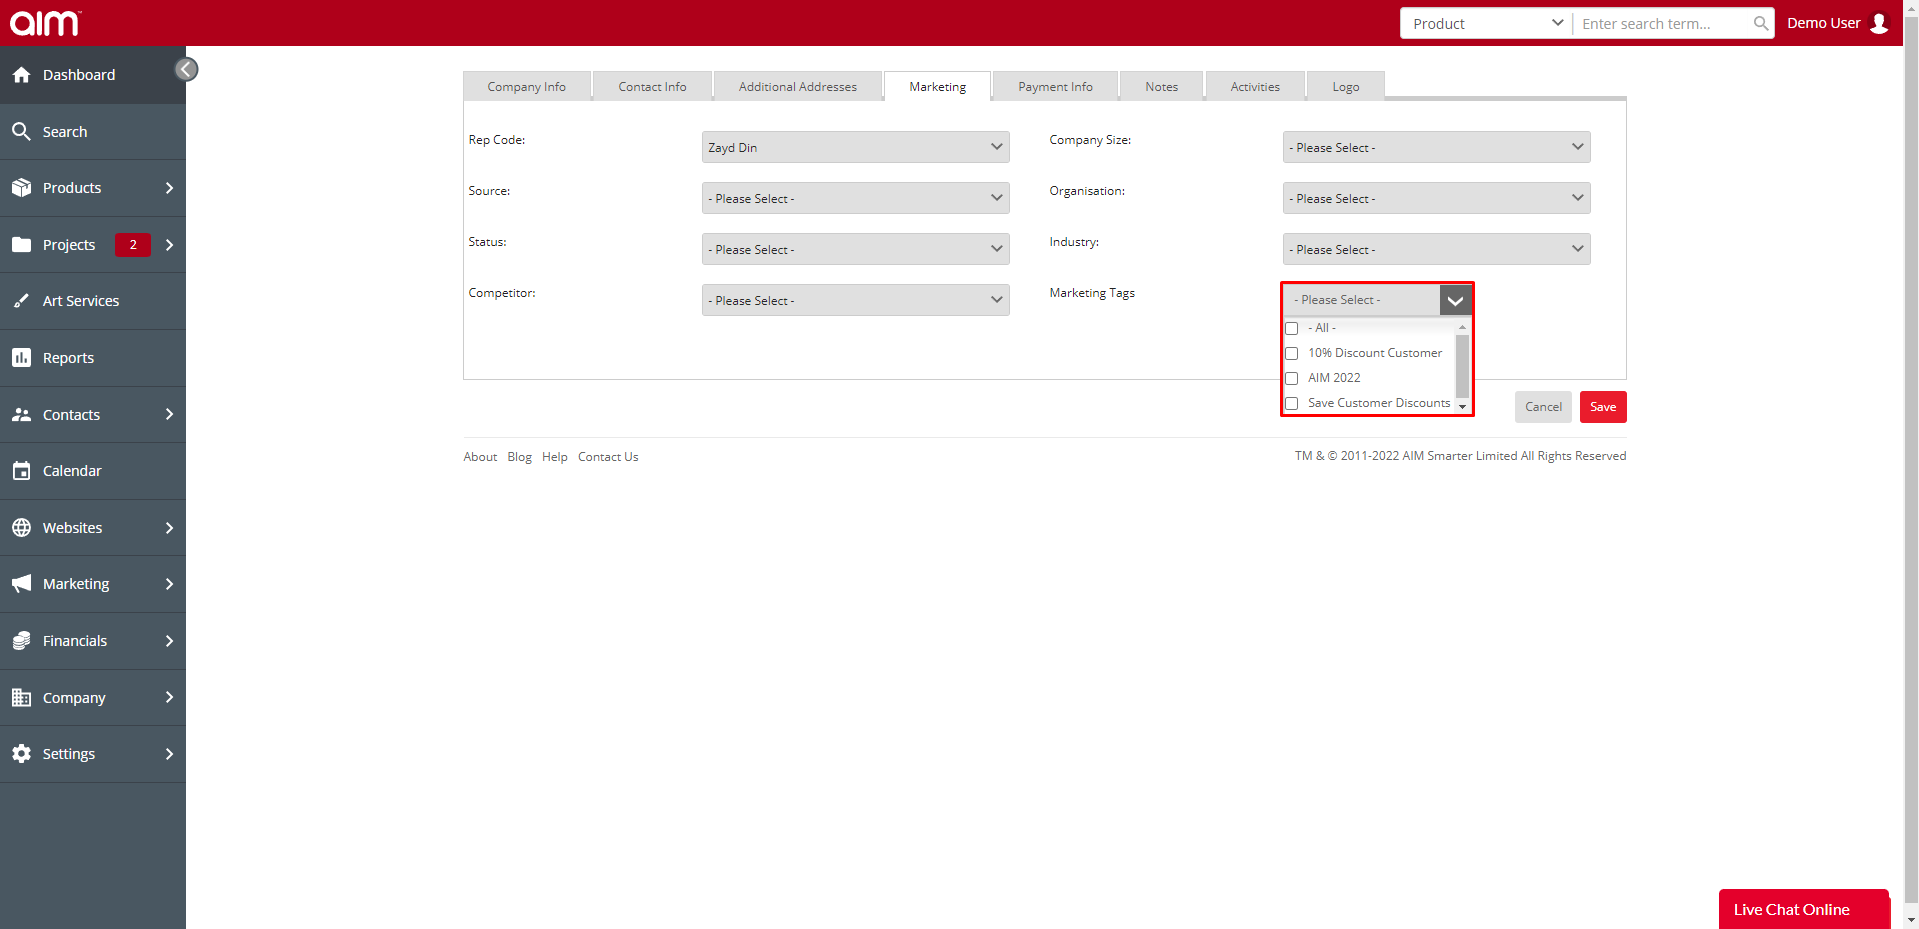
STEP 6: Click in the box next to the tag(s) you wish to assign. If you want to assign all tags you can simply check the option for “All”. Notice how puts a tick next to all the tag options.

STEP 7: When you are happy with your selections click the blue Save button.

Your selected marketing tags are now assigned to your chosen Customer or Prospect.
