The following help guide will show you how to add a multi-page flyer to send to your customers which allows you to upload both your logo and your customers logo.
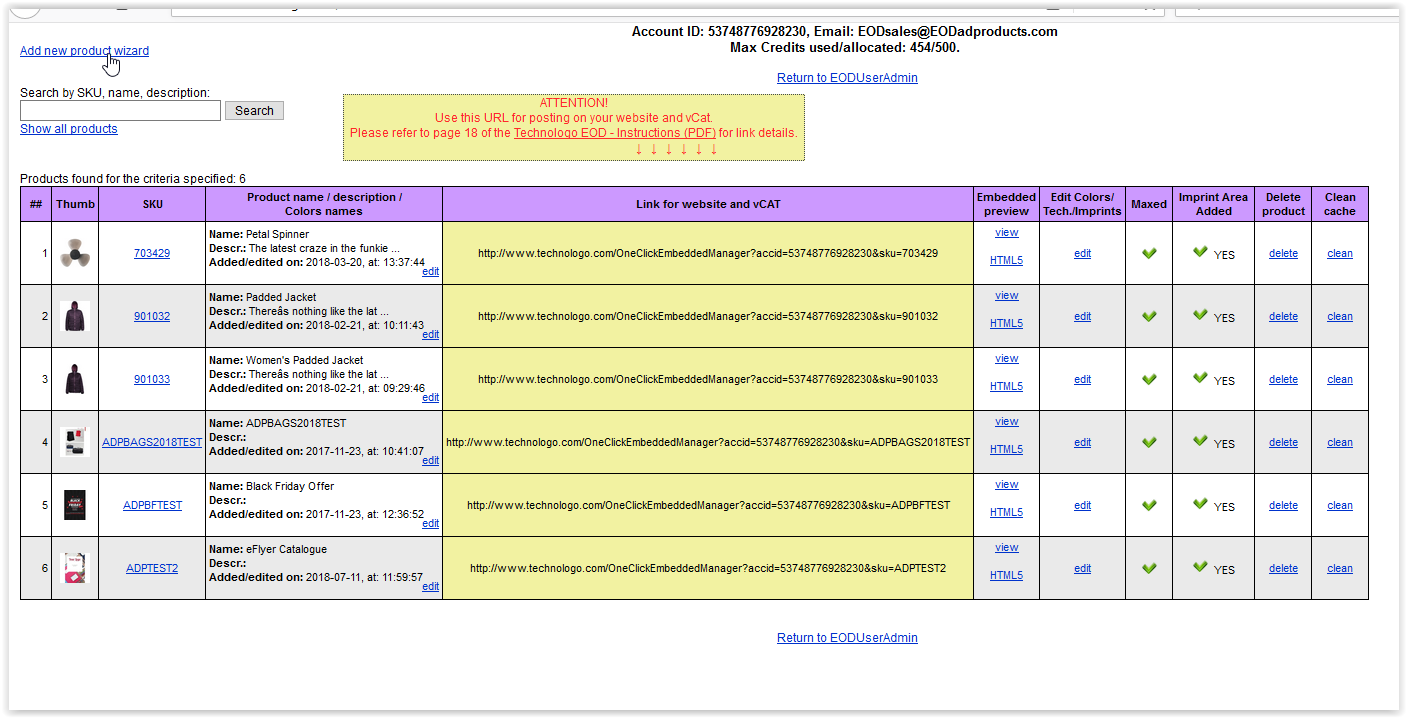
Step 1 - log into your Technologo Max account as usual and add a new product. Click on the 'Add new product wizard' as shown below.
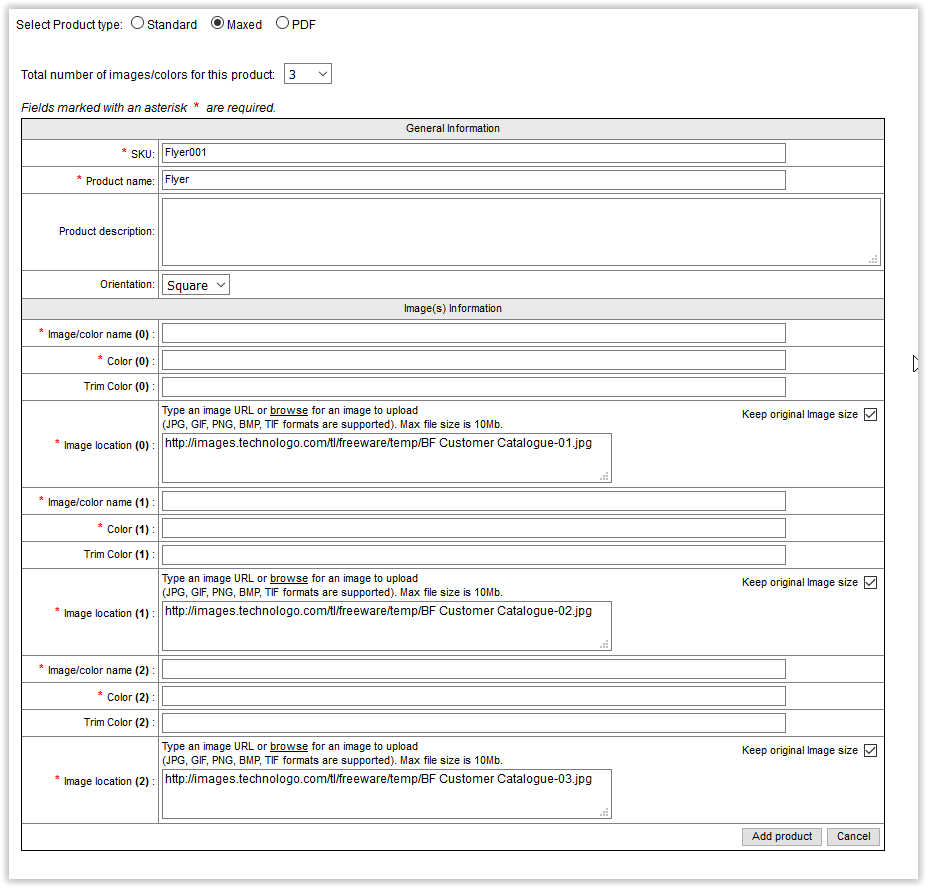
Step 2 - Select the product type Maxed and select the number of pages your flyer contains from the dropdown. This is shown below.

Step 3 - Add all the madatory fields such as Product Sku and Product Name, upload an impage for each page of your Flyer and click Add Product. Please ensure you click the 'Keep origional image size' box. This is shown below.
Step 4 - you will now see a preview of the flyer pages. Click the green 'done' button as shown below.

Step 5 - You will now see an imprint options screen. Just click done here.

Step 6 - Add an imprint area for each of the logo's that you want to display on the flyer. Give the logo a group name and click apply. Once you have added an imprint area select where you want the logo to be placed on your flyer. The next 2 screenshots show this process.
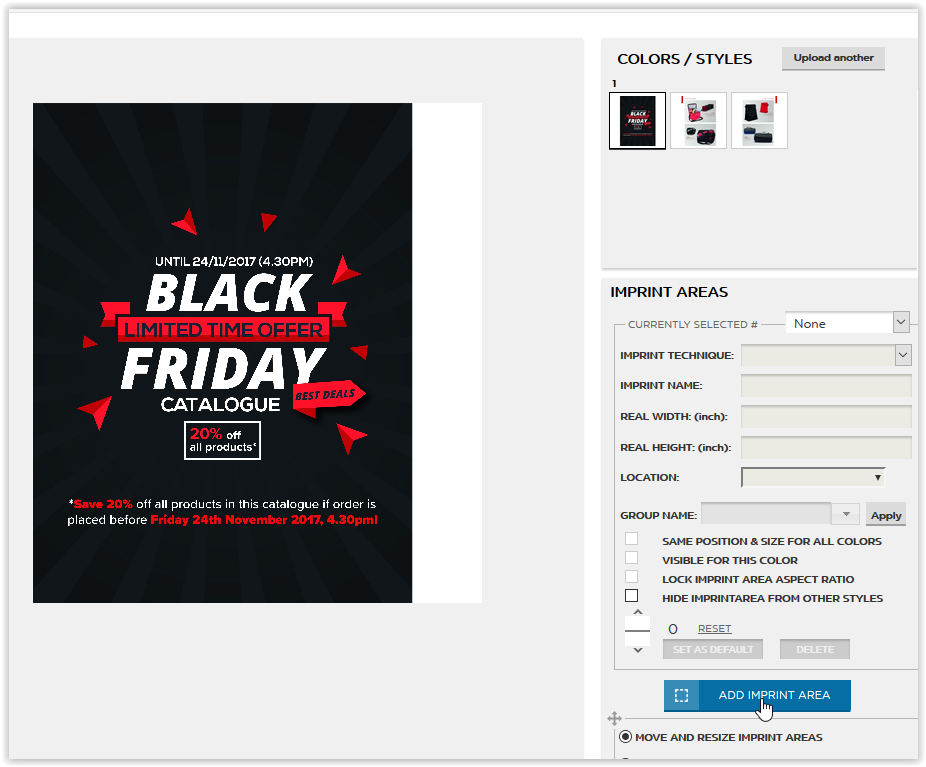
Once you have added you imprint areas and given them a group name it will look like the below screenshot. Note that Logo 1 in the below example would be your customers logo and logo 2 would be your logo.

Step 7 - You can now click on the second page and add your Imprint Group to the locations on the flyer you wish for you logo to display. All the product logos will be set to the Logo 1 group in the below example. See below.

Do this process for all pages and then save the flyer when you are done.
Once you have saved the flyer you will see this as a product in your Technologo list. Follow the below helpsheet to set up your flyer URL.
http://www.customerfocushelp.com/customflyerurl
An example multi page flyer is shown below.
