Parallels Installation Guide - Windows
Overview
This is a guide to help install the Parallels client on your windows desktop.
Step 1:
Login to Customer Focus Enterprise: https://mycfenterprise.com/userportal/signin
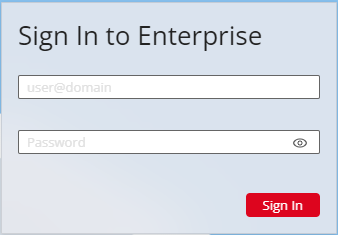
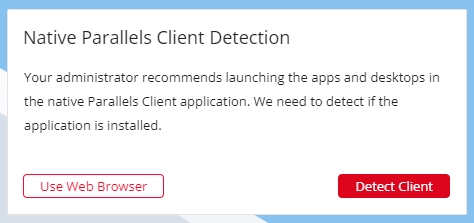
Step 2:
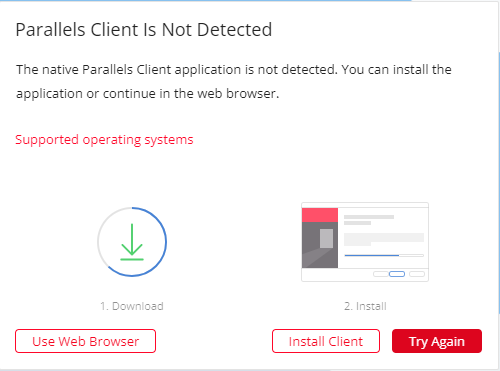
This screen will pop up next. If this has not, you can activate it by clicking on the person icon at the top right and select Detect Client:
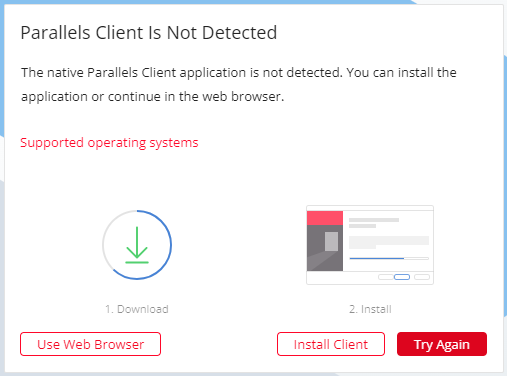
Step 3:
Once it finds it can't find the client, it will ask you to download and install the client:
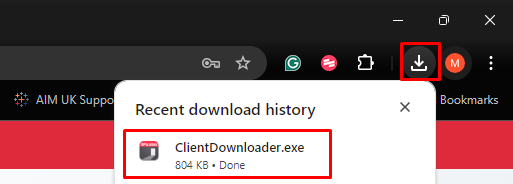
Step 4:
Once downloaded, you can run the installer from the top right (if on Google Chrome):
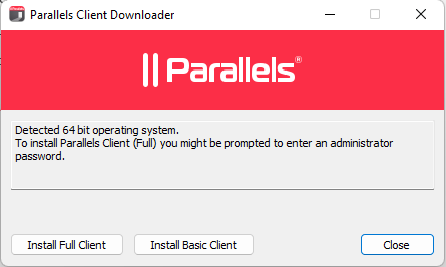
Step 5:
In the next window, select the option Install Full Client:
Step 6:
Once the progress bar has complete, you'll be greeted with the Setup Wizard window. Click on Next:

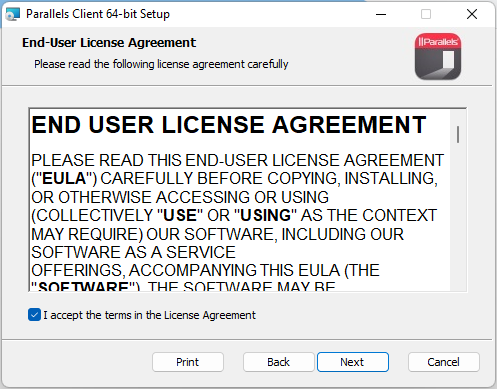
Step 7:
On the End-User license Agreement window, tick the I accept box and click on Next:
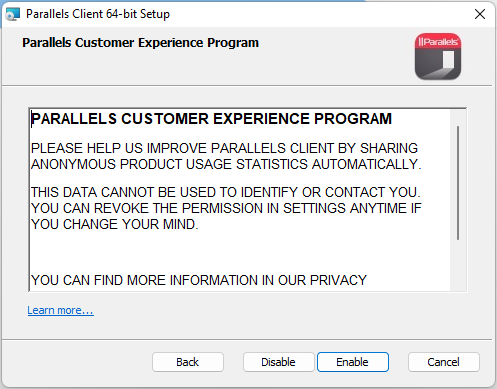
Step 8:
On the Customer Experience window, click on Enable:
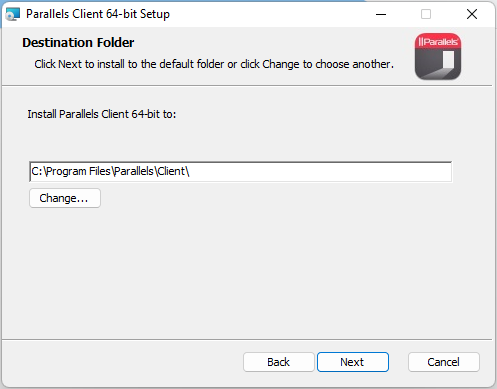
Step 9:
Then select the destination you want the folder to be created in, or you can just select Next at this stage:
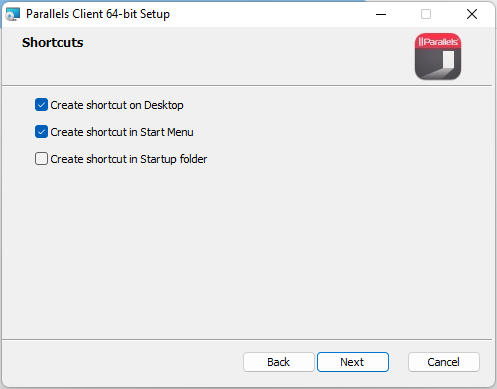
Step 10:
In the Shortcuts window, select if you want the client to have a desktop icon, shortcut in the start menu and one for the folder, and click Next:
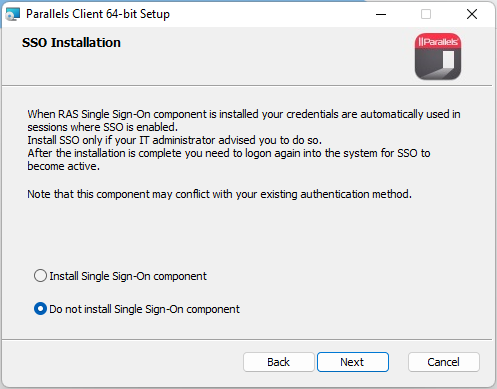
Step 11:
On the SSO Instatlation, make sure the option Do not install Single Sign-On is selected and click Next:
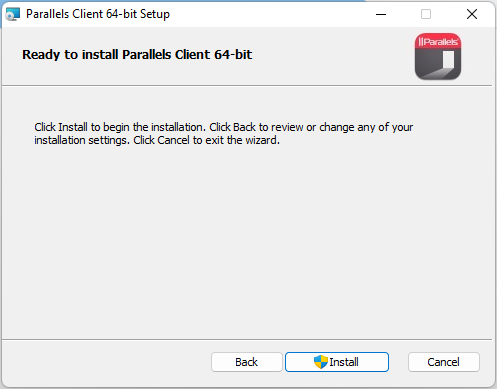
Step 12:
Once you are ready to install, click Install:
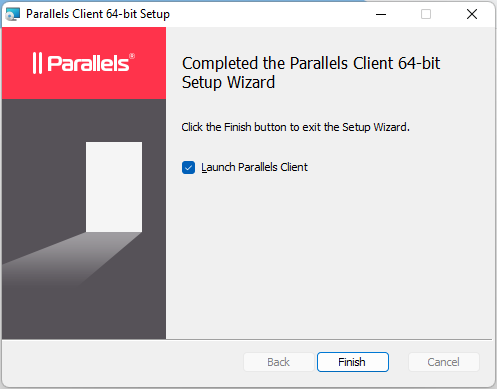
Step 13:
After the install has finished, click on Finish and it will launch the Parallels Client:
Step 14:
On the client, select No for the RAS Connection:

Step 15:
Then go back to the enterprise website and select the option Try Again to find the client:
Once found, you will now have access to log into your PromoServe system.
