|
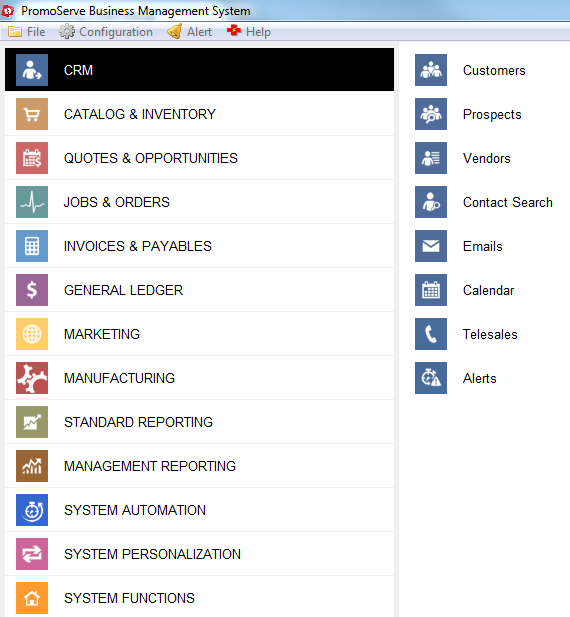
STEP 1
Under 'CRM,' select 'Customers.'
|
|
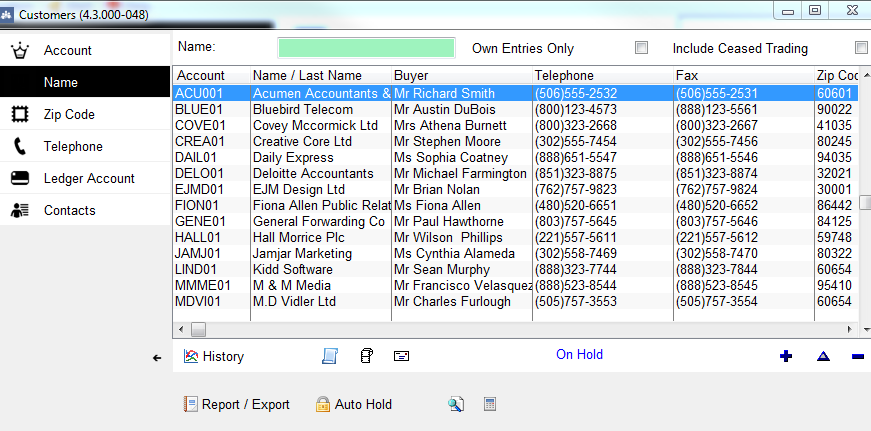
STEP 2
Click the report/export button on the bottom left of the customer database.
|
|
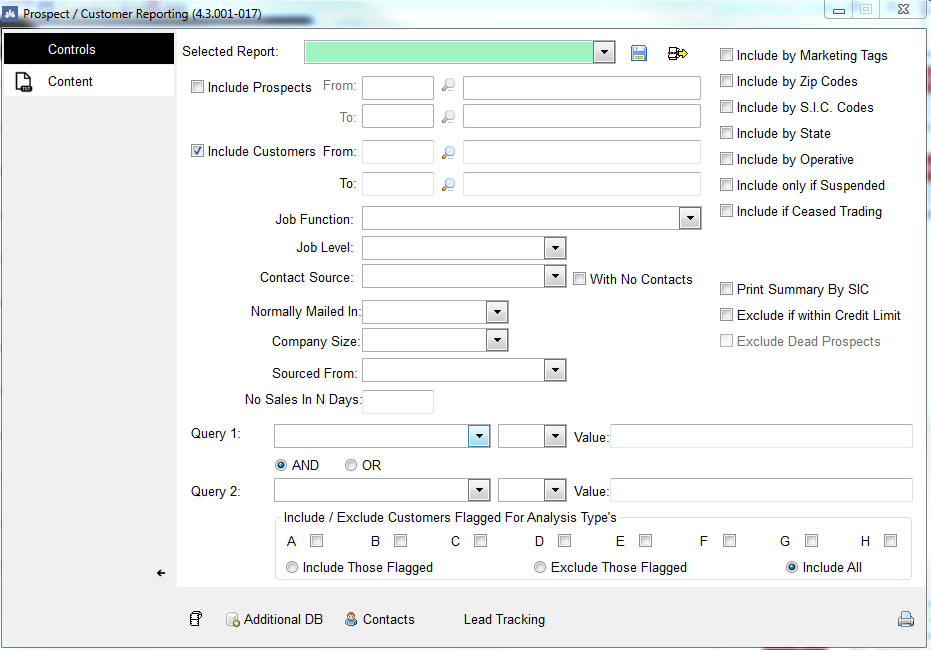
STEP 3
Click 'Contacts' at the bottom left of the window next to additional DB.
|
|
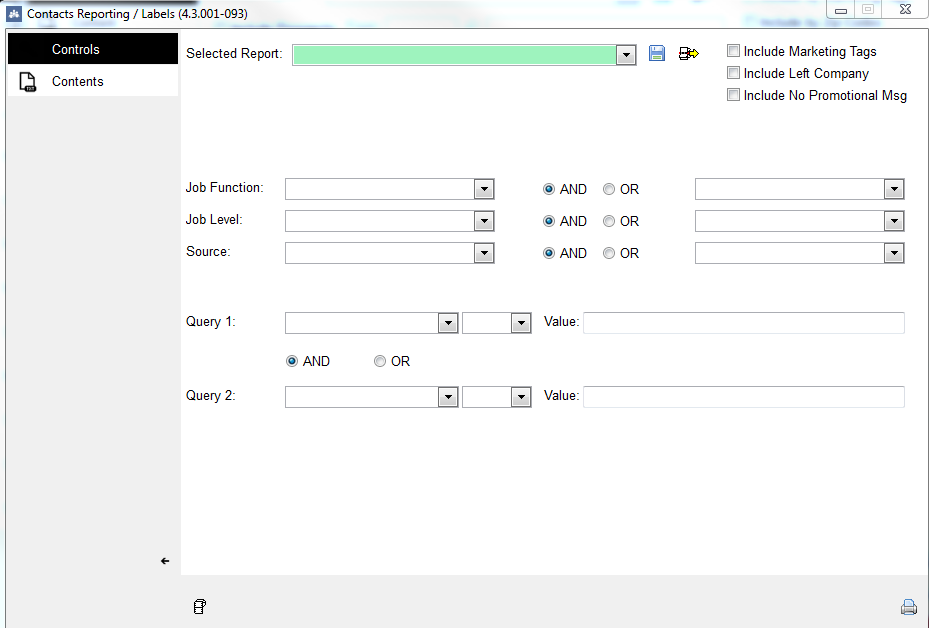
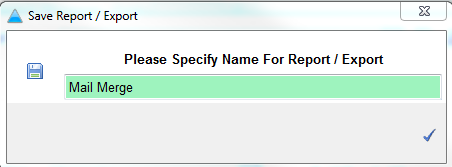
STEP 4
Create a file for your mail merge using the blue floppy disk at the top right of the screen next to the export button. Then when you have named your file click the blue checkmark to save.
|
|
STEP 5
Find the file name using the arrow at the right hand side of the selected report and click the name to select your report.
|
|
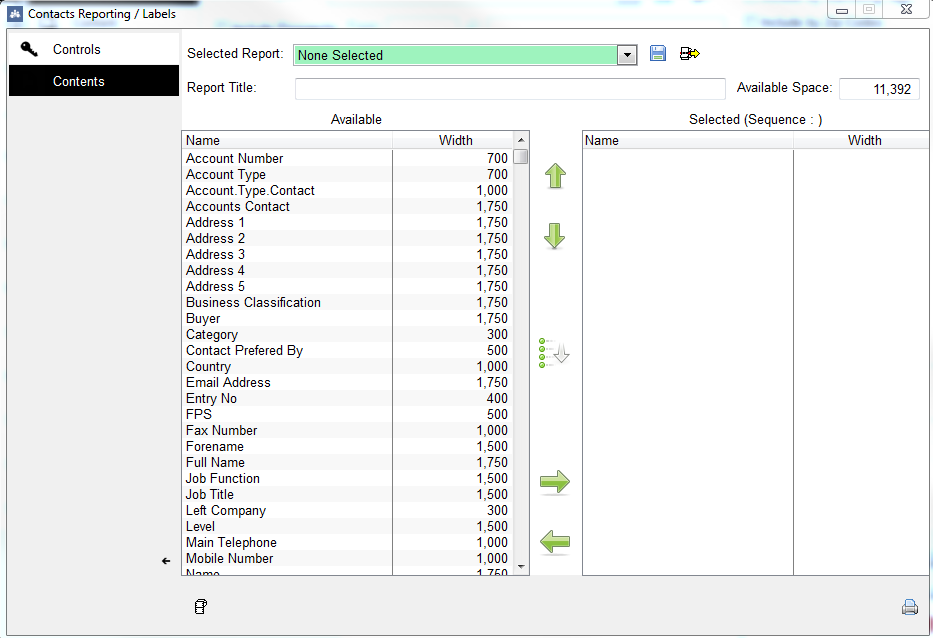
STEP 6
Go to the contents tab at the top left of the screen
|
|
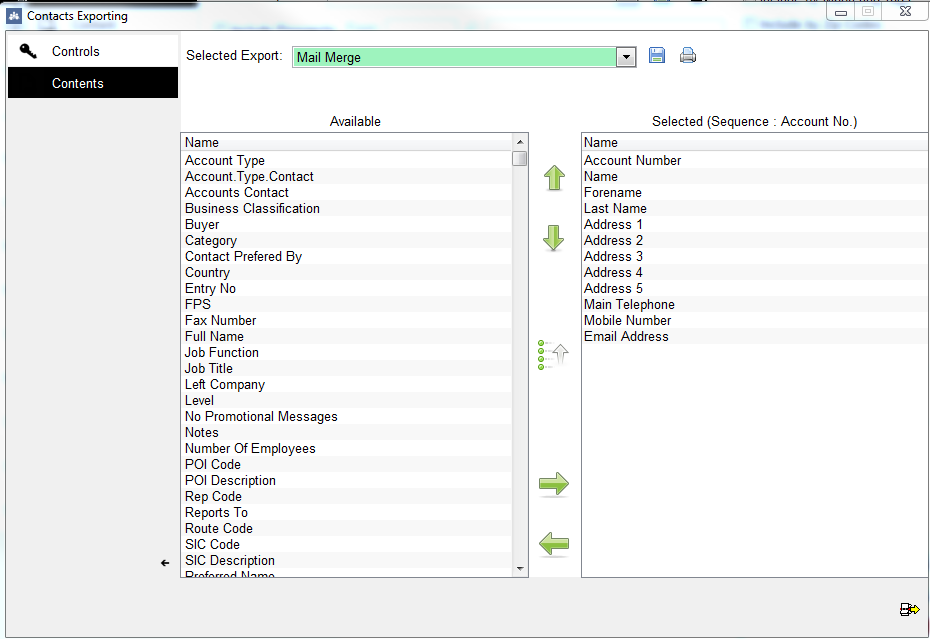
STEP 7
Select the information you want to show. Click the name of the content, i.e. Address 1, and click the blue arrow to take it across to the selected section. When complete, resave your mail merge as shown before and click the export button at the bottom right of the screen to export.
|
|
STEP 8
Click mail merge, then under export details, select the area and file name for your mail merge. Click the export button at the bottom right to export your mail merge file.

|
|
STEP 9
Open a word document and click 'Mailings' tab.

|
|
STEP 10
Click 'Start Mail Merge' and click the step by step mail merge wizard on the drop down menu.

|
|
STEP 11
Select document type and click 'Letters'. Click 'Next: Starting Document.'

|
|
STEP 12
Click 'Use Current Document'. Click 'Next: Select Recipients.'

|
|
STEP 13
Click 'Use Existing List'. Click 'Next: Write Your Letter.'

|
|
STEP 14
A browsing box appears to find the file saved earlier to use for the mail merge. Click open.

|
|
STEP 15
Insert the merge fields by clicking the field you want to show and clicking the insert box to send them to the word document. Click the cancel button.

|
|
STEP 16
View your address book before continuing. Click 'Next: Preview Your Letters.'

|
|
STEP 17
Preview your letters using the 'Preview Your Letters' section. Tailor your recipient list by clicking edit recipient list. Once finished, click 'Next: Complete the Merge.'

|
|
STEP 18
Click the print button to print the mail merge.

|
