How to raise a Sales Credit Note
|
|
|
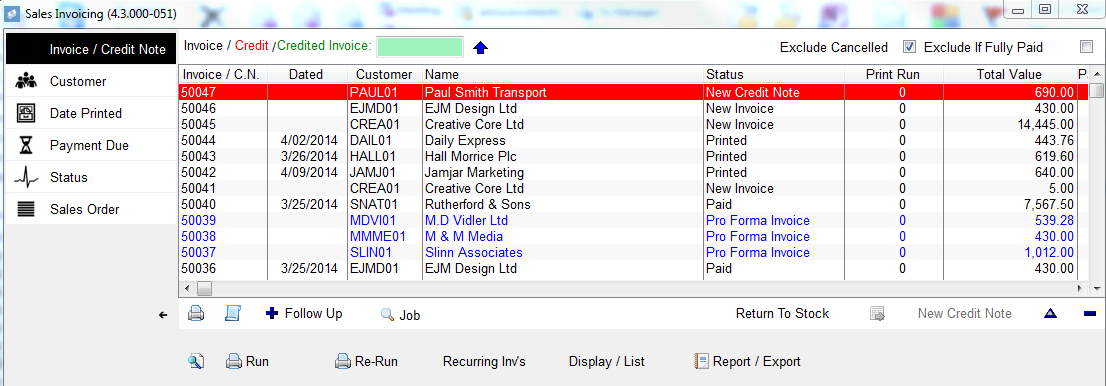
A list of invoices & credit notes previously raised generates. Highlight the invoice you wish to raise the credit note against, and click on 'New Credit Note'. If this option is greyed out, check that the invoice has a status of 'Printed' or 'Paid', if it has and the button is still greyed out then you need to make sure that your user ID has the 'Priviledged ledger' option selected against it.
|
|
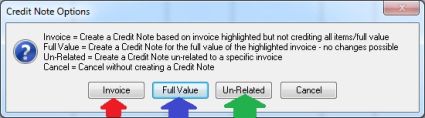
Click on one of the following option: Invoice (RED ARROW) - This option will raise a credit note with the same products and values as the original invoice, you can edit the credit note before you print it. Full Value (BLUE ARROW) - This will raise a carbon copy credit note for exactly the same products and values as the original invoice, but you don't get the option to edit it, this is best to be used when an invoice has been rasied by mistake and needs crediting in its entirity. Un-related (GREEN ARROW) - This will create a blank credit note that you can then add new products & values to before printing.
|
|
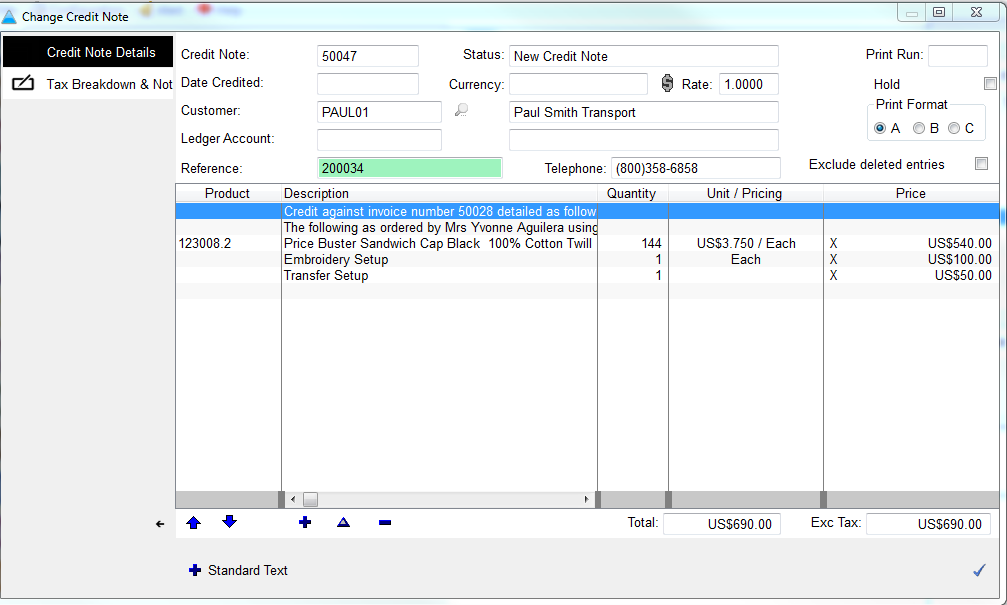
The most common option for raising a credit note is by using the 'Invoice' option, this will produce this screen, by default it will credit everything that was on the original invoice. If you only want to raise a partial credit or just a credit for delivery etc, use the change & delete buttons at the bottom. Once complete, click the checkmark at at the bottom
|
|
You will now see the credit appear at the top of the screen in red (RED ARROW). Notice the original invoice has now turned green (GREEN ARROW), to indicate that a credit note has been raised against it. At this stage you can go back and edit the credit note as you wish. Also, at this stage, the credit note has not been printed so it does not appear in your accounts system
|
|
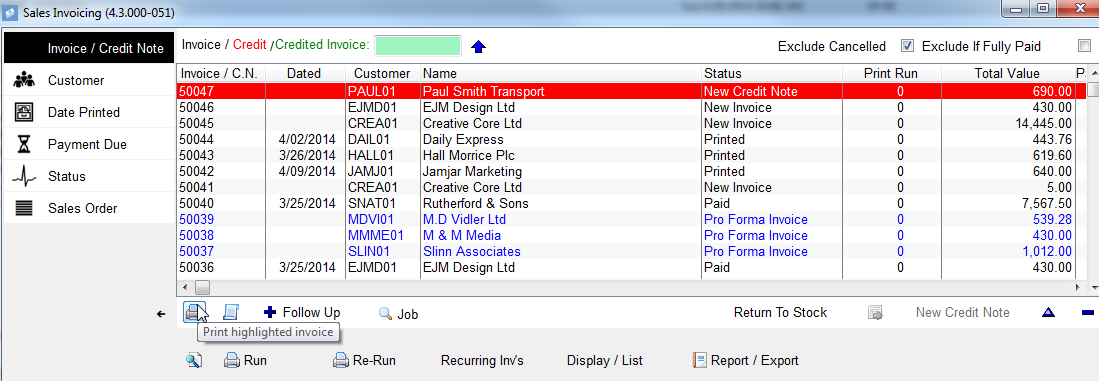
When you are ready to print the credit note, highlight it, and click the printer icon at the bottom.
|
|
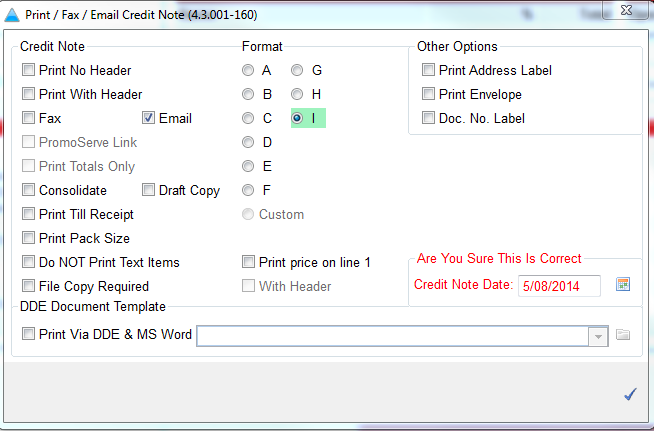
Select the correct date for the credit note and click the checkmark. Select your printer and press print.
|