How to configure your PromoServe email header
The following helpsheet explains how to setup your PromoServe email header.
|
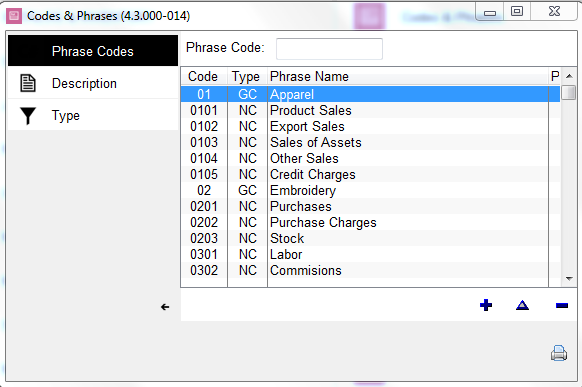
STEP 1 Under 'System Personalization,' select 'Codes and Phrases.'
|
|
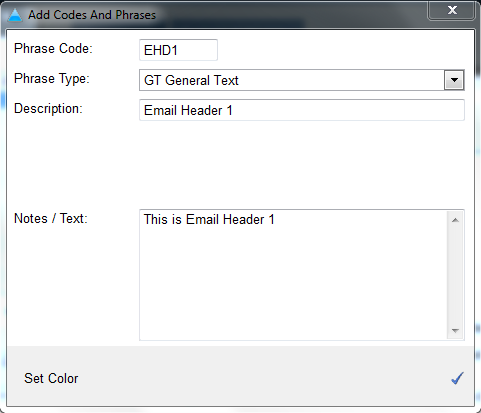
Step 2 Here, a new email header can be created. Select the blue + button to add a new entry. Phrase Code = EHD1 (Additonal email headers can be created by incrementing this number by one. E.g EHD2, EHD3 etc) Phrase Type = GT General Text (This should always be set to GT General Text) Description = Email Header 1 (A description for the entry) Notes / Text = Enter here what you would like to be displayed for the header (You can add HTML code here to display images, tables and HTML formatted text. You can do this by copying the HTML code directly into the Notes / Text box.)
|
|
STEP 3 Once finished, select the blue check to save and return to 'Email' under 'CRM' on the main screen.
|
|
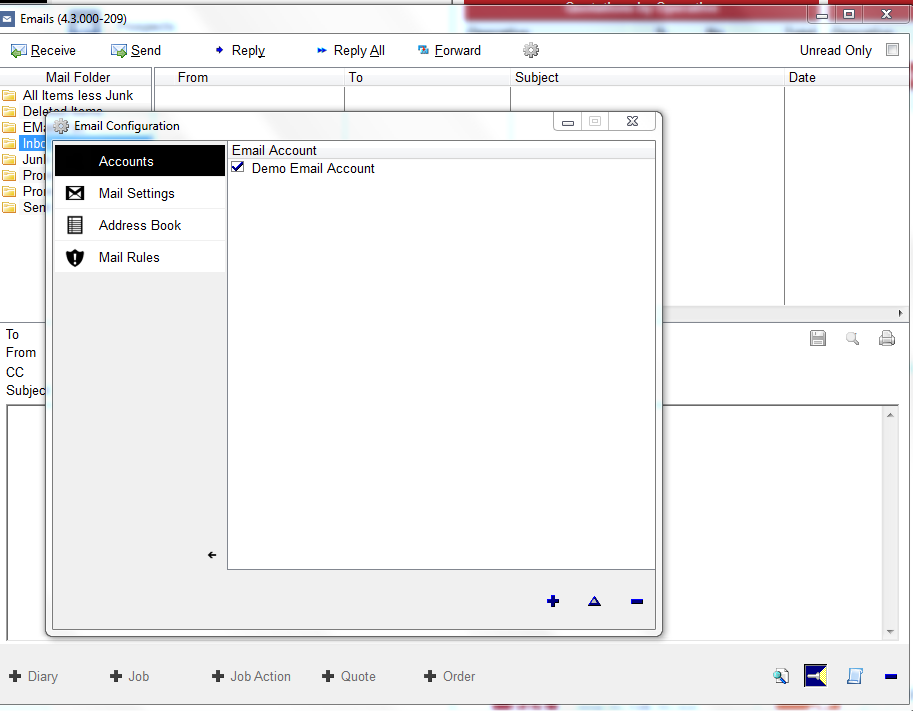
STEP 4 Select 'Configuration' bove the subject column, then 'Accounts'.
|
|
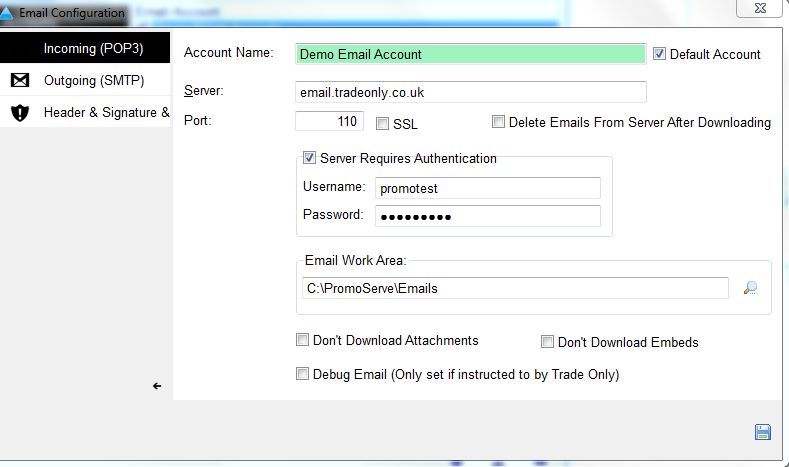
STEP 5 Select the email account in use and click the blue triangle button to change the settings.
|
|
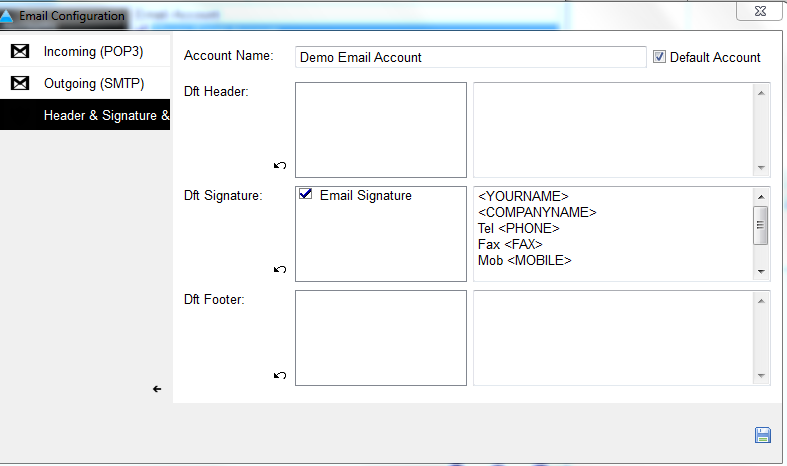
STEP 6 Select the 'Header & Signature & Footer' tab at the top of the screen. You will see the recently created email header displayed at the top of the screen. Click just to the left of the header description (Email Header 1) to make the email header active. Now click the blue disk icon to save changes.
|
|
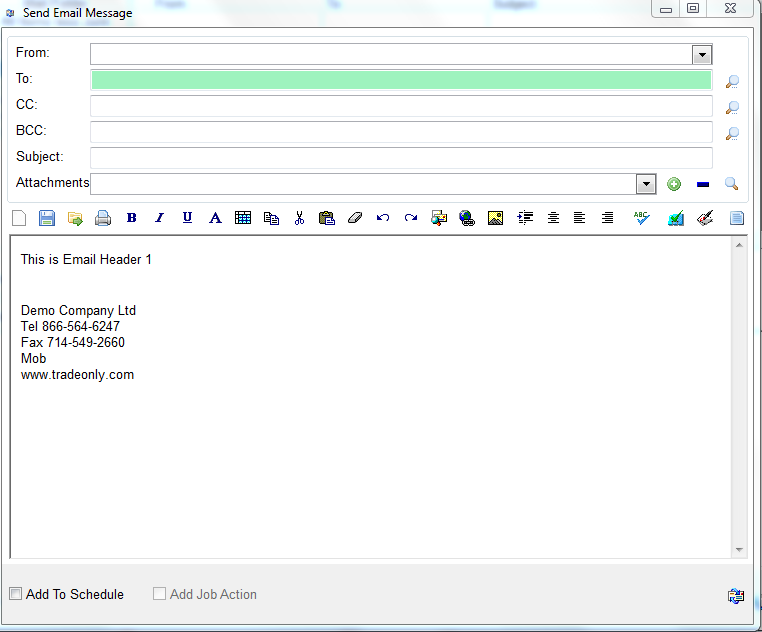
STEP 7 Once in a new message screen within the PromoServe Email Client, the active header can be inserted into the email at the position of the cursor by clicking the 'Insert Header button on the far right of the email toolbar, represented by a blue/green tick.
|