How to set up a foreign currency customer
The following helpsheet explains how to add a contact to an existing customer from within the customer database.
|
STEP 1
Under 'General Ledger,' select 'Country & Currency Maintenace.'
|
|
STEP 2
The Country & Currency maintenance screen shows all the country codes which are available to select from as well as the latest currency conversion rate applied to that country code. As our example is an AU customer, scroll down the list until you can see the entry for Australia and then either double click on the line or click the plus button to bring up the edit screen. |
|
STEP 3
You should now be viewing the screen entitled 'Change Country'. Here you can specify several settings, including:- Country - The text description of the country Currency - The code used to identify the currency in use for country code Symbol - The Symbol that will be displayed on quotes, orders, invoices etc for customers that are set with this country code Currency (Format) - You can use the spyglass to specify how amounts should be displayed and where the symbol should appear in relation to the amount. Date (Format) - You can use the spyglass to specify how dates should be displayed for customers that are set with this country code. Once you have defined all required settings, click the blue tick to save changes. |
|
STEP 4
Now that the country code has been set up, the currency and conversion rate needs to be set up. Click on the 'Currencies' tab on the left. Clicking the world icon which appears at the bottom of the screen will open your web browser to www.xe.com
|
|
STEP 5
The screen entitled 'Update the currencies file' will now be displayed. This will show you all the previously added conversion rates for the selected currency. Click the blue plus button to insert a new rate.
|
|
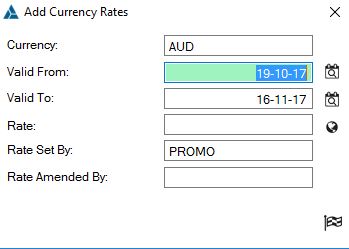
STEP 6
The 'Add currency Rates' should now be displayed. Here you can specify the date range for which this conversion rate will be valid for, as well as the rate itself. The system will automatically record the USERID of whomever adds or ammends the currency rates. When you have finished specifying a valid rate, click the blue checkmark to save changes.
|
|
STEP 7
In 'Update the Currencies File', the new rate will be visible. Verify that the correct settings have been applied and then click the blue cross to close the window.
|
|
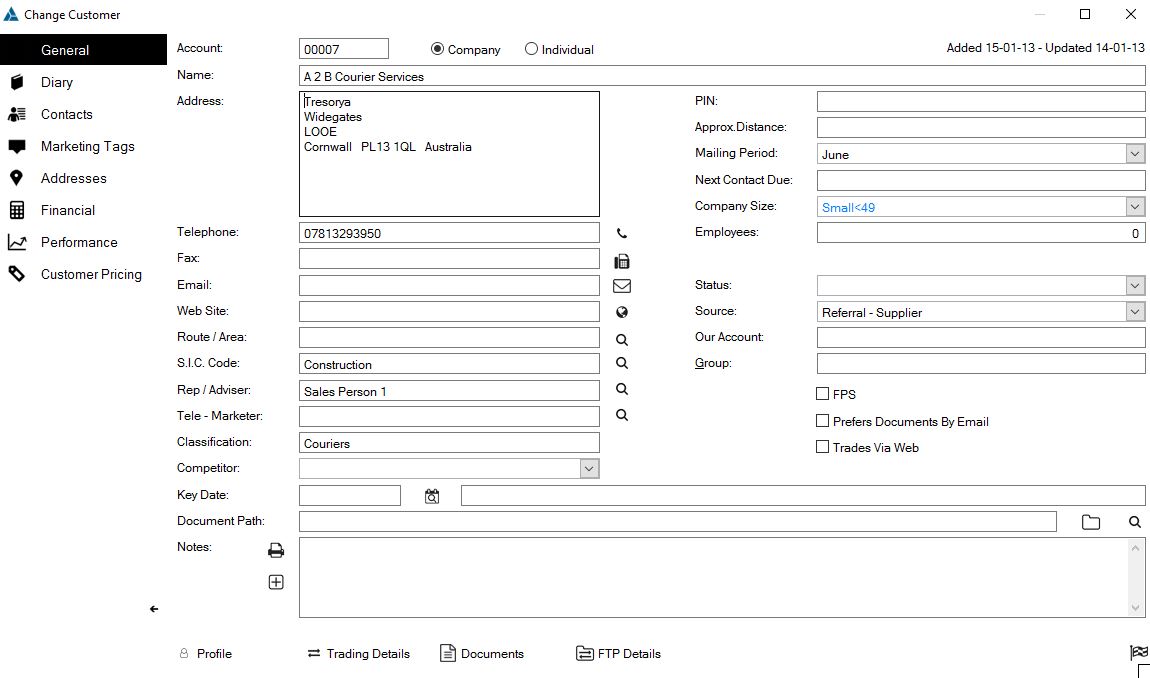
STEP 8
The final steps are to ensure the foreign customer has the correct settings applied to their customer account. Close any remaining windows and navigate to your customer database. Create your customer account in the normal way, ensuring you select the relevant country code, in this case we are selecting AU.
|
|
STEP 9
Click into the 'Financial' tab at the top of the screen. Now ensure that the 'Currency' field has the correct currency rate in it for the customer. You can use the spyglass to select from the available currencies. You will see the corresponding currency symbol displayed to the right of this field.
|
.jpg)
.jpg)
.jpg)
.jpg)
.jpg)