How to Use Technologo Instant v2
This will be a walkthrough on how to use Technologo Instant Version 2 and its many features to create your very own virtual sample to send to your customers.
NOTE: Before using Instant, you must make sure the plugin is installed on your browser of choice. Below are the links to each installation guide you’ll need:
Internet Explorer / Mozilla Firefox / Google Chrome
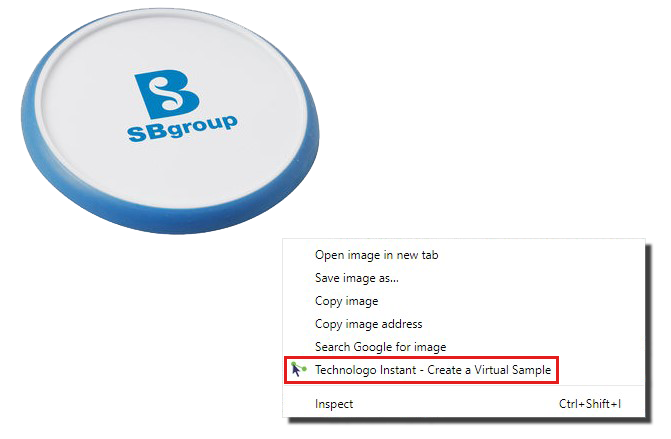
To start, open your browser and find the product image that you want to create a virtual sample with, then right click on that image. You’ll see a pop-up box with some options on there, the one you want to click on is ‘Technologo Instant – Create a Virtual Sample’.
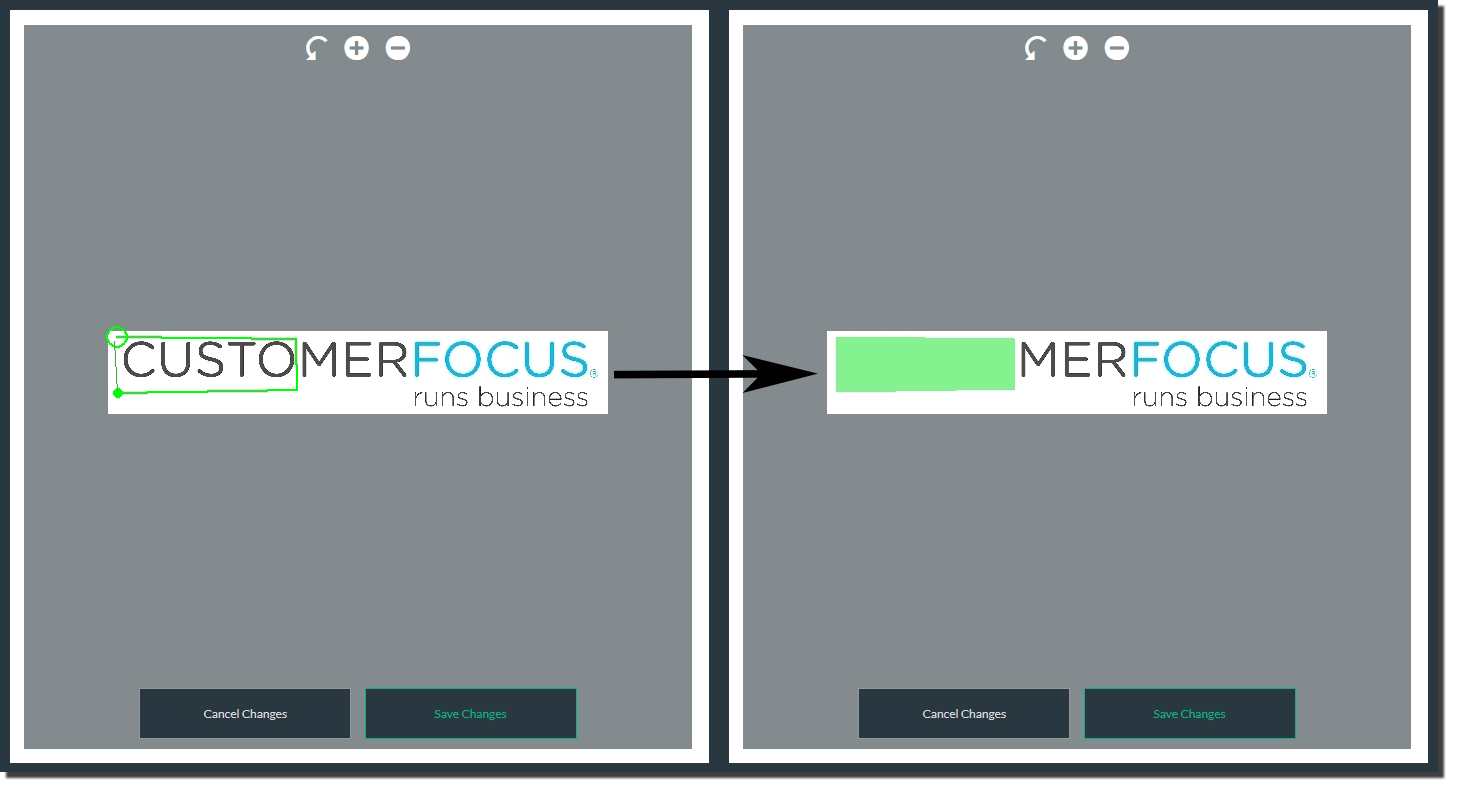
A new window should show up with your selected image. At this point, if your product doesn’t have a logo showing on it, you can skip on to the next section. If it does have a logo however, you can remove this using our ‘Remove Logo’ tool.
To remove the logo, you will need to draw an outline around it, you can do this by clicking around the area you want to remove. Once you have finished creating the outline, you should see the area blended in and you can adjust this area using the ‘Blending’ and ‘Influence’ tools to get the right finish.
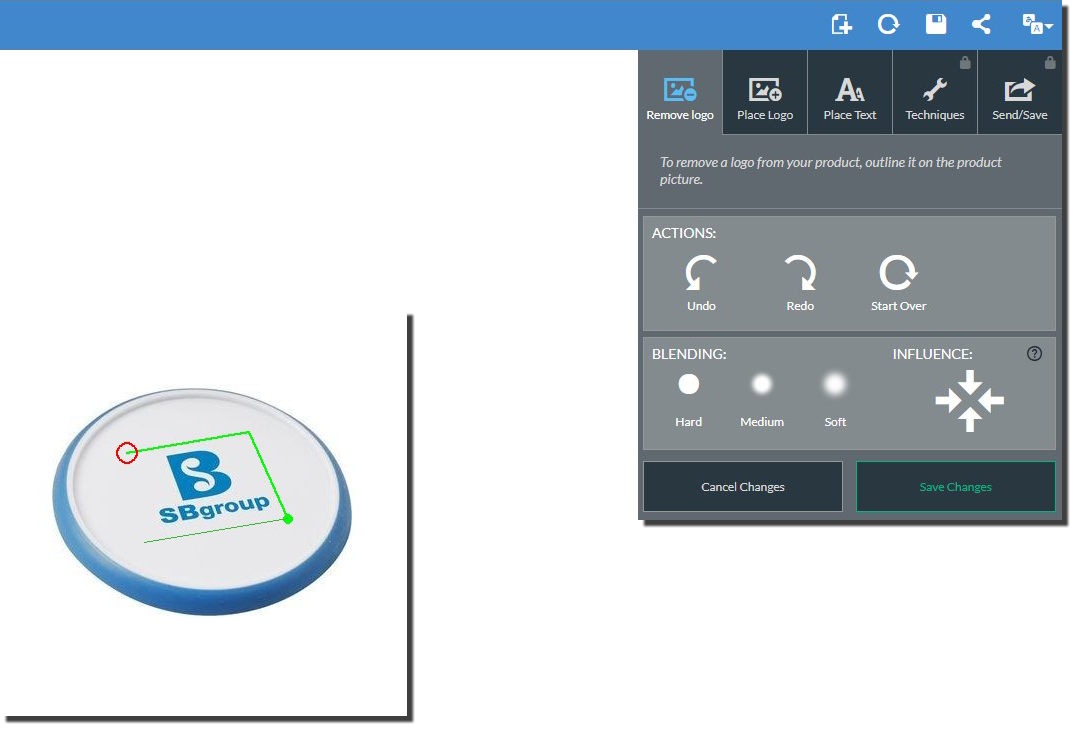

- Action Bar: Here you can undo a change you’ve made, redo that same action or you can start over from the beginning.
- Blending: Once you’ve completed the outline, you can choose different levels of blending to best suit the blended area.
- Influence: You can choose a direction to smooth out the blended area, or pick multiple ones to get a better result.
When you are happy with the results of removing the logo, save those changes and you can move on to adding your own logo. Click on the ‘Place Logo’ button and hit Browse to find the logo you want in your documents. Next, click Open or double click. Finally, to add it onto the product click ‘Add Logo’.

From here, you have access to several features to modify the logo, starting with the Colour section. The options available in this section are:

Clear White from Edges: With this option, you can remove the white background from your logo, leaving any white that is inside the logo.
![]()
Clear White: This will remove all of the white colour in the logo.
![]()
Colour List: Selecting any of the stock colours in this list will remove the white background and recolour the logo in the chosen colour. You can also select a specific shade of colour, using the colour wheel button located at the bottom right.
The next section is Movement. Here you’ll find ways of how to modify the shape and size of the logo. When the logo is uploaded onto the product, you can move it around by clicking and dragging it. Here’s a list of what each Movement setting does:

Send Back: When you have 2 or more logos (or one logo and one text), you can use this option to send the selected logo back behind another logo/text.
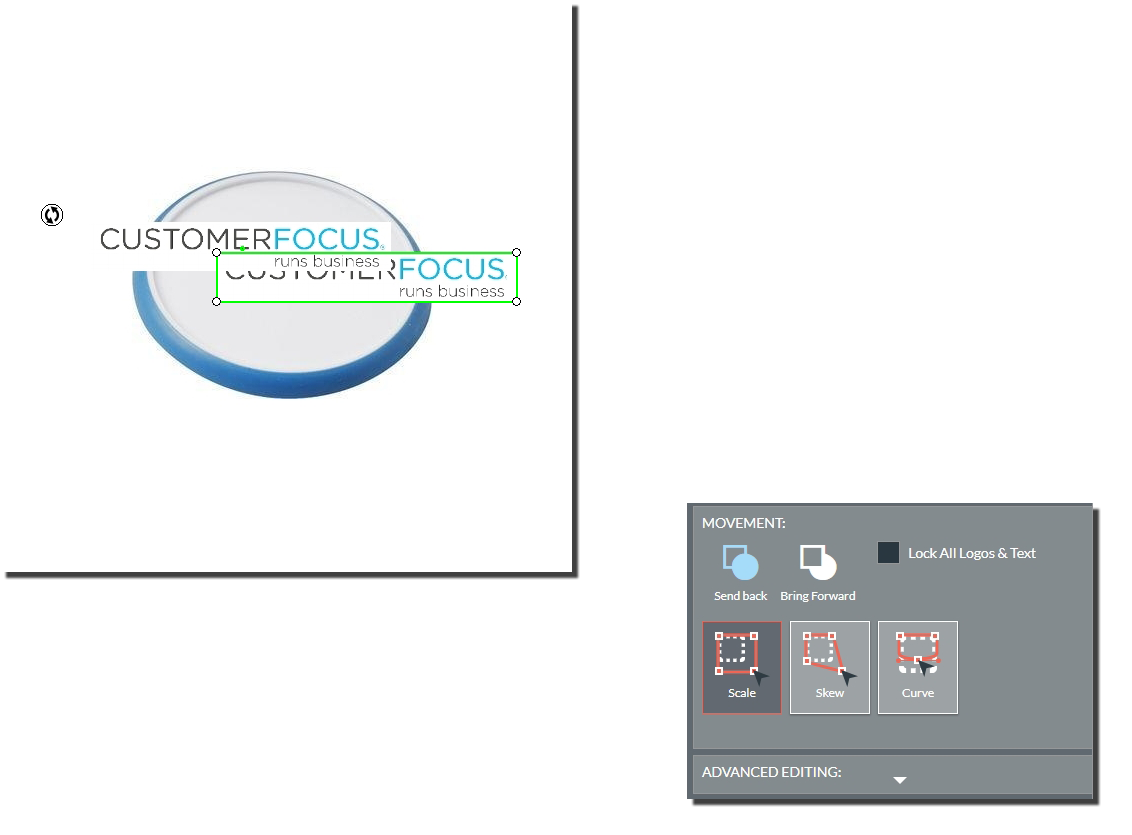
Bring Forward: Just as with sending back a logo, you can bring one in front of another.

Lock All Logos & Text: Clicking on this will lock the logos and text on the screen, preventing them from being moved around, skewed or curved. This doesn’t stop you from recolouring.
Scale: This allows you to scale logos bigger or smaller, allowing you to fit them in relation to the product.
.png)
Skew: With skew, you can drag a corner of the logo and morph the angle of it, making it stretch. You can do this for matching on products that are at a difficult angle to apply the logo to.

Curve: With the curve tool, you can bend the logo up or down to match with a product that has a curved surface (i.e. a mug, pencil).

The last section we are going to cover for Place Logo is the Advanced Editing tools. With these tools, you can refine the colour of your logo, having multiple parts colourered in rather than just the whole logo, should you prefer.
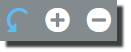
Reset: Use this button to reset the last action.
Zoom In/Out: You can zoom in and out of the logo, when needed.
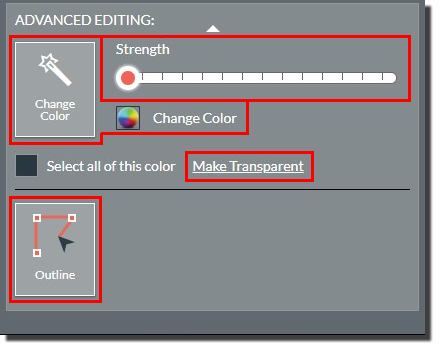
Change Colour: You can click on a colour within the logo and click on the Change Colour wheel. Select which colour you want, and it will recolour the logo.

Strength: By using the slider bar, you can define the amount of the selected colour you want to change.


Make Transparent: You can make the selected area/colour transparent by clicking on this option.
Outline: With Outline, you can draw an area on the logo that you want coloured differently to the rest.
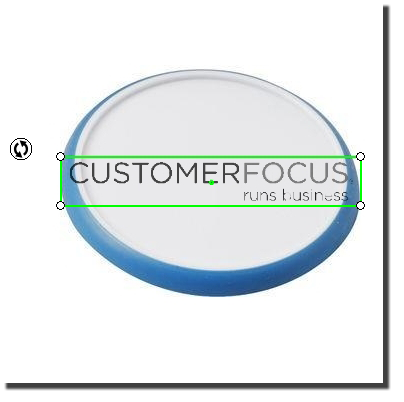
Once you are happy with how your logo looks, you can now move on to how to add custom text onto the sample, or if you aren’t interested in adding text, you can skip onto the next step ‘Techniques’.
.png)
Your Text: Enter in the text you want to appear on the vSample and click on 'Add Text'.
Font Style: Here, you can select which font style you want for your text to be.
Colour: Just as it was with the Logos, you can select a colour for your font to appear as.
Movement: Also the same with Logos, you can modify your text with the Scale, Skew and Curve functions, as well as having the font appear above or below logos and other text.
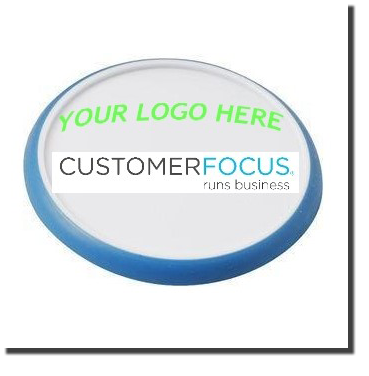
In this section, you can preview how the logo will look on the product in different print methods available for the sample. Below is the list of each technique that you can choose from and a preview of what each one looks like:

Full Colour:
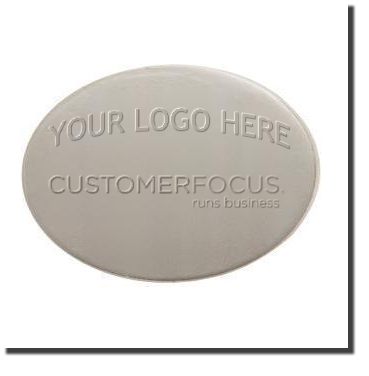
Debossing:

Die Struck:
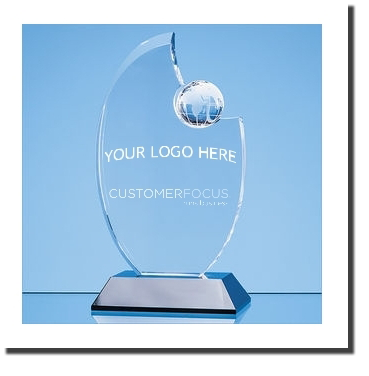
Etching on Glass:
Laser (Dark Grey):
Laser (Light Grey):
Laser (Oxidized):
Laser (Gold):

Embroidery:
Once you have gone through and made sure you are happy with everything, you can now send off the virtual sample to your customers. Click on the 'Send/Save' button in the top right corner.
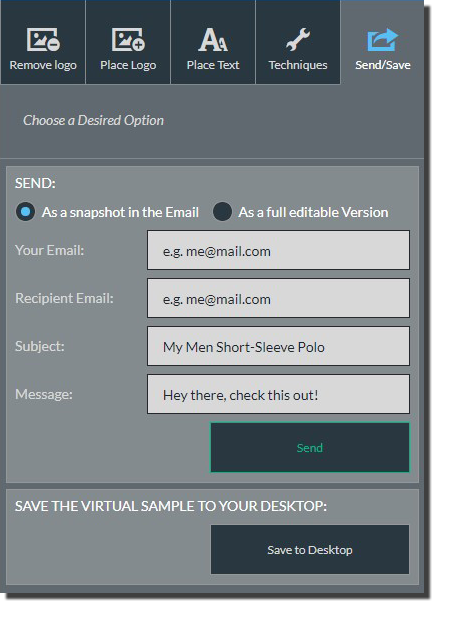
From here, you can send your vSample as either a snapshot or as an editable version that the customer will be able to make changes to (via a link). Add in your email address that you want to send from, your customers email address, the subject of the email and the message you want to add as well. Then when that is filled out, hit 'Send'. You can also save the vSample to your desktop.
