How to Upload Different Languages
Follow the steps below to offer your website in several different languages:
Prior to uploading different languages you will need to make sure you have selected multiple countries in the General Setup screen: Site Admin > General Setup, this will ensure that the website knows which countries/languages to allow. To select them, simply tick the boxes for the countries that you wish to offer the site to (for each country you can upload a different language)
Eg

1) Click the link below to download a example spreadsheet with translations pre populated:
2) Open the 'quickorder-phrases.xls' spreadsheet and click on the 'phrases' tab (worksheet at the bottom)
3) IMPORTANT - At the top note the 'Phrase' column, which is a formula - this formula creates the multi-language phrase suitable for uploading to QuickOrder The text in this column that the formula creates NEEDS to be imported to Quick Order Portal, if you try to import the file without the text that is generated by the formula, the multi language versions will not be recognised. It is for this reason that you should always edit the XLS file (download link above) rather than any pre-saved CSV files, as CSV files do not hold a formula and will therefore not work correctly.
4) In the 'default' column, change this to the phrases for your site's default language. The default language should be set in Quick Order Portal prior to this language import, it can be found in Site Admin -> General Setup. To set it simply select the country that will be your default country and therefore language for the website.
Eg 
5) The other columns can then be used for different languages - change the column heading to the 2-letter country code you want to use (lower case), and fill in all the phrases for that language.
If you are unsure of the country code, please refer to this list http://www.iso.org/iso/english_country_names_and_code_elements
NOTE: the list shows the codes in upper case, remember to type them into your XLS file in lower case
6) If you leave any of the phrases blank for a specific language, the system will use the one listed under 'default' instead
7) Once done, save the 'phrases' sheet as a CSV file
8) Upload that CSV file (remember you have to close the file in Excel before uploading) - Do this by going to Site Admin > Data Upload
- Browse for the CSV file and click 'Next' - Select 'Phrase Dictionary' from the drop down menu
9) When uploading, map the 'Phrase' column to the 'Phrase' field, and the 'Text' column to the 'Text' field, and igore all the other columns (to ignore the other columns you must select 'not used' from the drop down next to the coloumn headers.
Your import is now complete. You will have a set of languages in the system for every language that you imported on this spreadsheet, to check the phrases have imported correctly, follow these steps.
1) Switch QOP to the language you wish to look at. To do this go to the Countries tab at the top in Site admin and click on the country you wish to look at. 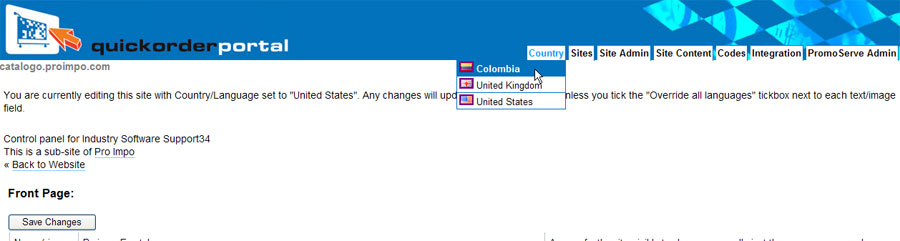
NOTE: The countries tab will only appear if you have selected multiple countries to offer your website to. This is done by selecting the relevant countries in the General Setup screen and should have been done prior to importing any languages.
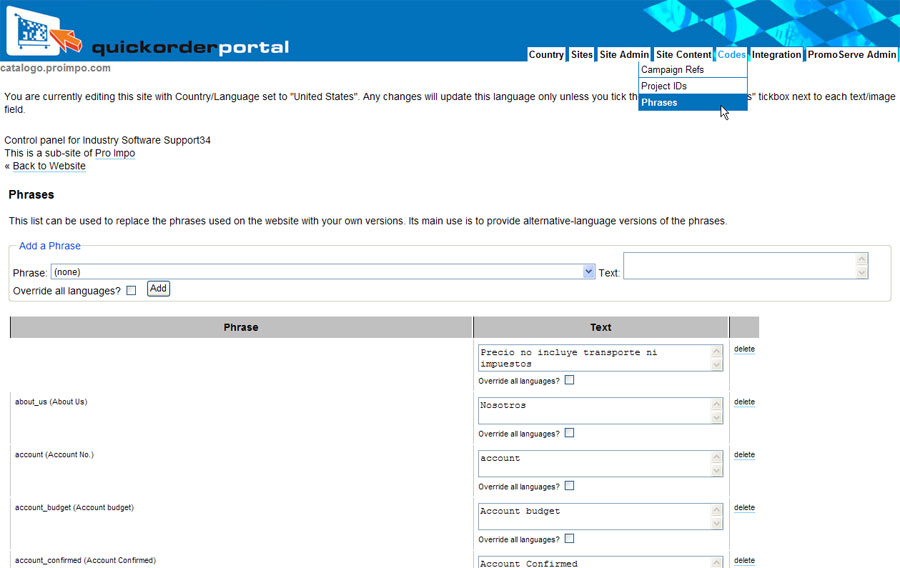
2) Go to the 'Codes' menu and 'Phrases' Here you will see a list of phrases in the language that you imported. These will also be live on the website, when a user is logged in with the relevant language assigned to their account.
In addition to this you may also need to consider uploading a different language for your button set, as buttons are generally JPEG images, you will need to produce a new button set for each language and forward to PromoServe Business Systems to upload for you. To see info on creating a button set visit: How to change the buttons
