Changing User Permissions
This help sheet will go through how to set and edit user permissions.
STEP 1
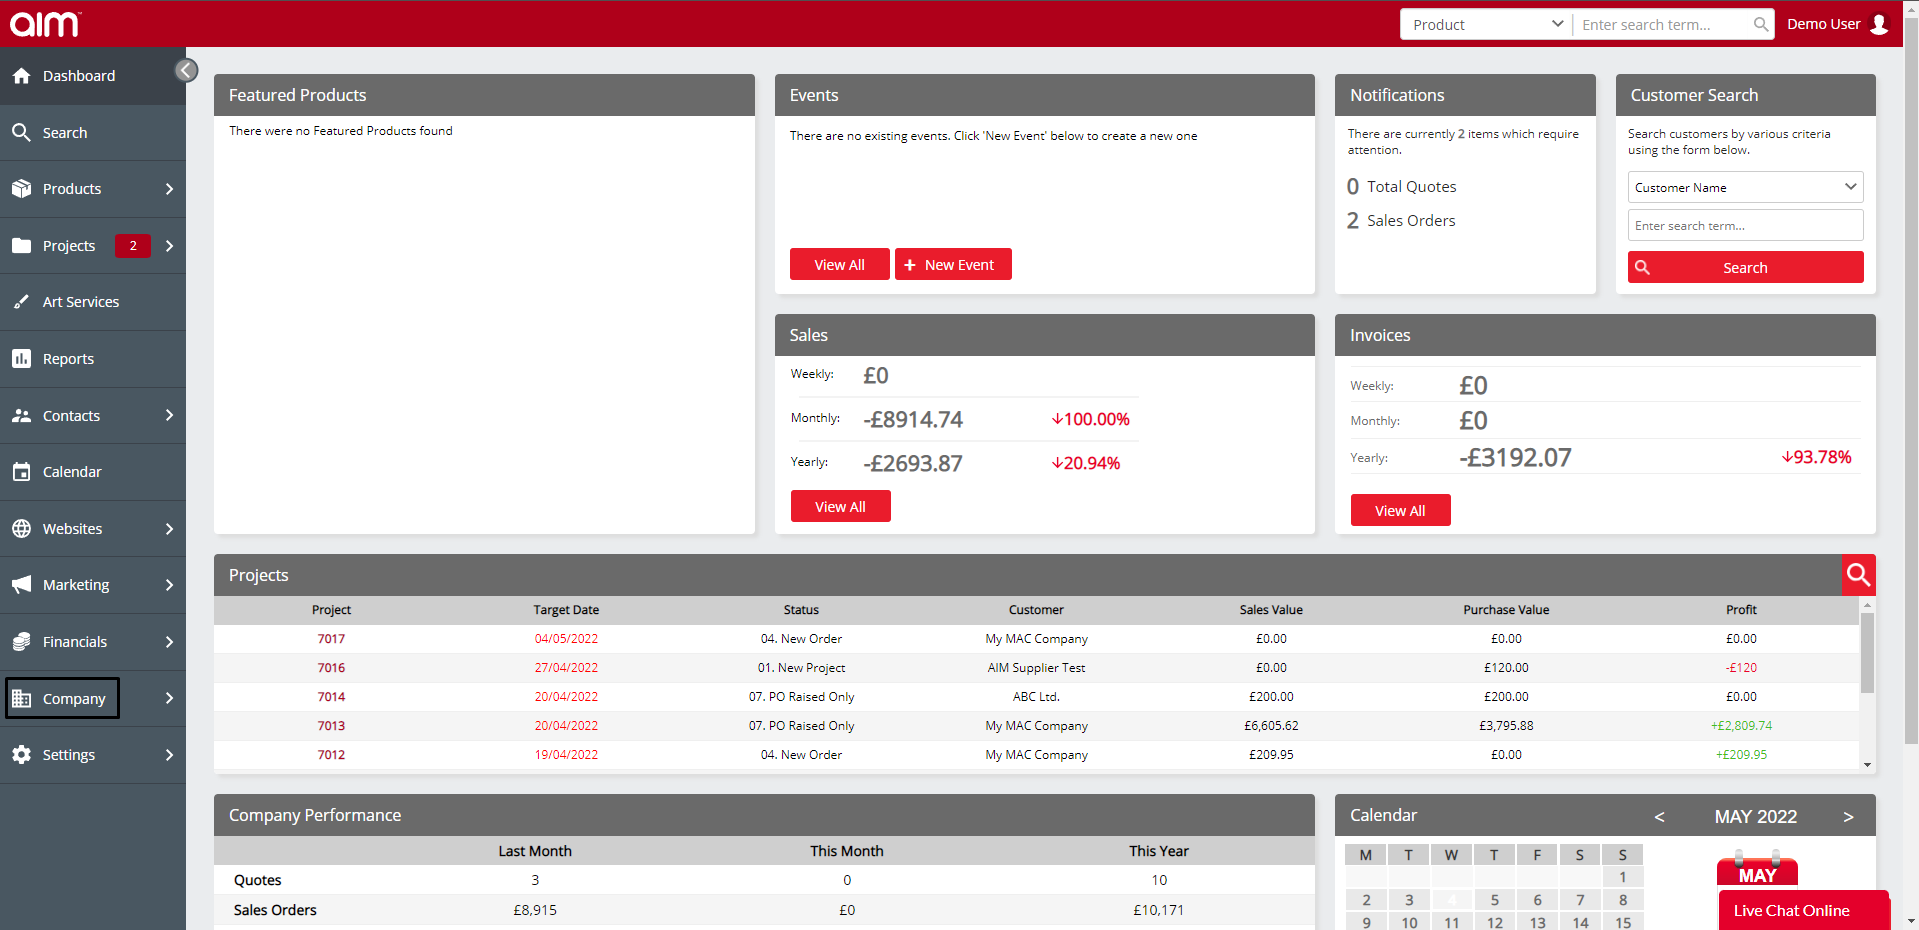
Firstly, navigate to the Company section on the left hand side.
STEP 2
Once there, click on the ‘Permissions’ button after the Company section has expended.

STEP 3
This will bring up the permissions interface. The screen can be logically split into 3 parts with different functions:
Groups: This shows a list of all the possible user types within your Ultimate system. Click on each to display the permissions attached to that group.
Permissions: This shows the capabilities of the group you selected. All the possible functions are listed, with a red cross indicating that users in this group cannot perform the action in question, and a green tick indicating that they can.
Members: This displays a list of all the users currently registered on the system. If the user belongs to the selected group, a green tick will be displayed next to their name. If they are not, the option to ‘add’ them will be displayed next to the name.
There is no need to ‘save’ changes made to this interface. They are all added to the system automatically.
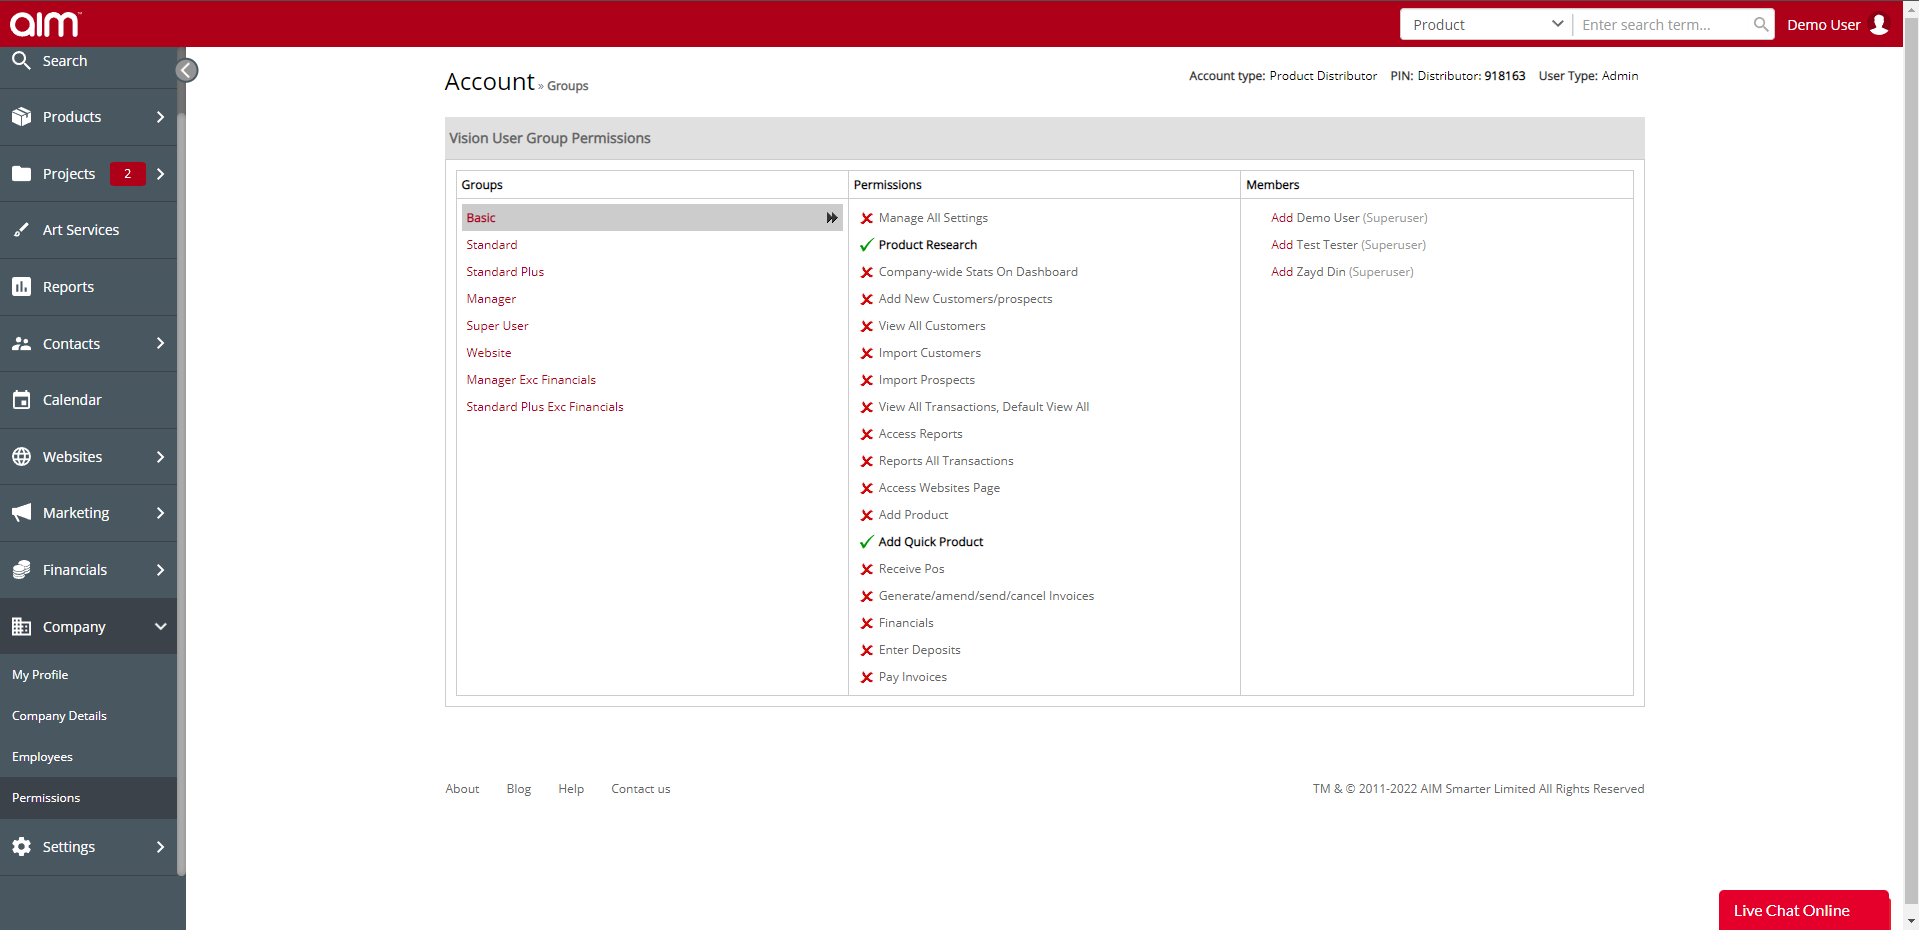
NOTE: If you accidentally grant a user too many permissions, simply ‘add’ them into a group with less permissions to remove them from the incorrect group.
