How to Create Presentations from Projects
Step 1: There are two ways to start a Presentation, but it always starts with a New Project.
The first way is to use the products in your Clipboard, as described in this help sheet. Once items are selected in a Clipboard, you can create a New Project using those products from the Clipboard window.
The second way is to start without any selected products, from Projects > New Project.
.png)
Step 2: Complete the fields in the New Project window.
The subject makes it easier to distinguish between multiple Presentations for the same customer in the Project Overview window, so make it reasonably descriptive. It's also what will appear on the Presentation cover sheet, if you choose to include one.
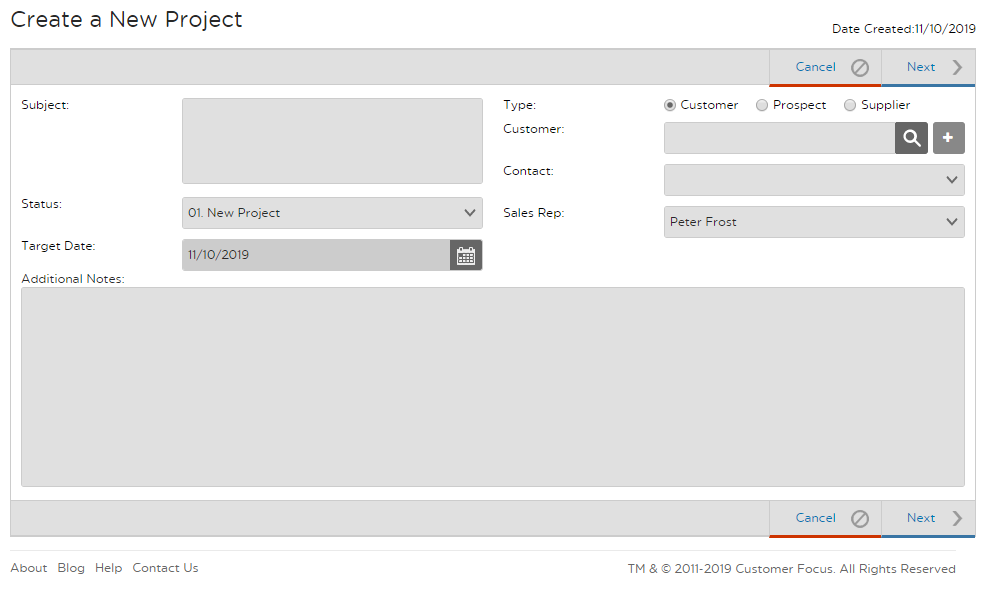
Step 3: If this is the first time you have created a presentation for this customer, now is a good opportunity to add them to your database.
Just click on the + icon next to the Customer field to complete information about them - as much or as little as you like (you can complete it at any time through the Contact tab). You can do the same for named contacts at that company.
If they're already a customer, you can either look them up using the magnifying glass, or start typing in their name to find them quickly.

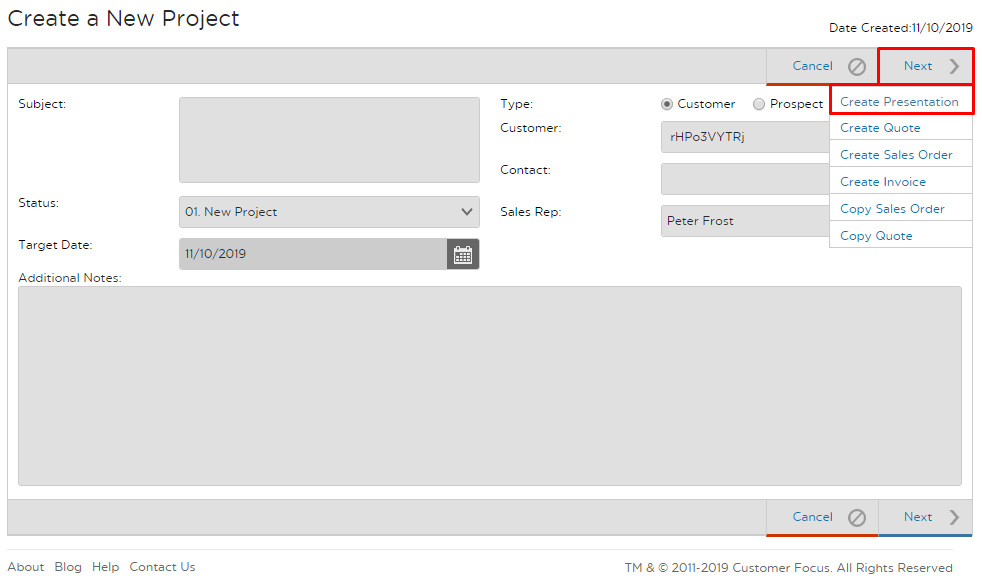
Step 4: Hover over the Next button at the top right to create a Presentation.
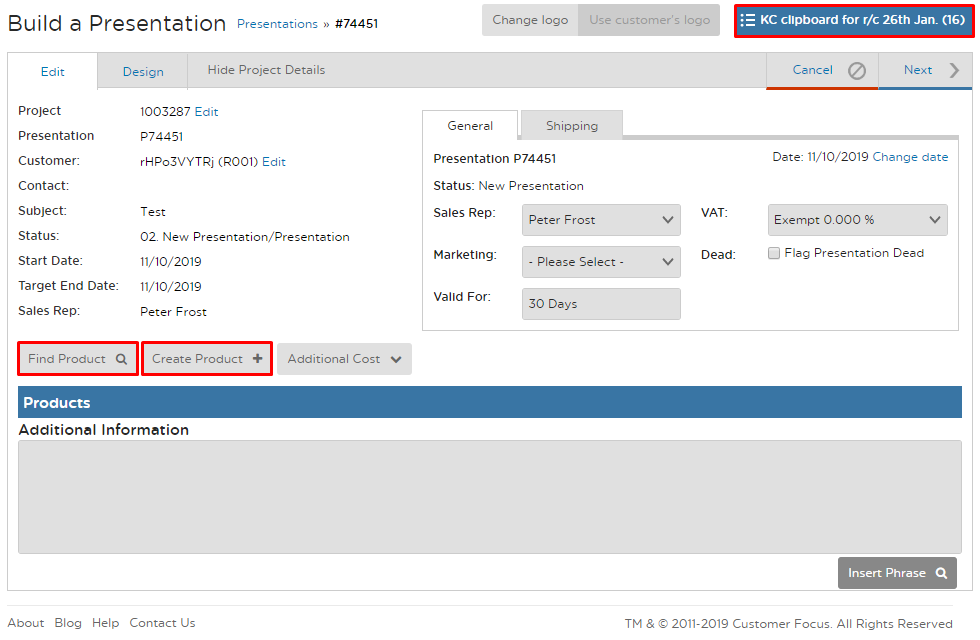
Step 5: There are three ways to add products to your Presentation.
If you began the Presentation from the Clipboard, the selected products will already be included in the Presentation. However you can always click on the Clipboard button at the top right (highlighted below) to select additional items from any Clipboards you have.
The second way is to click on the 'Find Product' button at the bottom left (highlighted below). This will launch the product research module in a pop-up, and allow you to use filters like color, lead time, category etc. to locate items to add to your Presentation.
Finally, you can Add Product; if this is a custom item, or the product you want to display isn't in the Customer Focus database, this is a quick and easy means of creating that product and adding it into the Presentation (it will also be saved for future use).
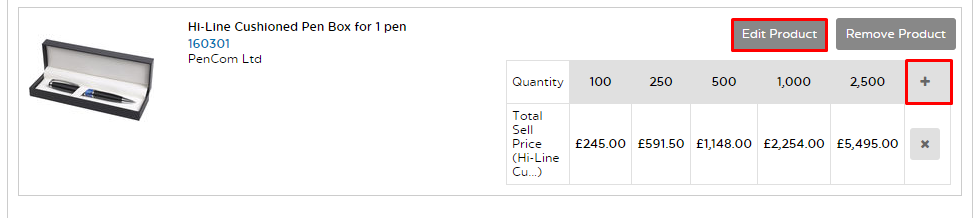
Step 6: You can edit any products in your Presentation.
Just click on 'Edit Product', or the + icon, to change pricing, update print methods, remove quantity breaks etc.
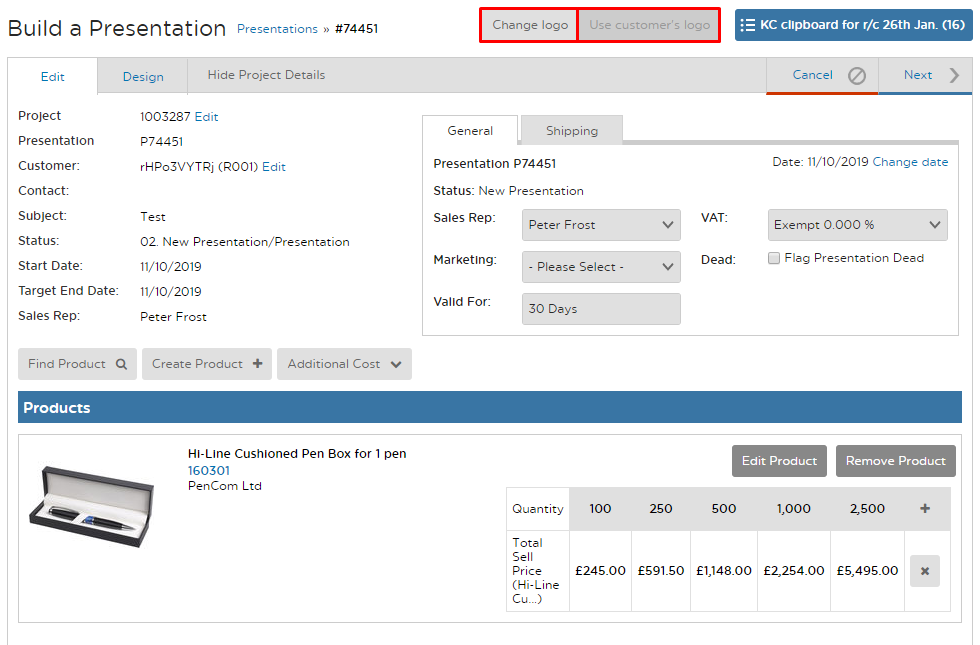
Step 7: You can use Customer Focus' instant Virtual Samples to add your client's logo to all products with one click!
Click on 'Use customer's logo' *if* you have already uploaded a logo to the customer's record. If not, click on Change logo to upload a new logo.
Customer Focus will automatically clear all of the white from a logo; if you would like to keep white from the inside of the logo (as in the below example), click on Open logo manager (from the Change logo window) to make an adjustment.
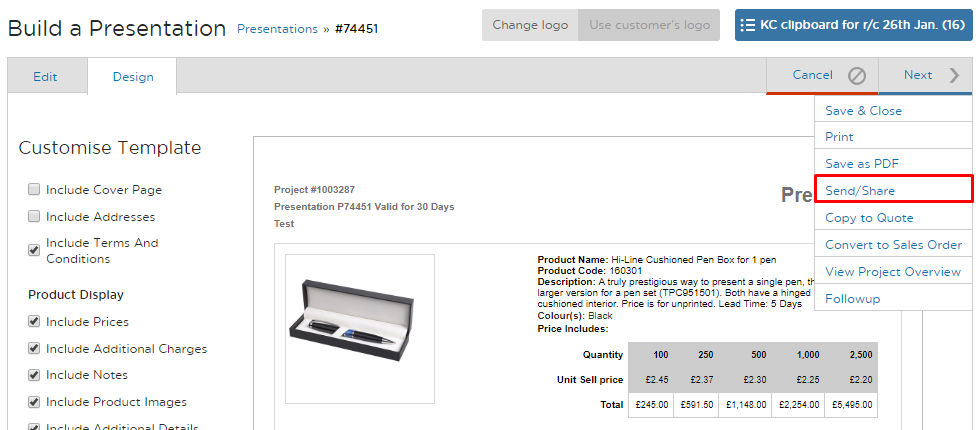
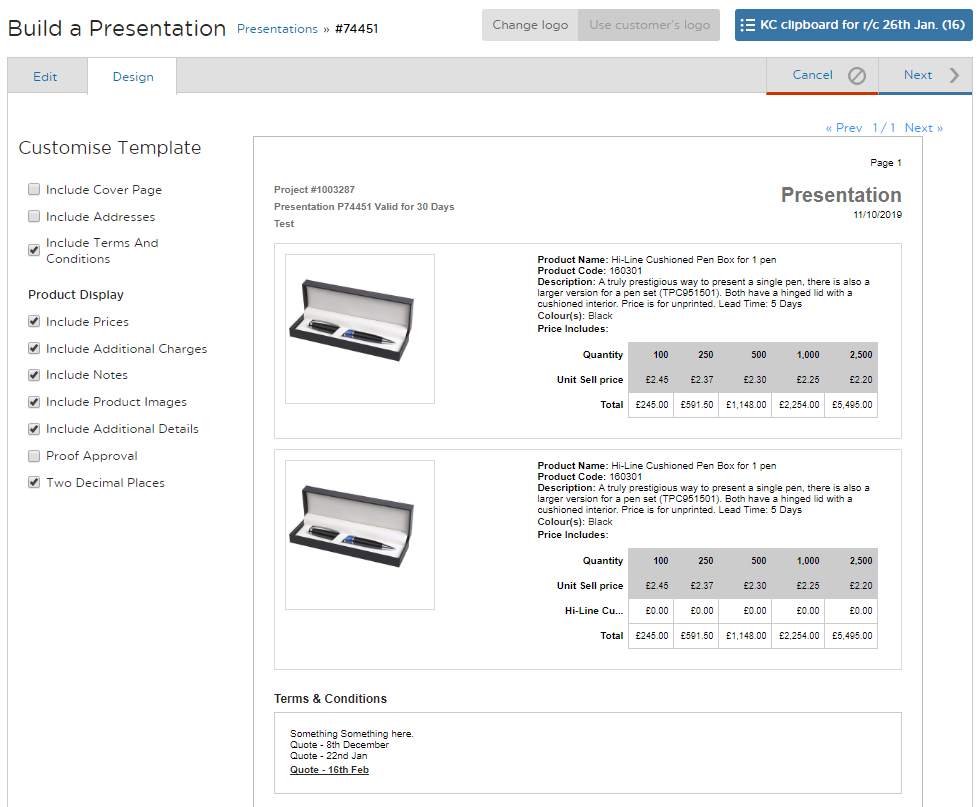
Step 8: Make your final design choices before sending to the customer.
Click on the 'Design' tab to make choices such as whether to show pricing, include a cover page, and addresses/logos on every page. What you see previewed on screen here is exactly what the customer will see.
Step 9: Hover over 'Next' to Send/Share the Presentation with your customer.
You'll have the option to send through CF or via your email client (i.e. Outlook / Gmail); you can also, if you prefer, save the Presentation as a PDF and print/fax it to the customer.